EasyManuals Logo

HIKVISION 64 Series User Manual

HIKVISION 64 Series
9 pages
To Next Page IconTo Next Page
To Previous Page IconTo Previous Page
Page #5 background imageLoading...
Page #5 background image
Installation Manual of Network Camera
34
Concealed Mounting
Please make sure that the mounting surface is suitable for adhesive pasting.
Steps:
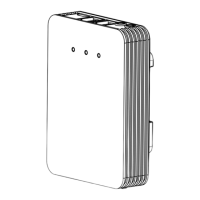
1. Drill on the mounting surface. As shown in Figure 6-6.
Figure 6-6 Drill on the Surface
Make sure the drilling hole is big enough for the camera lens.
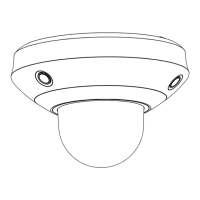
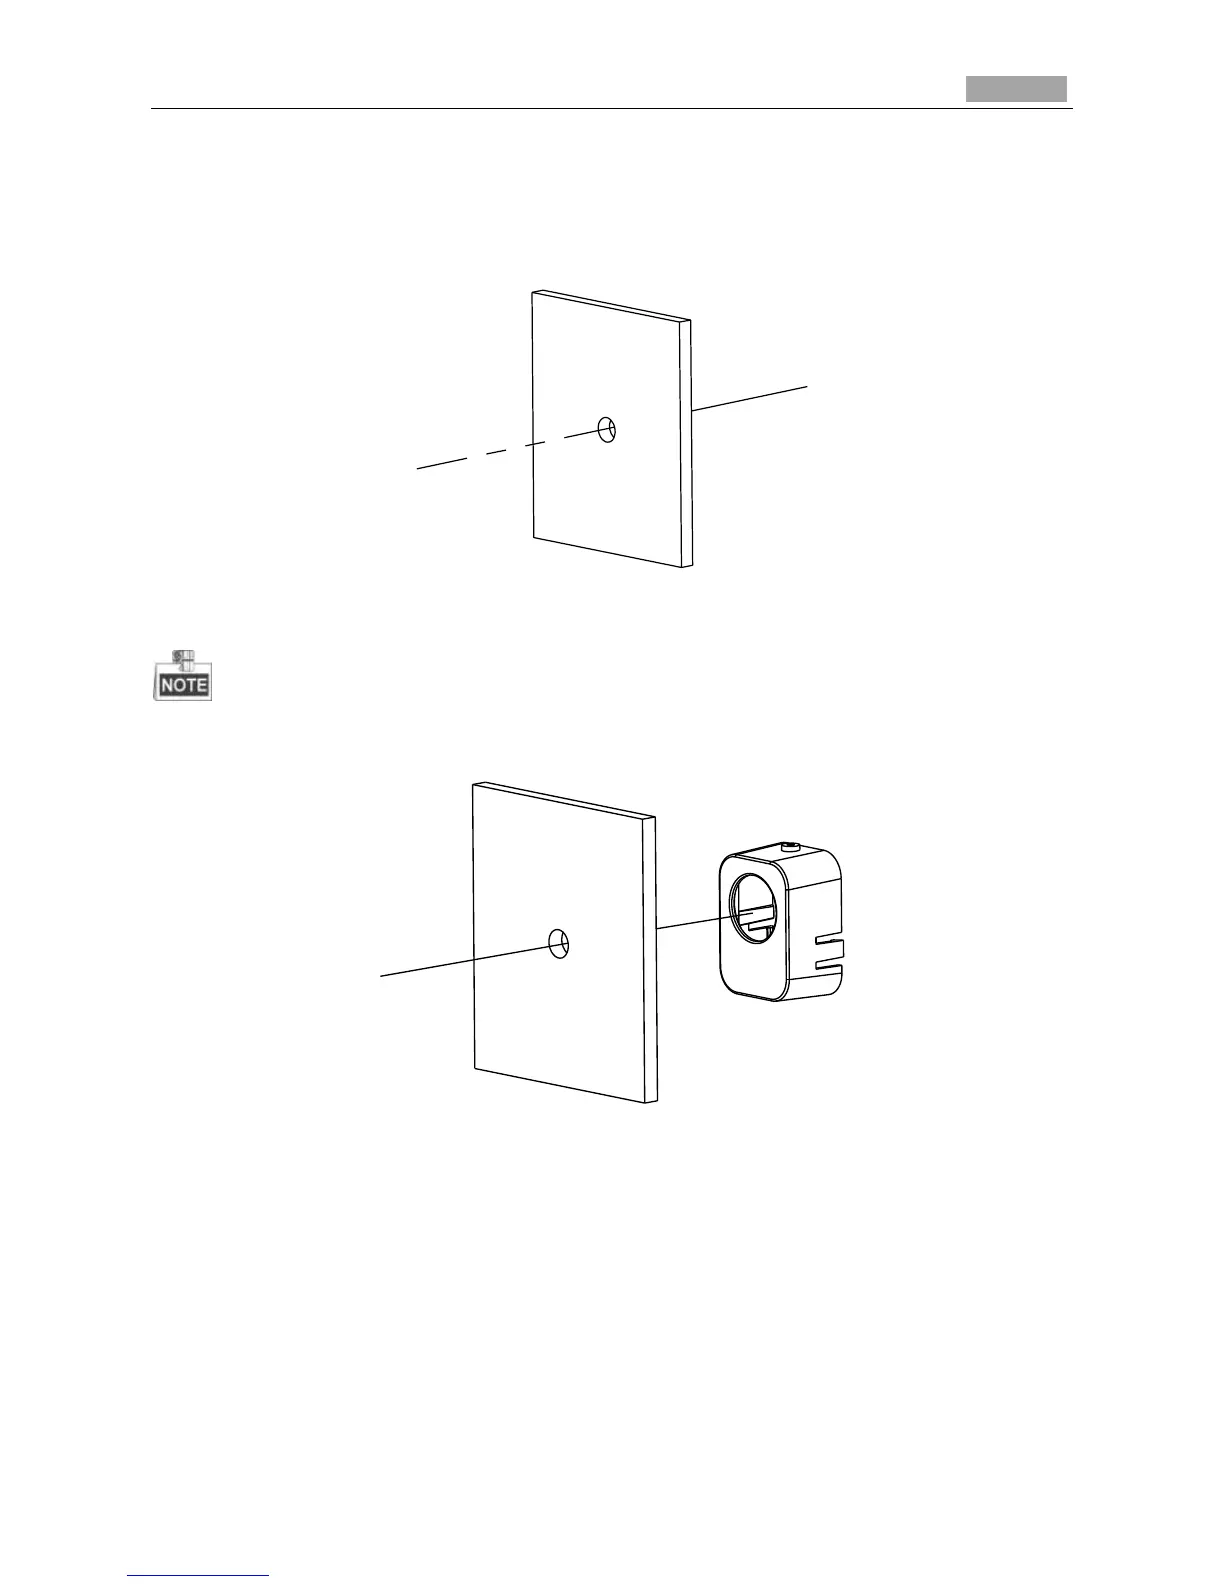
2. Remove a side of the adhesive tape on the bracket. Paste the bracket on the mounting surface
with aligning with the drilling hole. As shown in Figure 6-7.
Figure 6-7 Paste the Bracket
3. Install the Block-shaped sensor unit into the bracket and make it to be buckled.
4. Tighten the fastening screw on the top of the bracket.

Questions and Answers:

Question and Answer IconNeed help?

Do you have a question about the HIKVISION 64 Series and is the answer not in the manual?

HIKVISION 64 Series Specifications

General IconGeneral
Image Sensor1/2.8" Progressive Scan CMOS
IR RangeUp to 30 m
Wide Dynamic Range (WDR)120 dB
Ingress ProtectionIP67
Lens2.8 mm, 4 mm, 6 mm
Video CompressionH.265+, H.265, H.264+, H.264
Network InterfaceRJ45 10M/100M Ethernet
Power Supply12 VDC ± 25%, PoE (802.3af)
Operating Temperature-30 °C to 60 °C (-22 °F to 140 °F)
StorageMicroSD card slot (up to 256GB)

Related product manuals