tapping screws are required
Route the cables through the cable hole, or the side
opening;
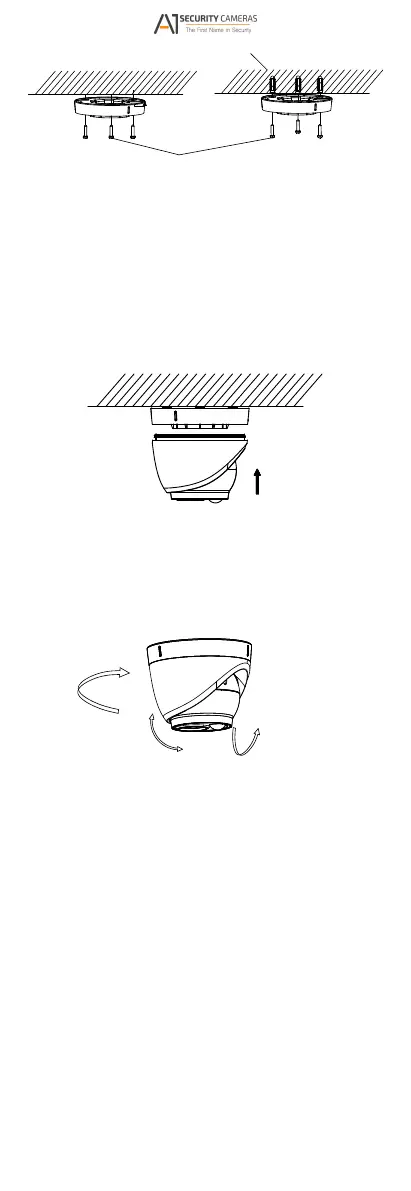
lign the camera with the mounting base, and secure
the camera on the mounting base.
Expansion Bolts
Fixing Screws
Figure 2-2 !ttach the Mounting ase to the eiling
Note:
The supplied screw package contains self-tapping
screws, and expansion bolts.
For cement wall/ceiling, expansion bolts are required
to fix the camera. For wooden wall/ceiling, self-
.
5.
6. A
Figure 2-3 Secure the amera with Mounting ase
7. onnect the corresponding cables, such as power
cord, and video cable;
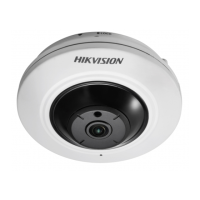
8. Power on the camera to check whether the image on
the monitor is gotten from the optimum angle; If not,
adjust the camera according to the figure below to get
an optimum angle;
Rotation Position
[0°to 360°]
Tilt Position
[0°to 75°]
Pan Position
[0° to 360°]
Figure 2-4 3-axis !djustment
1). Hold the camera body and rotate the enclosure to
adjust the pan position [0° to 360°\;
2). Move the camera body up and down to adjust the
tilt position [0° to 75°\;
3). Rotate the camera body to adjust the rotation
position [0° to 360°\;
2.2 Mounting with Inclined Ceiling Mount
Before you start:
You need to purchase an inclined ceiling mount
separately;
Steps:
1. Paste the drill template (supplied) to the place where
you want to install the camera;
2. Drill screw holes, and the cable hole on the
ceiling/wall according to the supplied drill template;
Available from A1 Security Cameras
www.a1securitycameras.com email: sales@a1securitycameras.com
 Loading...