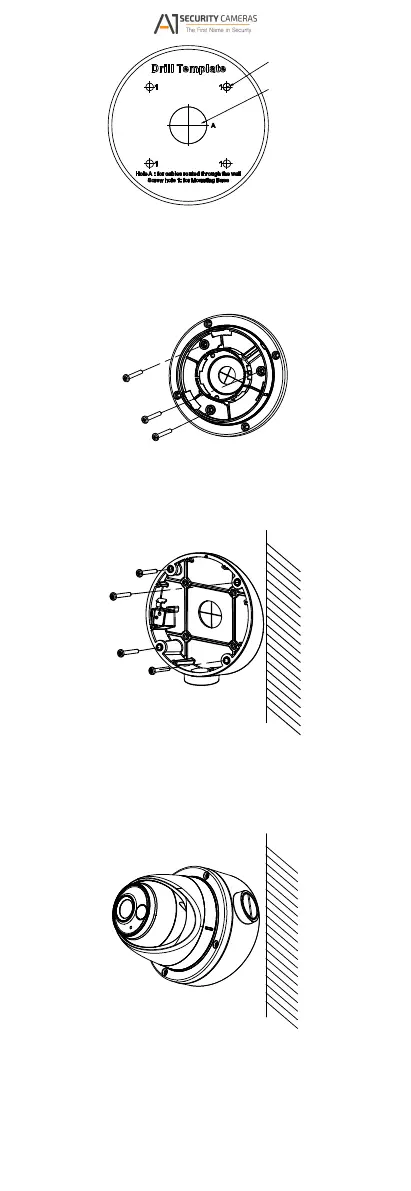
Figure 2 5 The Drill Template
Disassemble the inclined ceiling mount by the screw
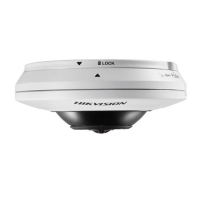
Install the turret camera s mounting base on the
ceiling mount’s cover with three PM4 screws;
6 Install Turret amera’s Mounting ase
inclined ceiling mount’s body on the
/wall with four P!4 × 25 screws, as shown in
-
3.
driver;
4. ’
inclined
Figure 2-
5. Install the
ceiling
Figure 2-8;
6.
7.
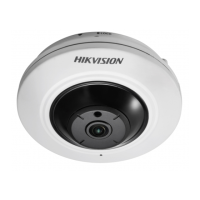
Figure 2-7 Fix the Inclined eiling Mount’s ody
ombine the inclined ceiling mount’s cover with its
body with supplied screws;
Repeat steps 5 to 8 of the 2.1 Ceiling/Wall Mounting
without Junction Box to complete the installation;
Figure 2-8 Fix the amera to the Inclined eiling Mount
2.3 Ceiling/Wall Mounting with Junction Box
Before you start:
You need to purchase a junction box separately;
Steps:
1. Paste the drill template on the ceiling/wall;
Available from A1 Security Cameras
www.a1securitycameras.com email: sales@a1securitycameras.com
 Loading...