Do you have a question about the HIKVISION DS-2CD1021G0-I and is the answer not in the manual?
Illustrates camera installation on a wall, showing rotational adjustments for optimal viewing angles.
Demonstrates an alternative wall mounting procedure with adjustable angles for camera positioning.
Details the process of securing a mounting bracket to the ceiling, using T20 screws and allowing 360° rotation.
Shows attaching the camera to a ceiling mount, featuring adjustable pan and tilt angles up to 90 degrees.
Illustrates ceiling installation with a fixture, T10 screws, and includes wiring connections and remote control usage.
Depicts the final stage of wall mounting, including cable connections and adjustable viewing angles.
Details advanced ceiling mounting techniques with specific screw types and angle adjustments.
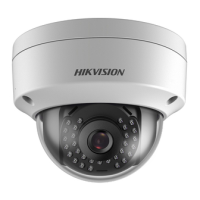
Provides instructions for mounting a dome camera to the ceiling, including connection details.
Illustrates the installation procedure for a camera designed for recessed mounting in a ceiling.
Step-by-step guide on how to ensure waterproof connections for the network camera installation.
Instructions for activating the network camera and gaining access to its features via mobile or QR code.
Details the various interfaces available on the camera, such as LAN, power, MicroSD, audio, and alarm ports.
Provides notes on the document's content, disclaimers, and information regarding firmware updates.
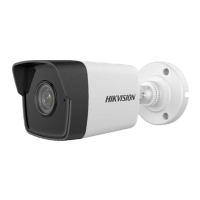
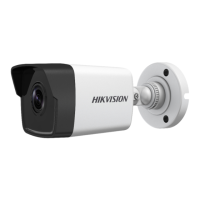
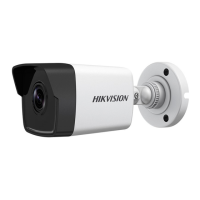
| Camera Type | Bullet |
|---|---|
| Image Sensor | 1/2.7" Progressive Scan CMOS |
| Max Resolution | 1920 x 1080 |
| Lens | Fixed lens |
| Focal Length | 2.8 mm |
| Aperture | F2.0 |
| Minimum Illumination | 0.01 Lux @ (F2.0, AGC ON), 0 Lux with IR |
| IR Range | Up to 30 m |
| Day/Night | ICR |
| Video Compression | H.265+/H.265/H.264+/H.264 |
| Power Supply | 12 VDC ± 25% |
| Power Consumption | Max. 4.5 W |
| Ingress Protection | IP67 |
| Field of View (Vertical) | 56° |
| Bit Rate | 32 Kbps to 8 Mbps |
| Frame Rate | 50 Hz: 25 fps (1920 × 1080), 60 Hz: 30 fps (1920 × 1080) |
| Network Interface | RJ45 (10/100Mbps) |
| Operating Conditions | -30 °C to 60 °C (-22 °F to 140 °F), Humidity 95% or less (non-condensing) |