Do you have a question about the HIKVISION DS-2CE16H0T-ITE and is the answer not in the manual?
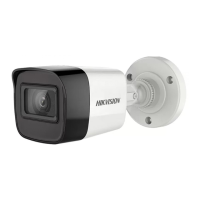
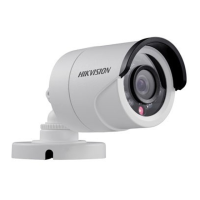
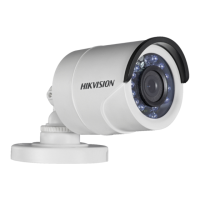
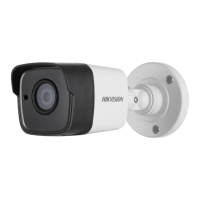
This document describes the TURBO HD H0T Series Bullet Camera, a surveillance device designed for various monitoring applications. The camera features a high-performance CMOS sensor, ensuring clear image capture. It is equipped with an IR cut filter with auto switch, enabling effective day and night surveillance. The camera supports low illumination conditions, capable of capturing images at 0.01 Lux@(F1.2, AGC ON) and 0 Lux with IR, making it suitable for environments with minimal light.
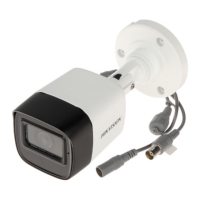
The camera offers an OSD (On-Screen Display) menu with configurable parameters, allowing users to customize settings directly. It supports auto white balance for accurate color rendition and internal synchronization for seamless operation within a surveillance system. The SMART IR mode intelligently adjusts infrared light intensity to prevent overexposure, ensuring balanced illumination in dark scenes. For models with PoC (Power over Coaxial) functionality, the camera can receive power directly through the video cable, simplifying installation by eliminating the need for a separate power supply. The camera also features 3-axis adjustment, providing flexibility in positioning and aiming for optimal surveillance angles.
The OSD menu, accessible via PTZ control or preset No. 95, allows for comprehensive configuration. Users can navigate the menu using direction arrows and confirm selections with "Iris +".
Video Format: The camera supports multiple video formats, including 5MP@20fps, 4MP@25fps, 4MP@30fps, 2MP@25fps, and 2MP@30fps, offering flexibility based on resolution and frame rate requirements.
Exposure Settings: Exposure parameters can be adjusted through EXPOSURE MODE and AGC (Automatic Gain Control).
Day/Night Settings: The camera offers COLOR, B&W (Black and White), and AUTO modes for day/night switching.
Video Settings: This submenu allows adjustment of various image parameters:
The manual provides detailed instructions for both Type I and Type II cameras, covering ceiling/wall mounting with and without a junction box. Key steps include using a drill template for precise hole placement, securing the bracket with screws (self-tapping for wooden surfaces, expansion bolts for cement), routing cables, and connecting power and video cables. After installation, users should power on the camera and adjust its 3-axis position (pan, tilt, rotation) to achieve the optimum surveillance angle.
The manual emphasizes strict adherence to electrical safety regulations. It specifies that input voltage should meet SELV and Limited Power Source standards (12 VDC). Users are warned against connecting multiple devices to a single power adapter to prevent overheating or fire hazards. Proper mounting is crucial, ensuring the device is firmly fixed. In case of smoke, odor, or noise, the device should be immediately powered off and unplugged, and professional service contacted. Users are advised not to disassemble the camera themselves.
For optimal performance and longevity, the camera should not be dropped or subjected to physical shock. It should be kept away from extreme temperatures (-40°C to 60°C), dusty or damp locations, and high electromagnetic radiation. Sensor modules should not be touched with fingers. For cleaning, a clean cloth with a small amount of ethanol should be used. The camera should not be aimed at the sun or other bright light sources, and laser beams should be avoided on the sensor surface to prevent damage. Good ventilation is required to prevent heat accumulation. During delivery, the camera should be packed in its original or similar packaging. For non-waterproof devices, the camera should be kept away from liquids.
| Model | DS-2CE16H0T-ITE |
|---|---|
| Camera Type | Bullet |
| Signal System | PAL/NTSC |
| Lens Mount | M12 |
| Day & Night | ICR |
| IR Range | Up to 30 m |
| Power Supply | 12V DC ± 25% |
| Ingress Protection | IP67 |
| Resolution | 1920 x 1080 |
| Lens | 2.8mm / 3.6mm / 6mm |
| Operating Conditions | -40°C to +60°C |