UM DS-2CE1xU8T-ITx 042618NA 5
• Check the specification of the products for the
installation environment.
• Check whether the power supply matches your
power output to avoid the damage.
• Make sure the wall is strong enough to withstand
three times the weight of the camera and the
mount.
• If the wall is cement, insert expansion bolts before
installing the camera. If the wall is wooden, use
self-tapping screws to secure the camera.
• If the product does not function properly, contact
your dealer or the nearest service center. Do NOT
disassemble the camera for repair or maintenance
by yourself.
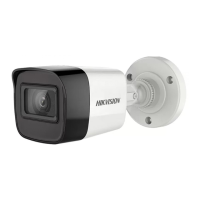
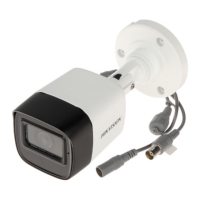
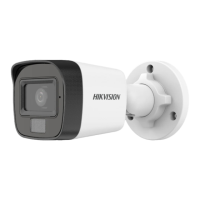
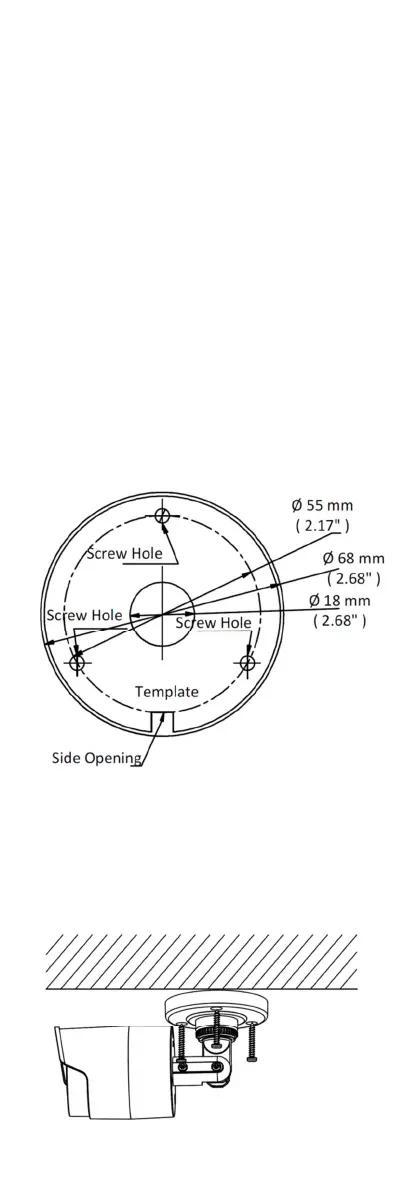
3.1 Installation of Type I Camera
3.1.1 Ceiling/Wall Mounting without Junction Box
Steps
:
1. Paste the drill template (supplied) where you want
to install the camera.
2. Drill the screw holes and the cable hole (optional)
in the ceiling/wall according to the drill template.
Figure 3 Drill Template
Note:
Drill the cable hole when using the ceiling outlet to
route the cable.
3. Attach the bracket to the ceiling/wall and secure
the camera with supplied screws.
Figure 4 Fix the Camera to the Ceiling
 Loading...