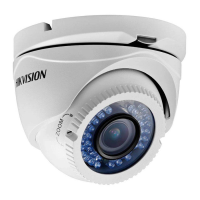
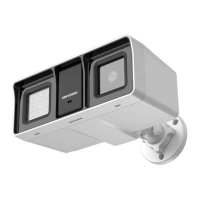
0° to 355°
0° to 355°
0° to 75°
Type I Camera
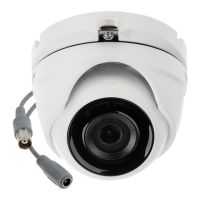
0° to 340°
0° to 355°
0° to 75°
Type II Camera
Figure 2-4 3-Axis Adjustment
9. Fit the black liner back to the camera and tighten the
screws on the bubble of the dome camera to finish
the installation.
2.2 Wall Mounting of Type I and Type II Camera
Before you start:
You need to purchase a wall mount first.
Steps:
1. Drill 4 screw holes in the wall according to the holes of
the mount.
2. Attach the mount to the wall by aligning the 4 screw
holes of the mount with expansion screws on the wall.
3. Secure the mount with 4 hex nuts and washers.
Figure 2-5 Install Wall Mounting Mount
4. Refer to step 3 of 2.1 Ceiling Mounting of Type I and
Type II Camera to remove dome camera’s bubble and
the black liner.
5. Attach the back box/base plate of the dome camera to
the wall mount and secure them with supplied screws.
Figure 2-6 Attach the Base Plate to the Mount
6. Route the cables through the mount.
7. Repeat steps 6 to 9 of the 2.1 Ceiling Mounting of Type
I and Type II Camera to complete the installation.
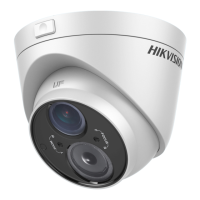
2.3 Ceiling Mounting of Type III Camera
Before you start:
Both wall mounting and ceiling mounting are suitable for
the dome camera. Ceiling mounting will be taken as an
example in this section. And you can take steps of ceiling
mounting as a reference for wall mounting.
 Loading...