Ultra-wide Panoramic Network Camera·Quick Start Guide
17
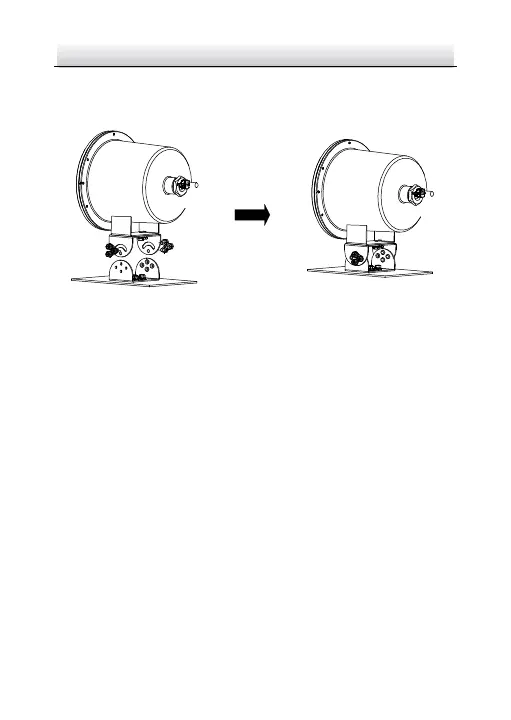
4. Fix the PT joint top with the PT joint bottom with three 1/4 UNC
screws to secure the camera to the installation base.
Figure 2-5 Fix the PT Joint
5. Power on the camera, and set the network configuration to check
whether the image is gotten from the optimum angle. If not,
adjust the viewing angle.
6. (Optional) Adjust the tilting position.
1) Loosen the Tilt adjusting screw No.1 to adjust the tilting
position [0° to +45°].
2) Loosen the Tilt adjusting screw No.2 to adjust the tilting
position [-45° to 0°].
3) Tighten the adjusting screw.
7. Adjust the panning position.
1) Loosen the pan adjusting screw to adjust the panning
position [-45° to +45°].
2) Tighten the No. 2 adjusting screw.
 Loading...