Do you have a question about the HIKVISION DS-72xxHGHI-SH and is the answer not in the manual?
Lists all the items included in the DVR package, such as DVR, mouse, cables, and manuals.
Details the physical ports and connectors on the rear panel of the DVR.
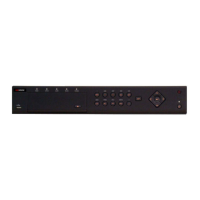
Details the indicators, IR receiver, and USB interface on the front panel of the DVR.
Details the physical ports and connectors on the rear panel of the DS-73xxHQHI-SH DVR.
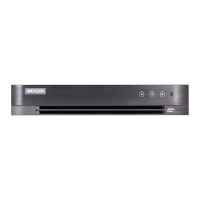
Details the indicators, DVD-R/W, and controls on the front panel of the DS-73xxHQHI-SH DVR.
Details the physical ports and connectors on the rear panel of the DS-90xxHQHI-SH DVR.
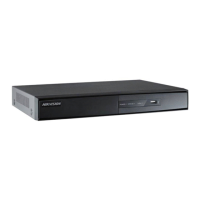
Details the indicators, DVD-R/W, and controls on the front panel of the DS-90xxHQHI-SH DVR.
Guides users through activating the device locally by setting a strong password.
Explains the criteria for acceptable password strength, including levels and color indicators.
Details the process of activating the device using the SADP software, including password strength checks.
Describes how to activate the device using the iVMS-4200 client software on Windows.
Explains how to activate the device by accessing its web interface through a browser.
Details how to assign an IP address, subnet mask, gateway, and DNS server to the DVR.
Explains the function of DHCP in automatically assigning IP addresses to the DVR.
Details network ports (Server, HTTP, RTSP) required for remote access and their functions.
Explains the purpose of Server Port (Mobile App), HTTP Port (Web Browser), and RTSP Port (Streaming).
Guides users on how to configure port forwarding on their router for remote access.
Details how to set up Dynamic DNS (DDNS) for remote access using a domain name.
Explains how to enable DDNS, select the type, and create a device domain name following specific criteria.
Explains EZVIZ cloud usage, which bypasses port forwarding for secure remote access.
Overview of the camera setup screen, including options to add, delete, and edit cameras.
Steps to add, delete, and configure IP camera settings like IP address and name.
Guides users on setting up recording schedules, differentiating between continuous and event recording.
Explains the color coding (Blue for Continuous, Yellow for Event) used in the recording schedule calendar.
Details the steps to configure motion recording by selecting event mode and applying the schedule.
Explains how to copy a configured recording schedule to other cameras for efficiency.
Guides users on configuring motion detection settings, including sensitivity and detection areas.
Details how to adjust motion detection sensitivity and define motion detection areas on the screen.
Details how to set recording resolution, frame rate, and bitrate for main and substreams.
Explains the difference between Continuous recording mode and Event recording mode.
Provides detailed explanations of various recording parameters like resolution, bitrate, frame rate, and audio.
Offers a table with recommended resolution, video quality, frame rate, and bitrate settings.
Details the setup of the Sub Stream for mobile devices and multi-camera local output, noting 4CIF limit.
Introduces the iVMS-4500 mobile application for accessing HikVision devices and initial launch steps.
Guides on navigating the app to add a device, entering information like IP/Domain and credentials.
Explains the selection of register mode, recommending HiDDNS when free HikVision DDNS is used.
Details setting the device domain, camera number, and saving the device information in the mobile app.
Explains how to initiate the live view stream for cameras after configuring the device in the mobile app.
Details the playback interface, including selecting cameras, dates, times, and controlling playback.
Step-by-step guide on how to select a camera, date, and time to view recorded video.
Details how to select saved clips, export them to a USB device, and merge clips from the same camera.