DS-7600 Series NVR User Manual
53
8) Click the Apply button to save the settings.
9) Click OK to exit.
• Draw the Schedule
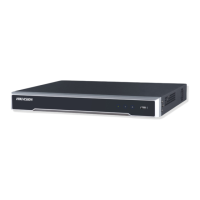
1) Click to select a recording type. None means no recording.
2) Use the mouse to drag and draw time periods in the assigned area. The minimum time unit is one hour. Up to eight
discontinuous periods can be configured for each day.
3) Click the Apply button to save the settings or click to exit without saving.
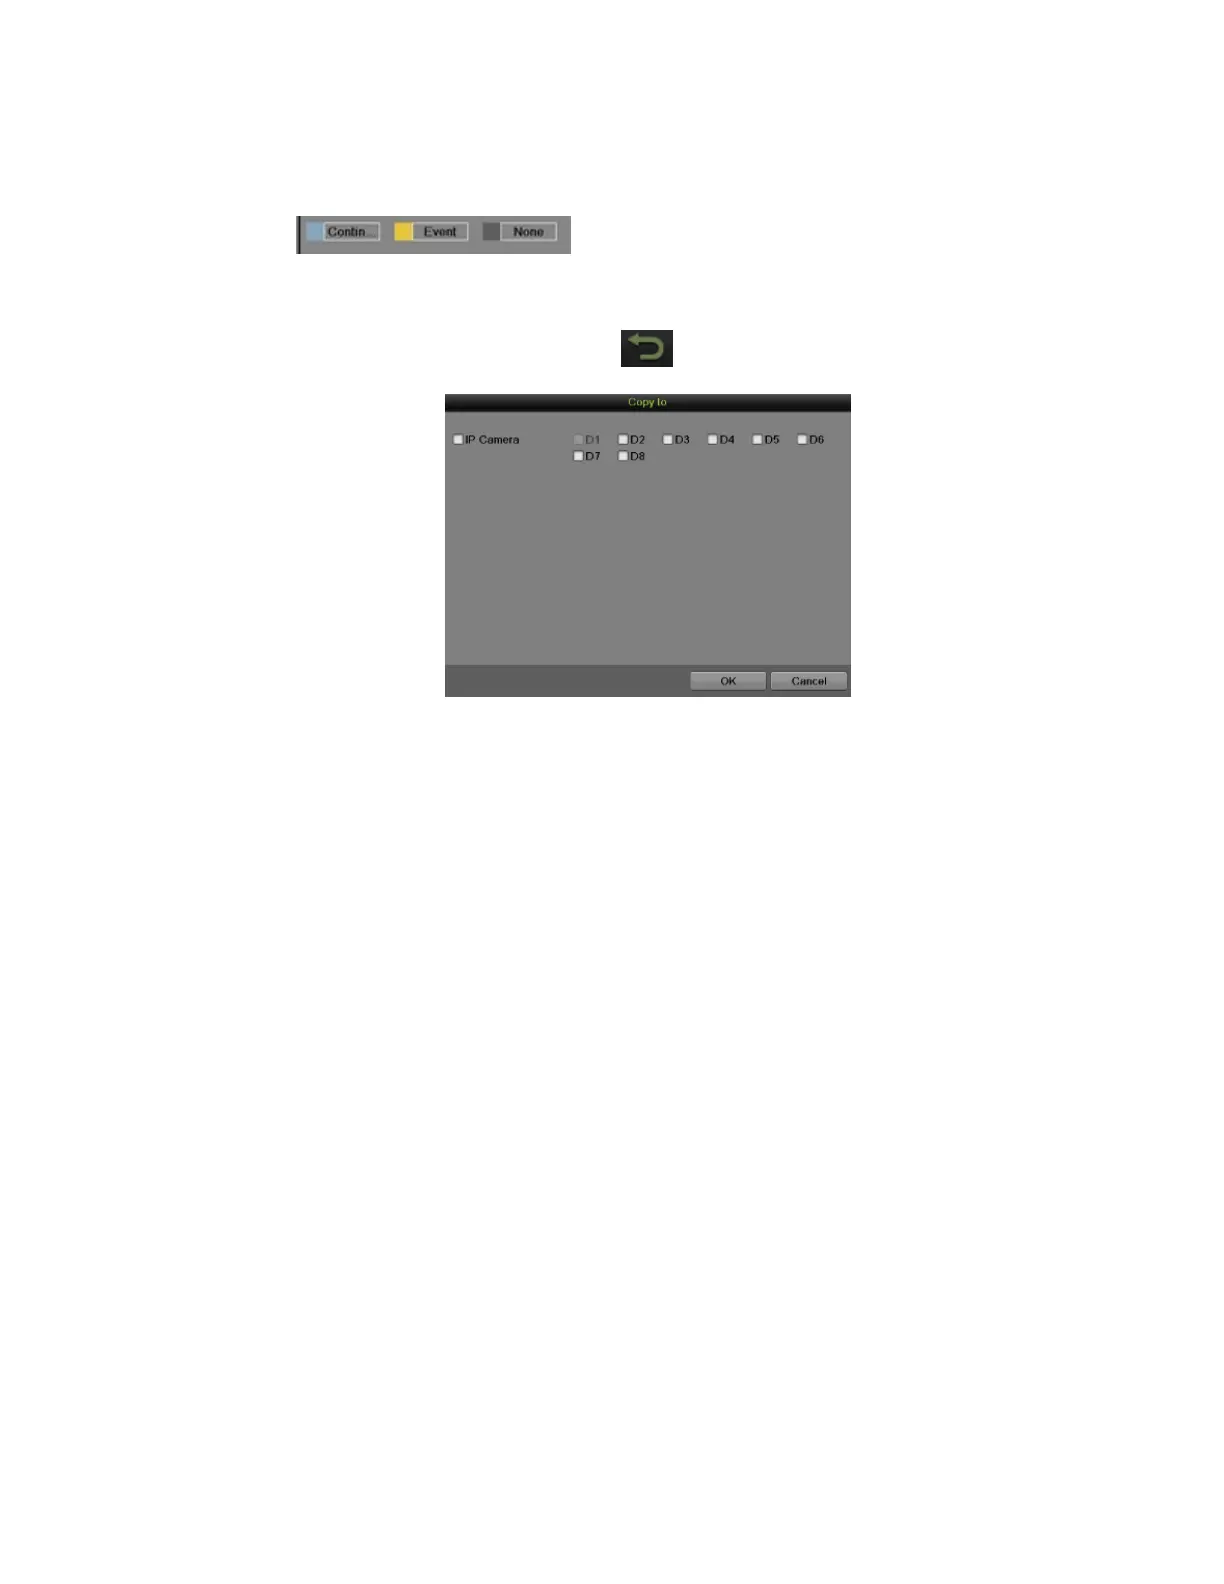
Figure 62, Copy Schedule to Other Channels
4) Repeat the above steps to set record schedule for other channels. If the same schedule can be applied to other channels,
click the Copy button to pop up a Copy to window, as shown in Figure 62.
5) Check the corresponding checkbox of other channels to copy the record schedule to.
6) Click the OK button to save the setting and back to upper level menu or click the Cancel button to back without saving.
7) Click the Apply button to save the settings.
NOTE: Enabling Start Recording in the Display Menu will also create a schedule in Schedule Configuration. It will start all-
day, continue, or event recording for all channels.
Configuring Holiday Settings
You may want to have a different schedule for recording on holiday. Follow the steps to configure the holiday settings.
 Loading...