Notes:
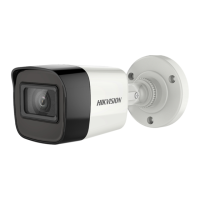
In the supplied screw package, both self-tapping screws, and
expansion bolts are contained.
If the ceiling is cement, expansion bolts are required to fix the
camera. If the ceiling is wooden, self-tapping screws are
required.
Figure 2-4 Fix the Mounting Base
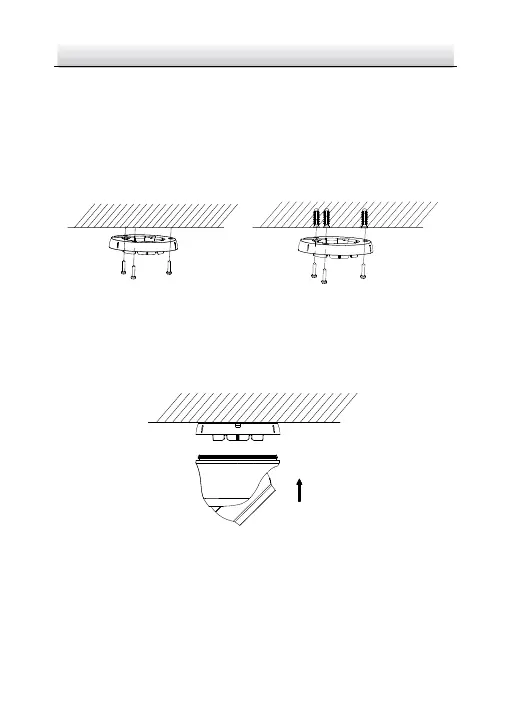
5. Route the cables through the cable hole or the side opening.
6. Install the camera body back to the mounting base.
Figure 2-5 Install the Camera Body
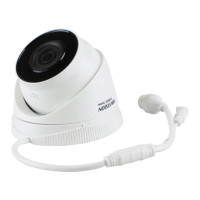
7. Connect the power cord and network cable.
8. Power on the camera, and set the network configuration (for
details, refer to 3 Activate and Access Network Camera) to check
 Loading...