ASSEMBLY INSTRUCTIONS
Before beginning assembly of product, make sure all parts are present. Compare
parts with package contents list and hardware contents list. If any part is missing or
damaged, do not aempt to assemble the product.
Assembly p! (Please lightly ghten the screws during assembly of the cart. When
the cart is completed THEN TIGHTEN ALL THE screws. This will make it easier to
align the holes properly)
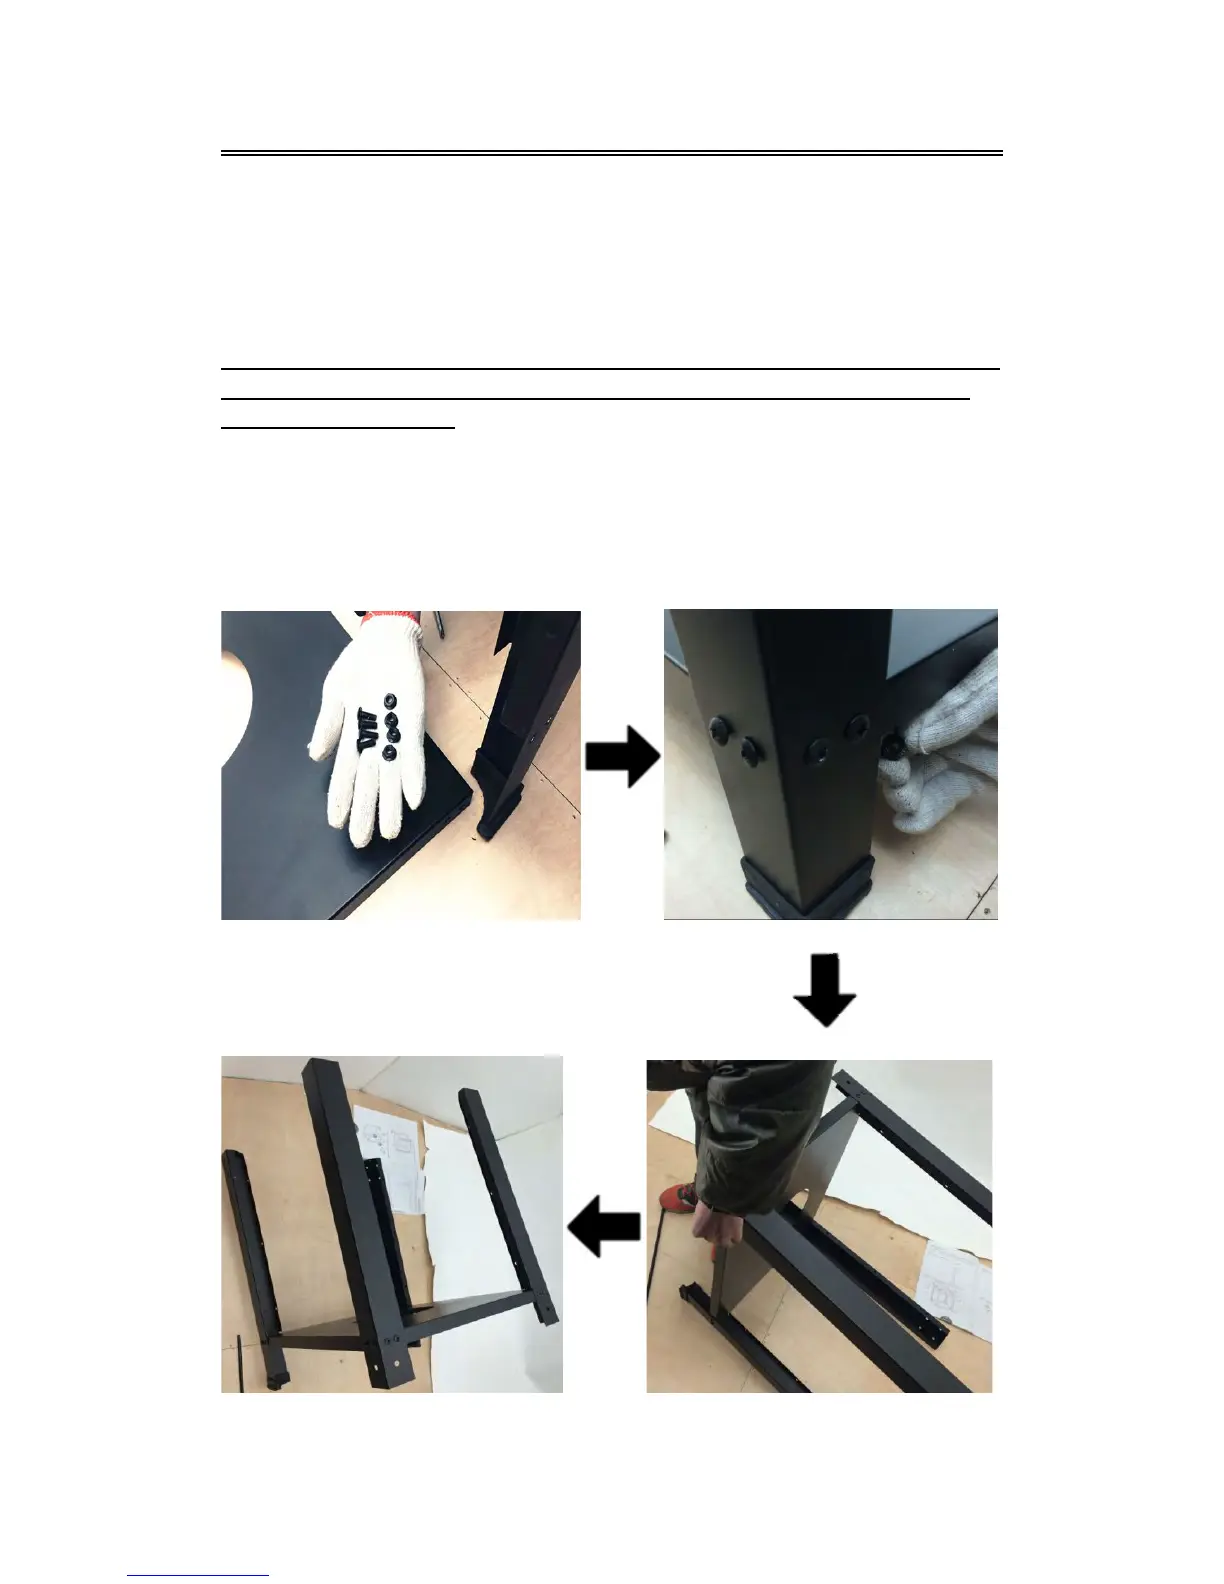
STEP 1
Use 16 M6*10 Screws and 16 M6 nuts to aach the 4 Legs to the Cart boom
plate as shown.
Put 2 Rubber feet on le legs.
7