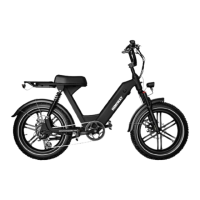
◆ Front Fender Installation (Extra Tool: 3mm Wrench)
Loosen the bolt on the fork brace. Align the bolt holes of the front fender with the
hole on the fork brace, then reinsert the bolt through all holes and tighten the bolt
with a 10mm wrench and a hex wrench.
Step 1:
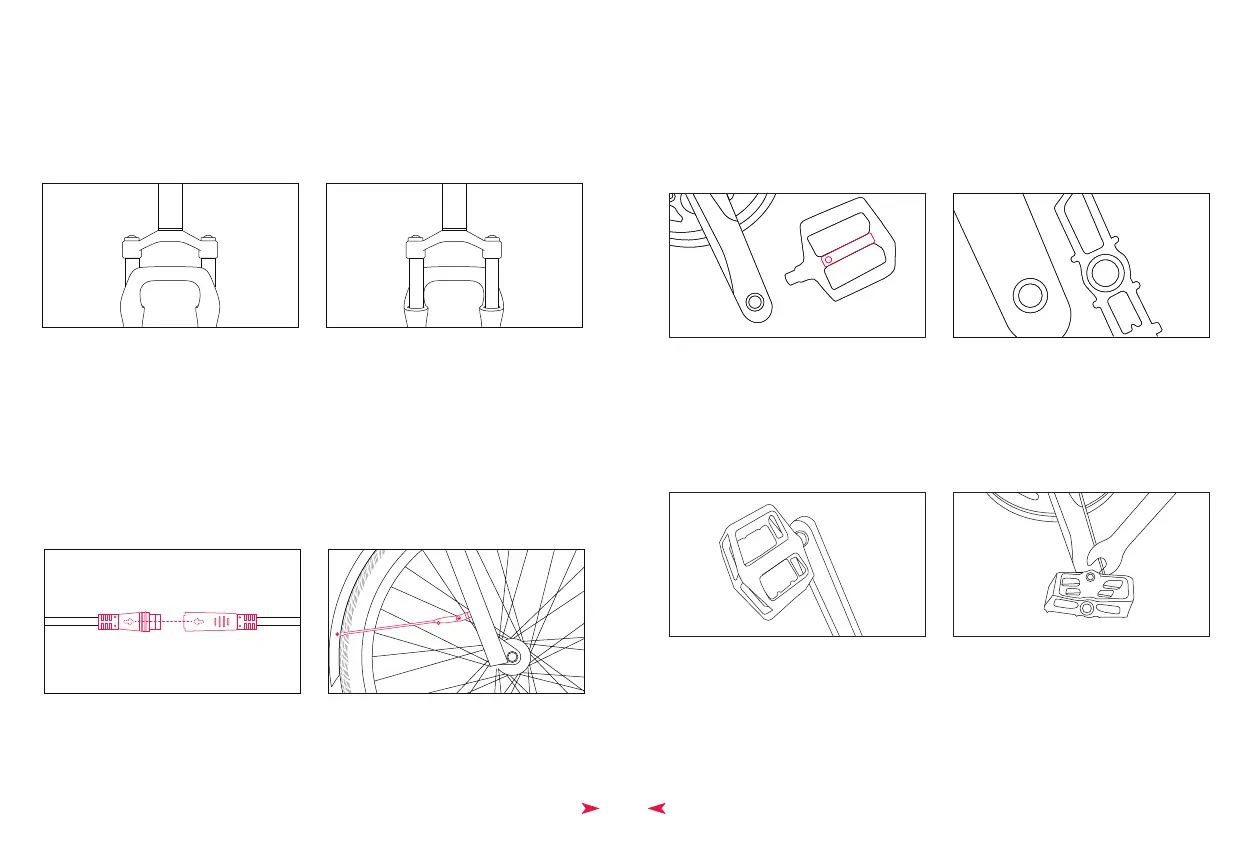
Connect the light wire connectors together. Pay careful attention to the arrows
on the wire connectors, making sure the arrows align with each other to avoid
damaging the interior circuitry.
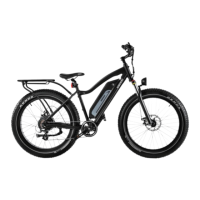
Loosen the bolts on the two brackets on either side of the front fork, as shown in
the image. Then pull one end of the fender brace until the loop at the end is
centered in the bracket, reinsert the bolt through the loop at the end of the brace,
and tighten completely. Repeat on the other side.
Step 2:
Step 3:
Before you install the pedals, apply a small amount of waterproof grease onto the
spindle. Start threading the pedal on by hand to ensure the pedal is going in perfectly
straight, rotating in the direction of the pointer shown on the crank. If it is not spinning
smoothly, make doubly sure that you have the correct left or right pedal. After initial
hand-tightening, finish tightening the pedals with a standard 15mm wrench .
◆ Pedals Installation (15mm wrench)
Make sure your pedals are installed on the correct side, as installing on the wrong side
will damage the threads. Indicators for the right pedal (R) and the left pedal (L) can be
found in two places: the stickers on the plastic cover, and the bottom of the pedal
threads.
R
WR
9
FRONT BACK
Step 1:
R
WR
 Loading...