English
22
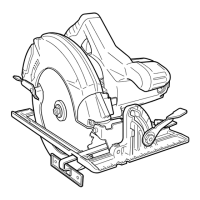
2. Power switch
Ensure that the power switch is in the OFF position.
If the plug is connected to a receptacle while the
power switch is in the ON position, the power tool
will start operating immediately, which could cause
a serious accident.
3. Extension cord
When the work area is removed from the power
source, use an extension cord of suffi cient
thickness and rated capacity. The extension cord
should be kept as short as practicable.
4. Prepare a wooden workbench (Fig. 1)
Since the saw blade will extend beyond the
lower surface of the lumber, place the lumber
on a workbench when cutting. If a square block
is utilized as a workbench, select level ground
to ensure it is properly stabilized. An unstable
workbench will result in hazardous operation.
5. When using the side handle (Fig. 2)
Securely attach the side handle to the base with
the two fl at head screws (M6 × 16) when using
the side handle.
CAUTION
To avoid possible accident, always ensure that the portion of lumber remaining
after cutting is securely anchored or held in position.
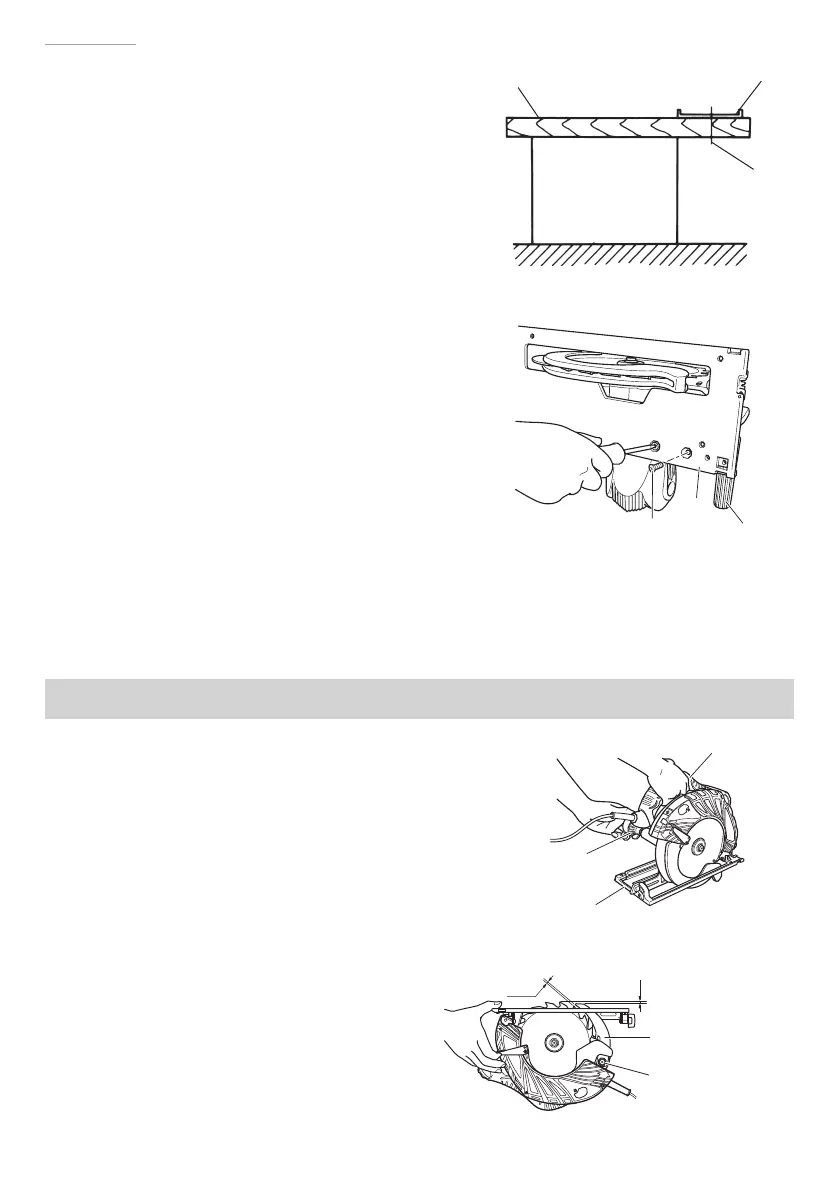
ADJUSTING THE SAW PRIOR TO USE
1. Adjusting the cutting depth
As shown in Fig. 3, hold the handle with one hand
while loosening the knob with the other.
The cutting depth can be adjusted by moving the base
to the desired position. In such manner adjust the
cutting depth and then securely retighten the knob.
2. Adjusting the riving knife
Loosen the hexagonal - socket bolt used to clamp the
riving knife, adjust the riving knife so that the distance
between the riving knife and the rim of the
blade is not more than 3 mm, and the rim of
the blade does not extend more than 3 mm
beyond the lowest edge of the riving knife
(Fig. 4) and securely retighten the bolt.
Flat hd. screw M6 × 16
Base
Side handle
Fig. 2
Lumber
Base
Saw blade
Workbench
Fig. 1
Handle
Knob
Base
Fig. 3
Max. 3mm
Max. 3mm
Riving knife
Hexagonal-socket
bolt
Fig. 4
000BookC9U2ChS.indb22000BookC9U2ChS.indb22 2017/04/0516:49:222017/04/0516:49:22

 Loading...