6
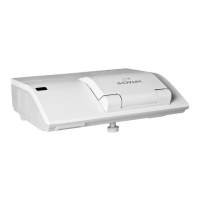
5. Using the security bar and slot
This projector has the security bar for a
commercial anti-theft chain or wire up to 10 mm
in diameter, and also the security slot for the
.HQVLQJWRQORFN
For details, see the manual of the security tool.
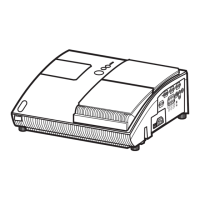
Security slot
Security bar
NOTE
7KHVHDUHQRWSURYLGHGDVFRPSUHKHQVLYHWKHIW
preventions but supplemental measures.
WARNING
Ŷ'RQRWSODFHWKHDQWLWKHIWFKDLQRUZLUHQHDUWKHSURMHFWRU¶VH[KDXVWYHQWVVLQFHWKH
FKDLQRUZLUHKHDWHGE\WKHKRWH[KDXVWJDVPD\FDXVHDEXUQ
Ŷ'RQRWXVHWKHVHFXULW\EDURUVORWIRUWKHSXUSRVHRIIDOOSUHYHQWLRQVLQFHWKHVHDUH
not designed for it.
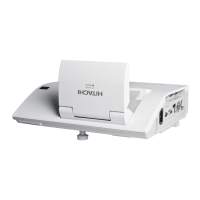
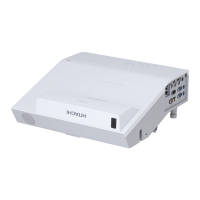
6. Using the cable cover
Utilize the cable cover as the guard and blind for the connecting parts.
1.
Connect the signal cables and the
power cord to the projector first.
2.
Attach the cable cover to the
projector, uniting the interlocking
parts.
3.
7LJKWHQWKHVFUHZWRIL[WKHFDEOH
cover.
4.
Connect the other ends of the cables
to other devices, and plug the power
cord to the power outlet.
Cable cover
Screw
Interlocking parts
Screw driver
CATION
Ŷ%HFDUHIXOQRWWRSLQFKWKHFDEOHVLQWKHFDEOHFRYHUWRSUHYHQWGDPDJHWRWKHFDEOHV
 Loading...