6
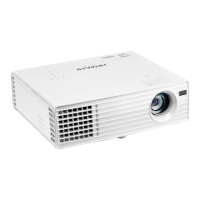
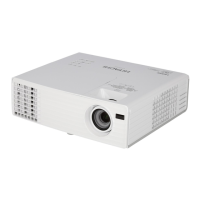
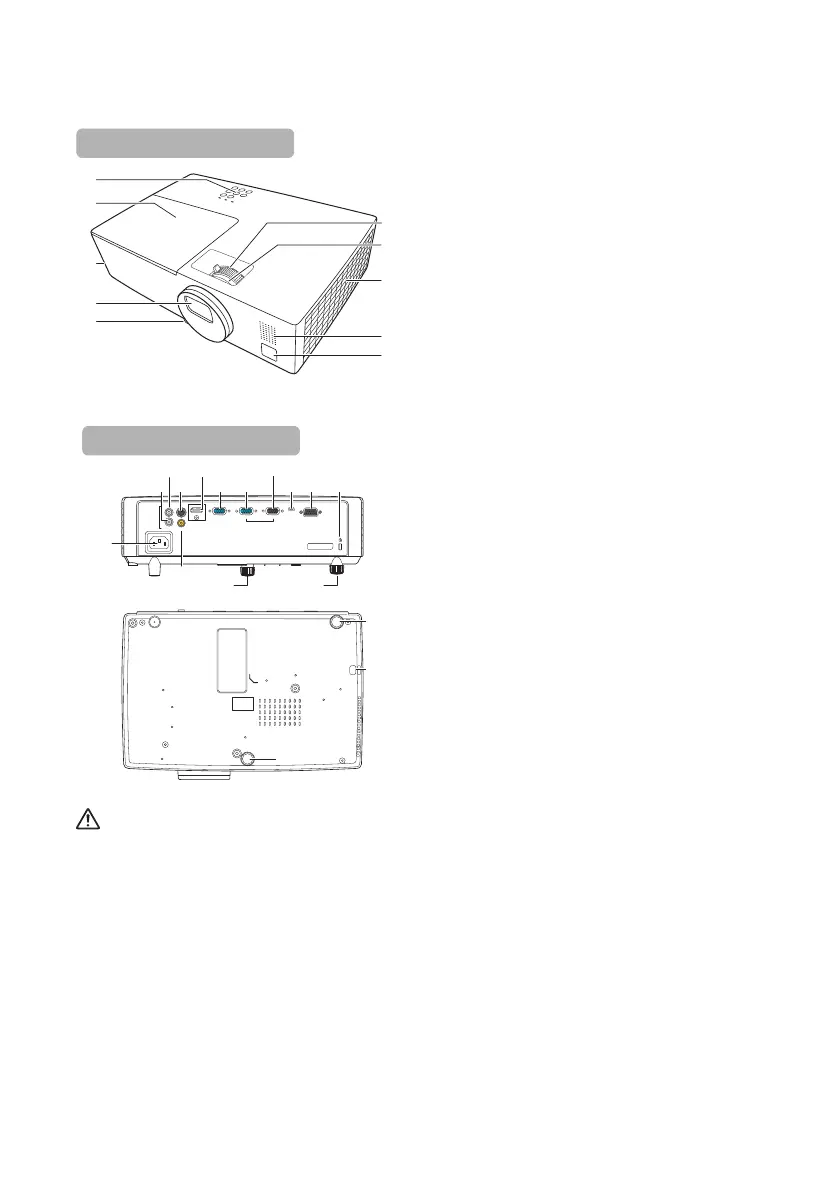
Projector exterior view
1. Control panel
(See "Control panel" on page 7 for
details.)
2. Lamp cover
3. Vent (heated air exhaust)
4. Projection lens
5. Front elevator foot
6. Zoom ring
7. Focus ring
8. Vent (cool air intake)
9. Speaker
10. Front IR remote sensor
11. AC power cord inlet
12. AUDIO OUT port
13. AUDIO IN port
14. S-VIDEO port
15. VIDEO port
16. HDMI port
17. COMPUTER IN2 port
18. COMPUTER IN1 port
19. MONITOR OUT port
20. SERVICE port
21. CONTROL port
22. Security lock slot
23. Rear elevator foot
24. Name tag bar
WARNING
• THIS APPARATUS MUST BE EARTHED.
• When installing the unit, incorporate a readily accessible disconnect device in the fixed wiring,
or connect the power plug to an easily accessible socket-outlet near the unit. If a fault should
occur during operation of the unit, operate the disconnect device to switch the power supply
off, or disconnect the power plug.
AUDIO IN
AUDIO OUT
S-VIDEO
VIDEO
HDMI
COMPUTER IN2
COMPUTER IN1
SERVICE
CONTROL
MONITOR OUT(1 ONLY)
12 14
15
17 18
19
20 21 22
13 16
11
5
23
5
23
24
 Loading...