-12-
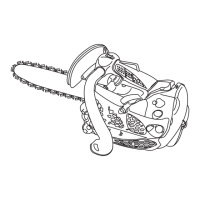
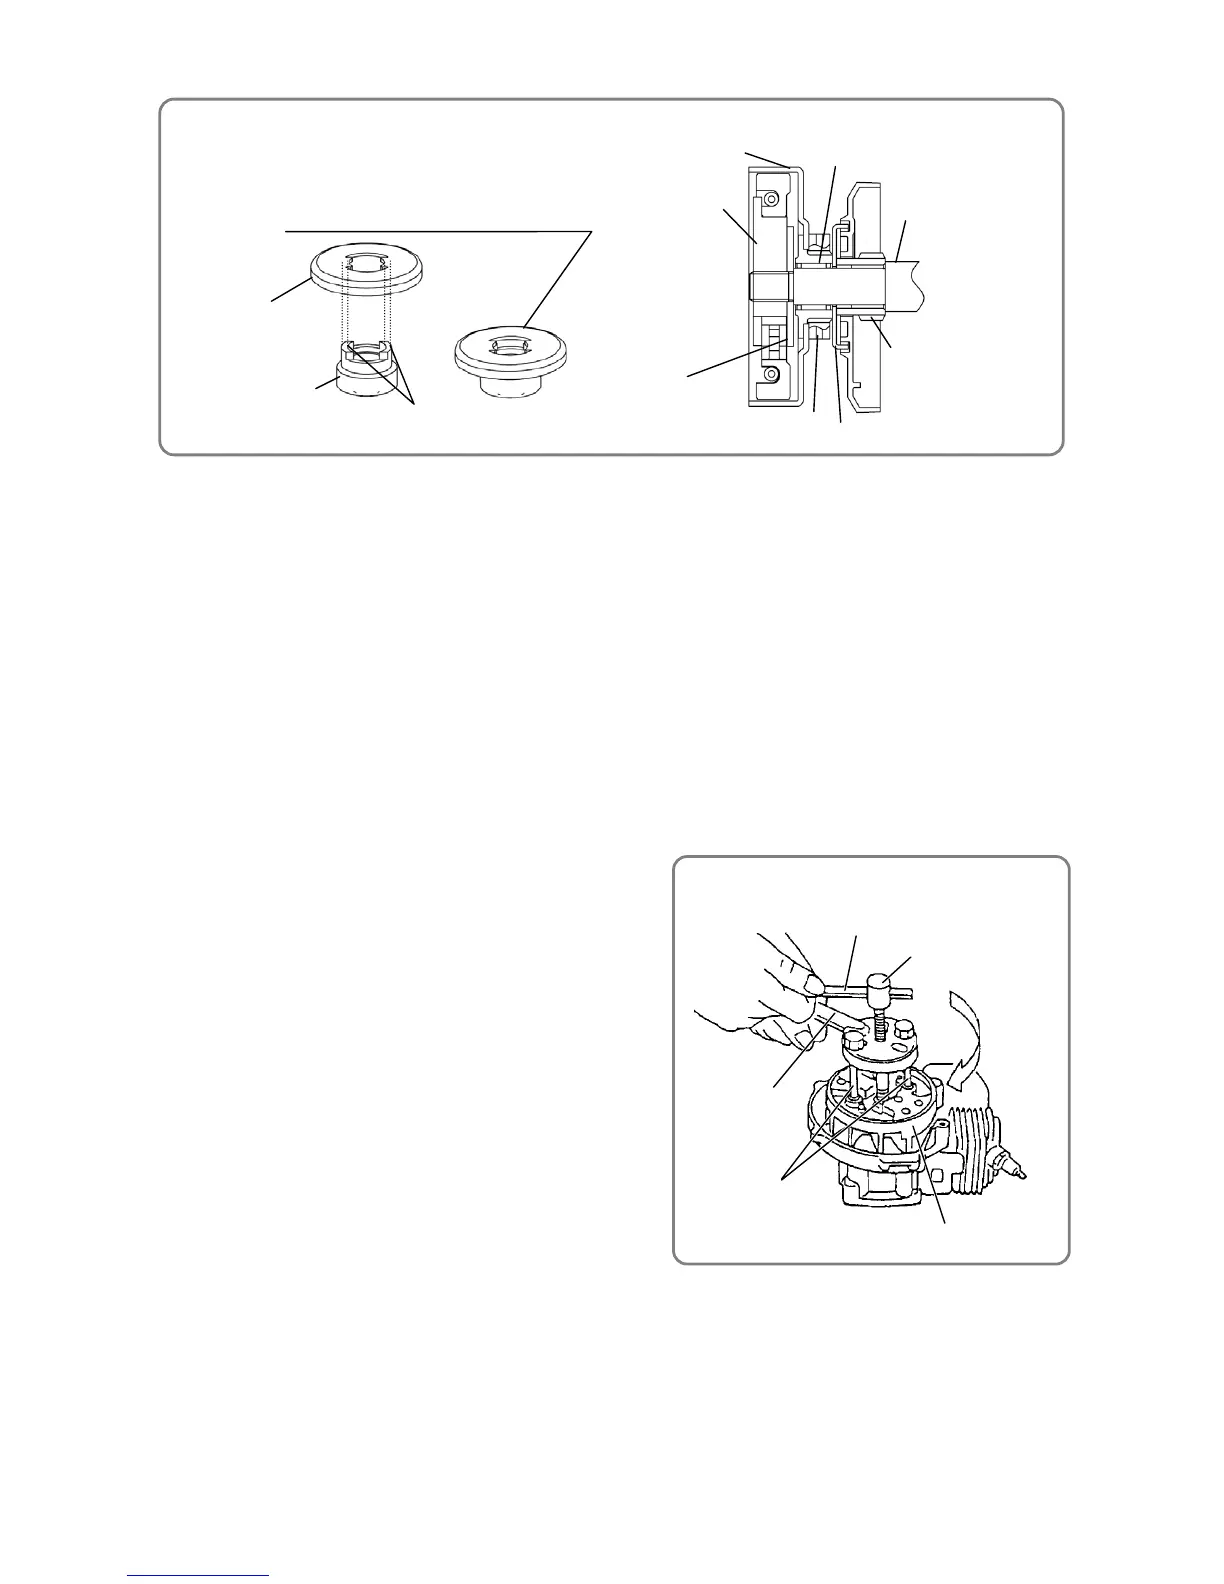
Ɣ Mounting the clutch washer
Clutch Washer [136]
Worm [138]
Rim Sprocket [135]
Needle Bearing [134]
Clutch Housing [133]
Clutch [131]
Clutch Washer (B) [132]
Crank Shaft [83]
Clutch Washer [136]
Worm [138]
Place the Clutch Washer [136] on the protrusion
of the Worm [138] before assembly.
Protrusions
6. Disassembly and reassembly of the magneto rotor
[Tools required]
Ɣ J-363 jig (No.6694822) (8 x 120 handle)
Ɣ J-357 (No.6695737) (center bolt)
Ɣ J-356 jig (No.6695736) (complete rotor extraction tool)
Ɣ J-365 jig (No.6695739) (stepped bolt 5 mm)
Ɣ Socket wrenches (10 mm and 13 mm)
Ɣ M8 nut
(1) Disassembly
Ɣ Use a 10-mm socket wrench to remove the two Step Bolts [174]. Then remove the two Shims [173],
two Starter Pawls [172], two Starter Pawl Springs [170], and two Washers 0.8 [171].
Ɣ Use a 13-mm socket wrench to remove Flange Nut M8 [112].
Ɣ With the screw end face of the Crank Shaft [83] made
flush with the upper face of a commercially available
M8 nut, rotate the J-363 jig (8 x 120 handle) in the
arrow direction and tighten the J-357 jig (center bolt)
as shown in the illustration on the right. Then remove
the Magneto Rotor [169].
(2) Reassembly
Reassembly can be conducted by reversing the
disassembly procedure. However, special attention
should be given to the following items.
Ɣ Before mounting the Magneto Rotor [169], degrease
the tapered section of the Magneto Rotor [169], as
well as the threads and tapered section of the Crank
Shaft [83].
Ɣ When removing the Magneto Rotor [169] or Ignition
Coil [166], adjust the clearance between the Magneto
Rotor [169] and Ignition Coil [166] as per “7.
Adjustment of clearance between the magneto rotor
and ignition coil.”
Ɣ After reassembly, check the operation of the Starter Pawl [172].
J-363 jig (8 x 120 handle)
J-357 (center bolt)
Magneto Rotor [169]
J-356 jig
(complete rotor
extraction tool
 Loading...