Page 3 of 3
Last edited: 14 August 2020
o Note: It is recommended to scan first using Scan 2 at Slow4 or 5 before capturing
the image
o You may check the capture settings under Menu
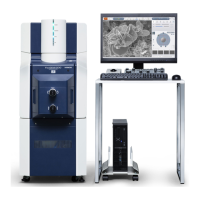
Shutting Down
• Once imaging is completed, select the STOP button at the top left corner to turn off the
electron beam
• Select Specimen exchange button once it becomes available and allow time for the SEM to
fully vent the chamber with air
• Once the chamber has finished processing air, open the airlock door, and using gloves,
remove the sample holder from the stage
• Insert the airlock door until it is “locked” and a small gap remains in the door
o Note: If you are using the tilt holder, ensure that stage Z direction position must be
reset to ~23.0mm before closing the airlock door
• Press the illuminated EVAC/AIR button on the front of the SEM
• Once the microscope has established a vacuum, exit the SEM software
• Turn off the power switch at the side of the SEM, and turn off the main switch mounted on
the wall for the SEM
• Transfer your data, and complete the sign-up sheet