Installation procedure :
1. Remove the sticker from the front panel.
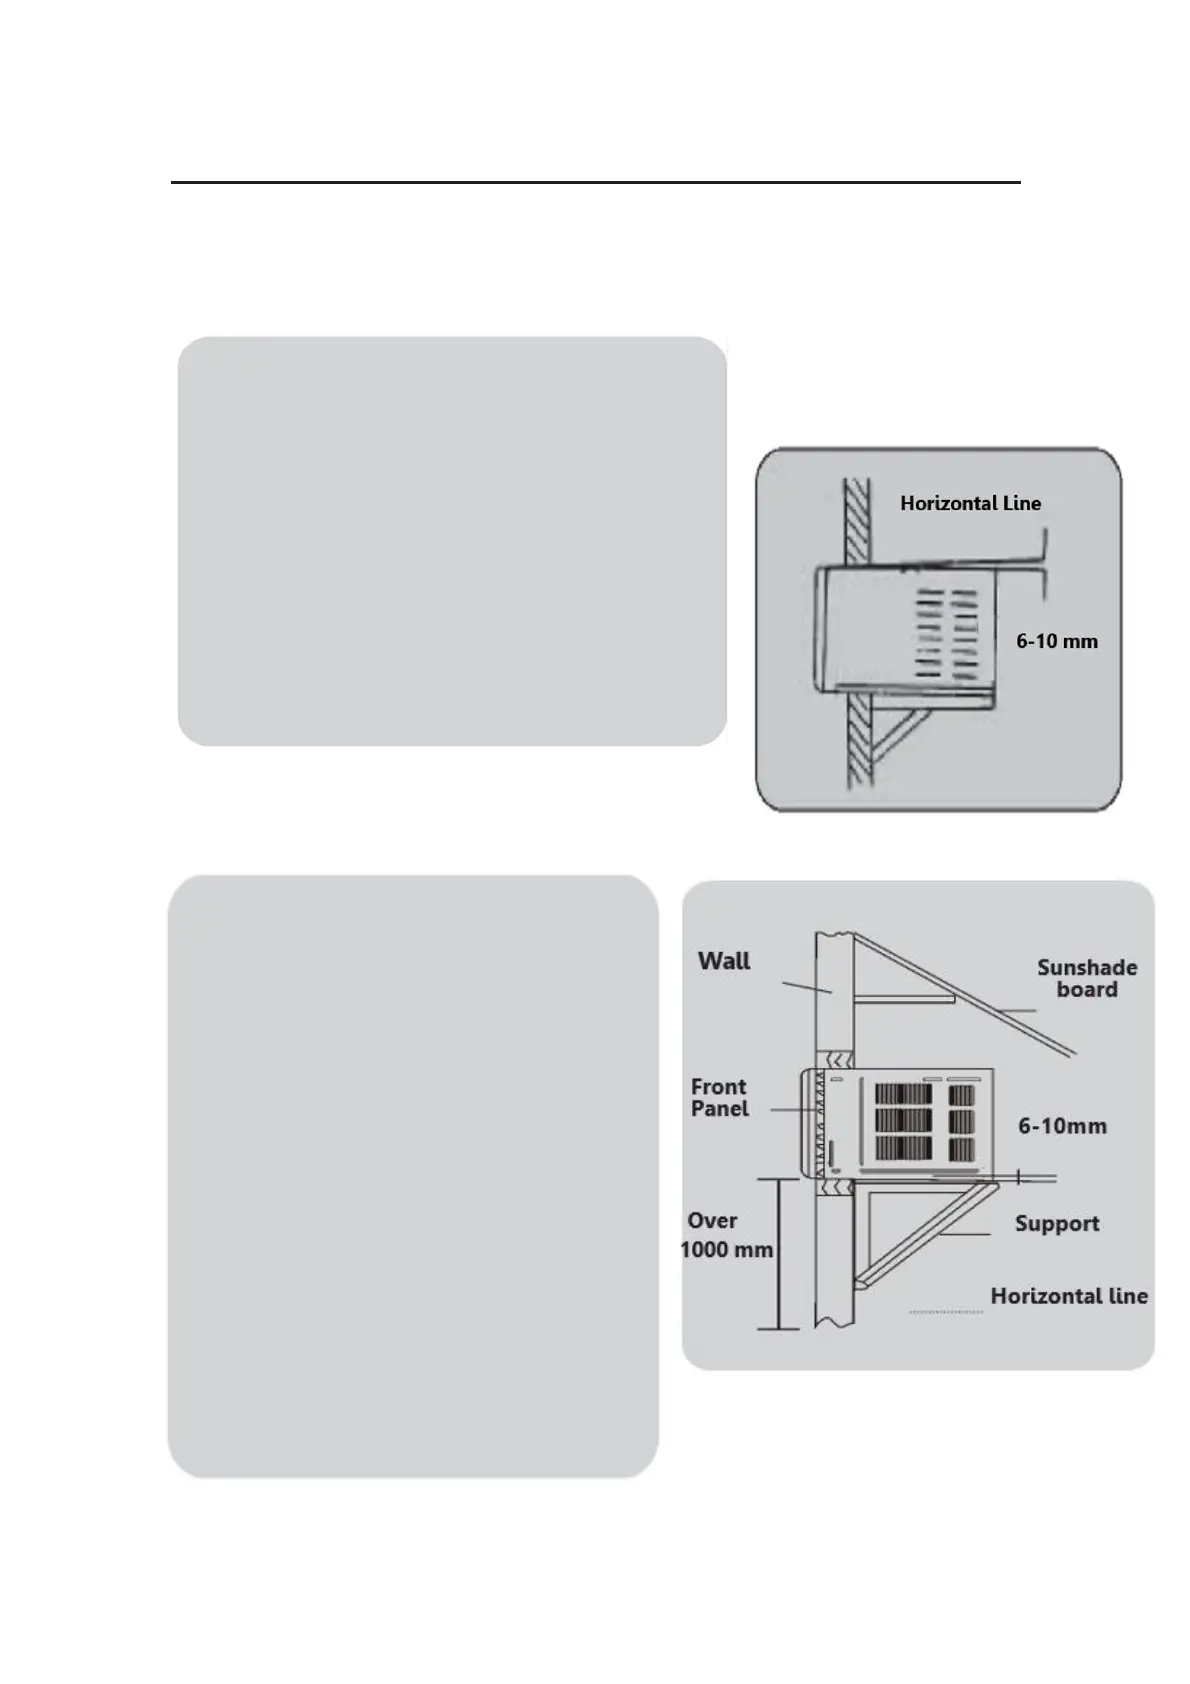
2. Put the unit into the installation hole.
When installing the unit, it should slant
down to the back to make sure the
condensation water can be drained away
easily. (Slant about 6-10mm) (Shown at
right figure.)
3. The installation place should be strong
enough to avoid the enlargement of noise
or vibration.
4. Fill up sews in the cabinet with sealant.
Installation assistance :
• Use iron support
The installation hole should be strong
enough to support the air conditioner.
If it cannot, iron support has to be
used in outdoors. Iron support should
be fixed on the building (Shown at
right figure.)
● Use sunshade board
Air conditioner should avoid anything
to be dropped onto it and avoid direct
sunlight. If there is no cover on it, you
should contact the seller for installing
the sunshade board. When installing
the sunshade board, don’t let it block
the air inlet at the side grille.
 Loading...