2
2
UNITS INSTALLATION
2.1. UNIT INSTALLATION
2.1.1. FACTORY-SUPPLIED ACCESSORIES
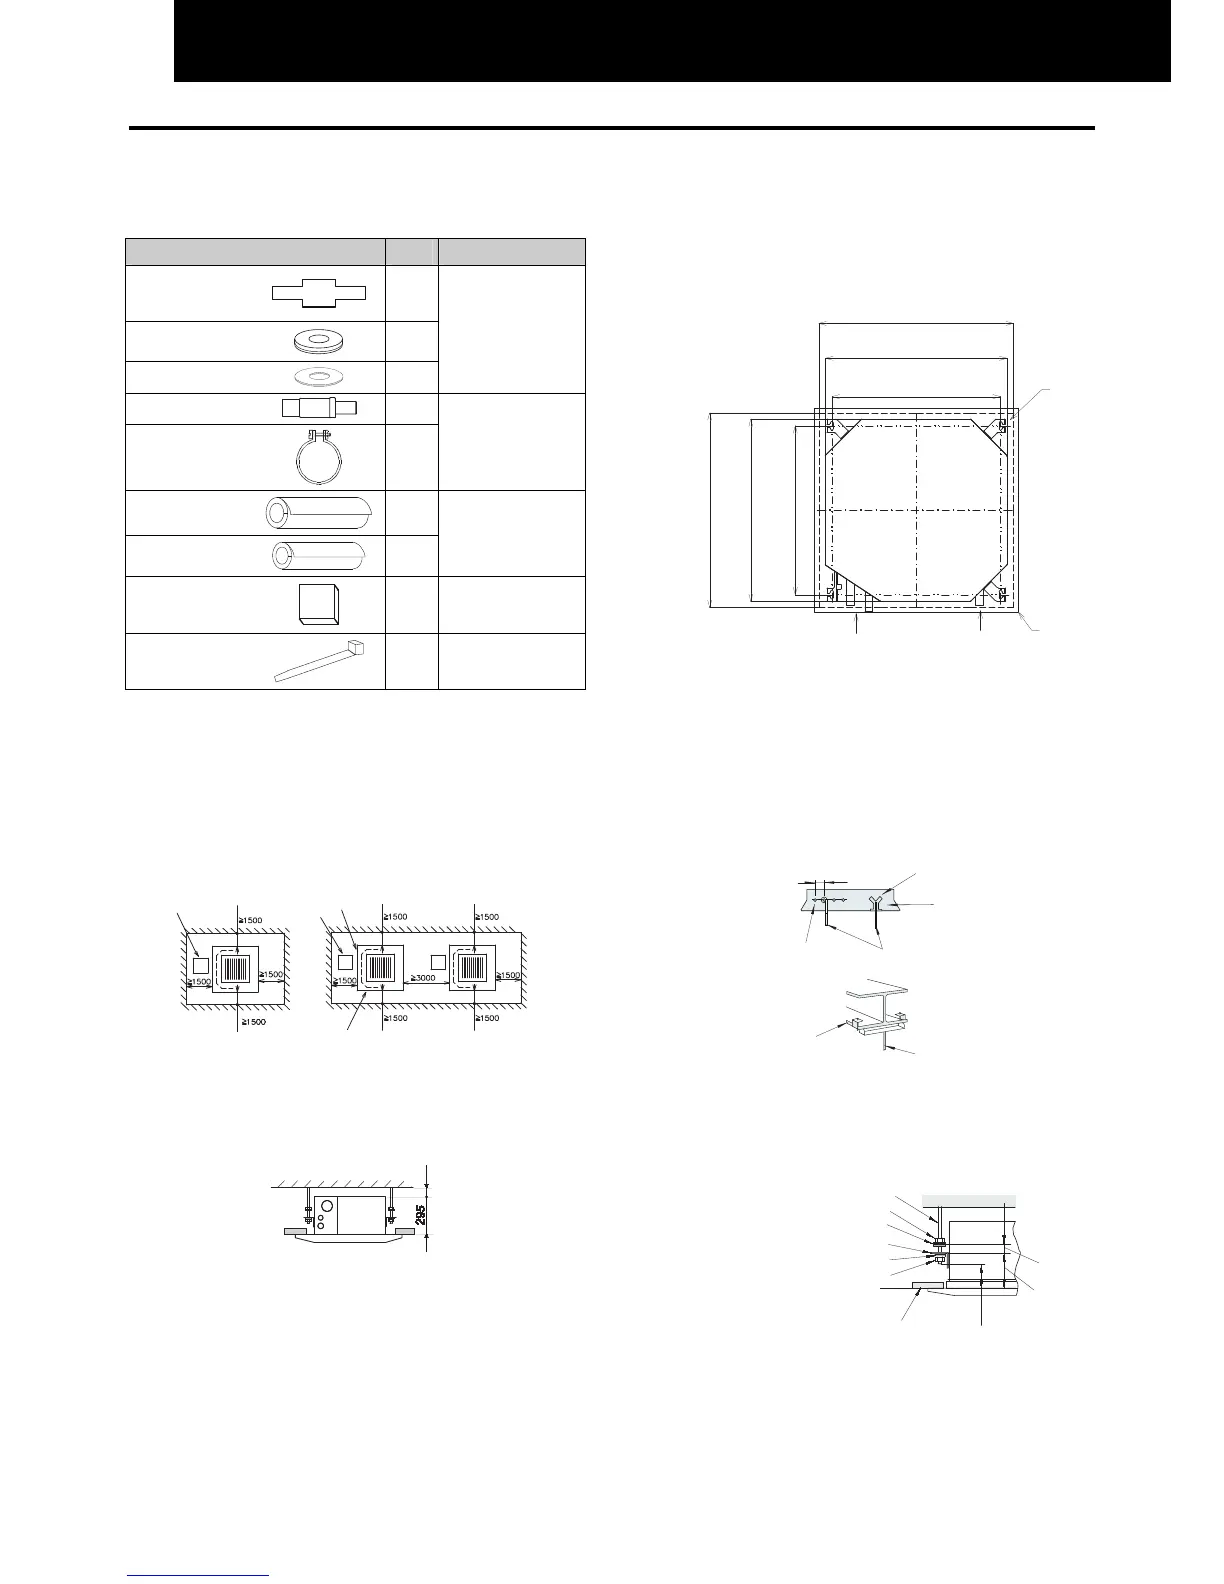
Accessory Qty. Purpose
Checking Scale
(Cut out from
Carton Board)
1
Flat Washer with
insulation (M10)
4
Washer (M10)
4
For Unit Installation
Drain Hose
1
Wire Clamp
1
For Drain Hose
Connection
Insulation
(Big Size)
1
Insulation
(Small Size)
1
For Refrigerant
Piping
Connection
Insulation (5t)
1
For Drain Hose
Insulation
Band
6
For Fixing
Refrigerant
Piping Insulation
2.1.2. INITIAL CHECK
- Install the indoor unit with a proper clearance around it
paying careful attention of installation direction for the
piping, wiring and maintenance working space, as shown
below.
- Provide a service access door near the unit piping
connection area on the ceiling.
(mm)
- Check space between ceiling and false ceiling is enough
as indicated below.
- Check the ceiling surface is flat for the air panel
installation work.
(mm)
-
Check down slope Pitch of Drain Piping is following the
specifications indicated in Drain Piping Chapter.
False Ceiling Opening
- Cut out the area for the indoor unit in the false ceiling
and install suspension bolts, as shown below:
- Check to ensure that the ceiling is horizontally level,
otherwise drain water can not flow.
- Strengthen the opening parts of the false ceiling.
2.1.3. INSTALLATION
Mounting of Suspension Bolts
- Mount the suspension bolts, as shown.
For concrete slab:
For steel beam:
Mounting of Indoor Unit
- Mount the nuts and the washers to the suspension bolts.
Put the washer so that the surface with insulation faces
downwards as shown below:
- Consider piping connection side before lift indoor unit.
- Lift the indoor unit by hoist, and do not put any force on
the drain pain.
- Secure the indoor unit using the nuts and washers.
Dimension of Suspension
Bolts: 530
4-Positions of
Suspension Bolts
Dimension of Opening: 660
Piping Connection Side
Drain Piping
Connection Side
Optional Panel
150 to 160mm
Insert (100 to 150Kg)
I Concrete
nchor Bolt (W3/8 or M10)
Steel
I-Beam
Suspension Bolt
(W3/8 or M10)
Unit size: 570
Dimension of Opening: 660
Unit size: 570
Dimension of Suspension
Bolts: 530
(mm)
Suspension Bolts (Field-Supplied)
Nut (Field-Supplied)
Washer with insulation (Accessory)
Washer (Accessory)
Nut (Field-Supplied)
Suspension Bracket (Attached Indoor Unit)
Surface of Ceiling
(mm)
Aprox. 50
 Loading...


