5.2 SYSTEM WIRING DIAGRAM
Connect the indoor unit according to the following electric diagram:
A Main outdoor unit F Fuse (Field supplied)
A1 Secondary outdoor unit G Remote control
B
Service wiring (shielded twisted pair cable or shielded pair cable),
5 Vdc non-polarity H-LINK (supplied by the tter)
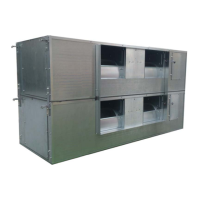
H Indoor unit RPI-(16.0/20.0)FSN3PE
C Distribution box (Field supplied). I Other Indoor unit system
D Terminal Boards (TB1,TB2) CB Circuit breaker (Field supplied)
E
Service wiring (shielded twisted pair cable or shielded pair cable)
(supplied by the tter)
ELB Earth leakage circuit breaker (Field supplied)
1a9+]
RPI-(16.0/20.0)FSN3PE
5.3 POWER AND TRANSMISSION WIRING CONNECTION PROCEDURE
The service panel for the electrical box is provided at the side of the unit as shown below.
Wiring
holes
Service panel for
electrical box
The electrical connection (power source, indoor and outdoor com-
munication and remote control switch) shall be performed only in
one electrical box. Procedures as follows:
1 Connect the power supply and ground wires to the terminal
board in the electrical box.
2 Connect the wires between the indoor unit and the outdoor unit
to the terminals 1 and 2 in the electrical box.
3 Connect the cable of the Remote Control Switch to the termi-
nals A and B in electrical box.
4 Tightly x the wires by the Packing Glands.
5 Seal the wiring connection hole after running the cables with
the seal material (cover plate) to protect the unit from conden-
sed water and insects.
Remote Control
(PC-ART)
Transmission
Wires
Earth Screw
Power supply wires
(Single phase)
 Loading...


