– 2 –
Slicers with Feed-Screw Mechanism
For models 1712R, 1712RE, 1912R only.
WARNING: TURN SLICER OFF BEFORE ASSEMBLING FOOD CHUTE.
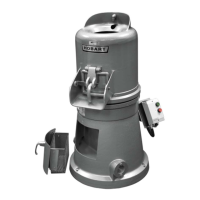
1. Turn the Knurled Knob on the Adjusting Screw
clockwise to move the Actuating Block all the
way to the front (Fig. 4).
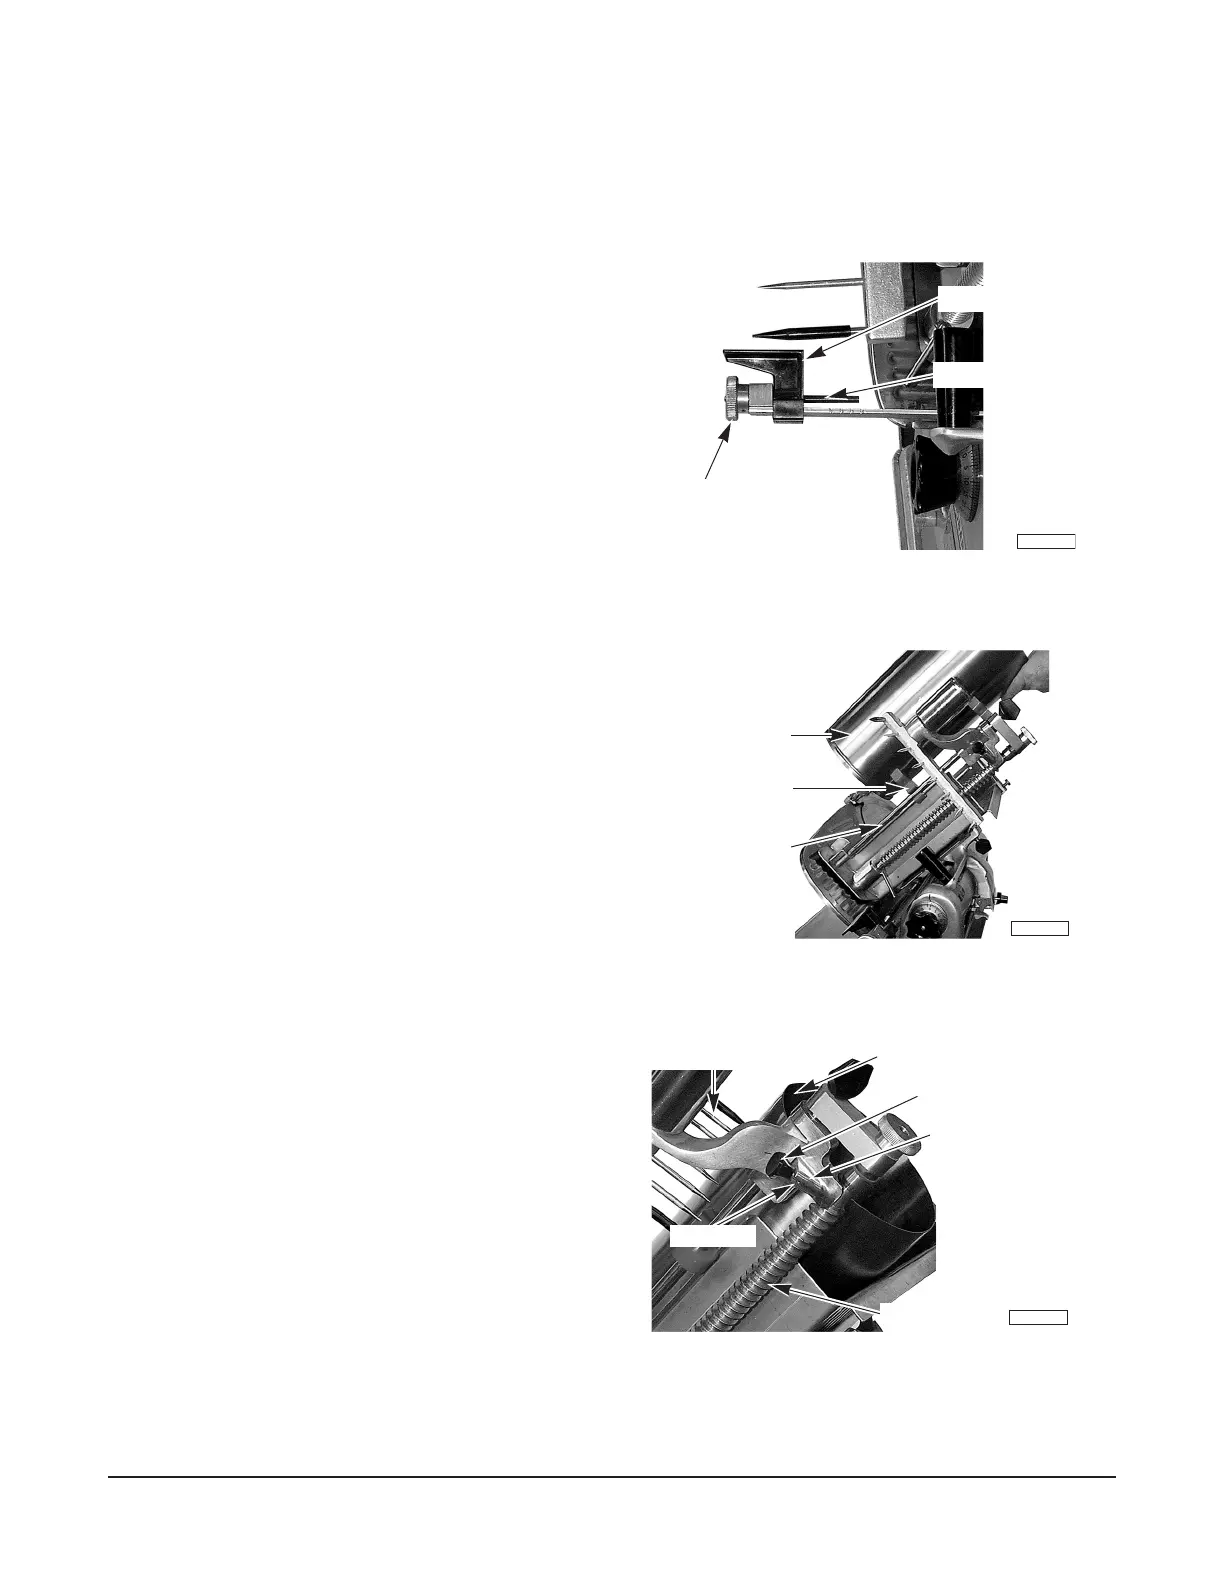
2. Assemble the Food Chute so the first Hanger
fits around the Front Meat Grip Slide Rod
(Fig. 5). Slide the Food Chute and first
Hanger down the Front Meat Grip Slide Rod
and fit the second Hanger around the Rod.
With both Food Chute Hangers in place around
the Slide Rod, lower the Food Chute to the
Carriage Tray.
3. Turn the Prongs of the Meat Grip toward the
Food Chute. Position the Pin on the Plunger
Knob shaft in the slot on the Plunger Housing
with the Meat Grip positioned at the top of the
Feed Screw (Fig. 6).
FORM 33999 Rev. A (06-06) PRINTED IN U.S.A.
Fig. 4
Fig. 5
Fig. 6
PL-41132-1
ACTUATING BLOCK
ADJUSTING SCREW
KNURLED KNOB
PL-41133-1
HANGER
FRONT MEAT GRIP
SLIDE ROD
FOOD CHUTE
PL-41134-1
FOOD CHUTE
PLUNGER KNOB
FEED SCREW
PIN IN SLOT
PLUNGER HOUSING
MEA
T GRIP PR
ONGS
 Loading...