ASSEMBLE ONLY WITH ADULT SUPERVISION
Please read through this instruction booklet to THOROUGHLY familiarize yourself with the assembly and
flight characteristics of this airplane before beginning to assemble the kit.
Please inspect all parts carefully before starting assembly! If any parts are missing, broken or defective, or if
you have any questions about the assembly or flying of this airplane, please call us at (217) 398-8970 and we'll
be glad to help.
WARRANTY
Hobbico, Inc. guarantees this kit to be free from defects in both material and workmanship at the date of
purchase. This warranty does not cover any component parts damaged by use or modification. In no case shall
Hobbico's liability exceed the original cost of the purchased kit. Further, Hobbico reserves the right to change
or modify this warranty without notice.
In that Hobbico has no control over the final assembly, no liability shall be assumed nor accepted for any
damage resulting from the use by the user of the final user-assembled product. By the act of using the
user-assembled product, the user accepts all resulting liability.
If the buyers are not prepared to accept the liability associated with the use of this product, they are advised
to return this kit immediately in new and unused condition to the place of purchase.
C
C
OMPLETE R
OMPLETE R
TF
TF
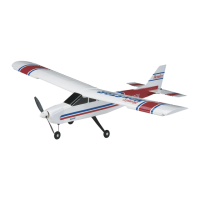
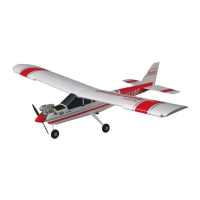
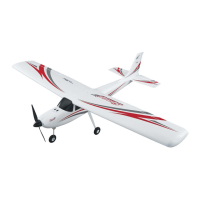
AIRPLANE
AIRPLANE
Requires 8 (AA) Alkaline
Batteries (not included)
Quiet Electric Flight
Radio-Controlled Model
Entire Contents © Copyright 2000 HCAZ3004 for HCAA2004 V1.0
™