6
c 13
Install and glue a balsa 1/16” x 1/4” trailing
edge doubler to the trailing edge of WTSB.
Bevel the outboard end and run it all the way
out to WT.
c 7
Apply a liberal bead of glue to the top of the
bottom spar (SP-B) and install 1/8” x 3/16”
balsa stick for the top spar. Trim it ush at
both ends.
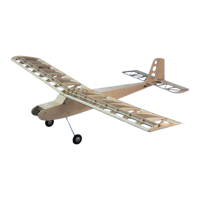
ABOVE: The 1/16” x 1/4” trailing edge strip has been in-
stalled. Make sure the trailing edge is held at against the
building board when glue is applied.
c 6
Install and glue the root rib (W1) and the tip
rib (W3) to WTEP and SP-B. Use a straight
edge at W1 to assure it is straight, as it will in-
terface with the opposite wing panel on nal
assembly.
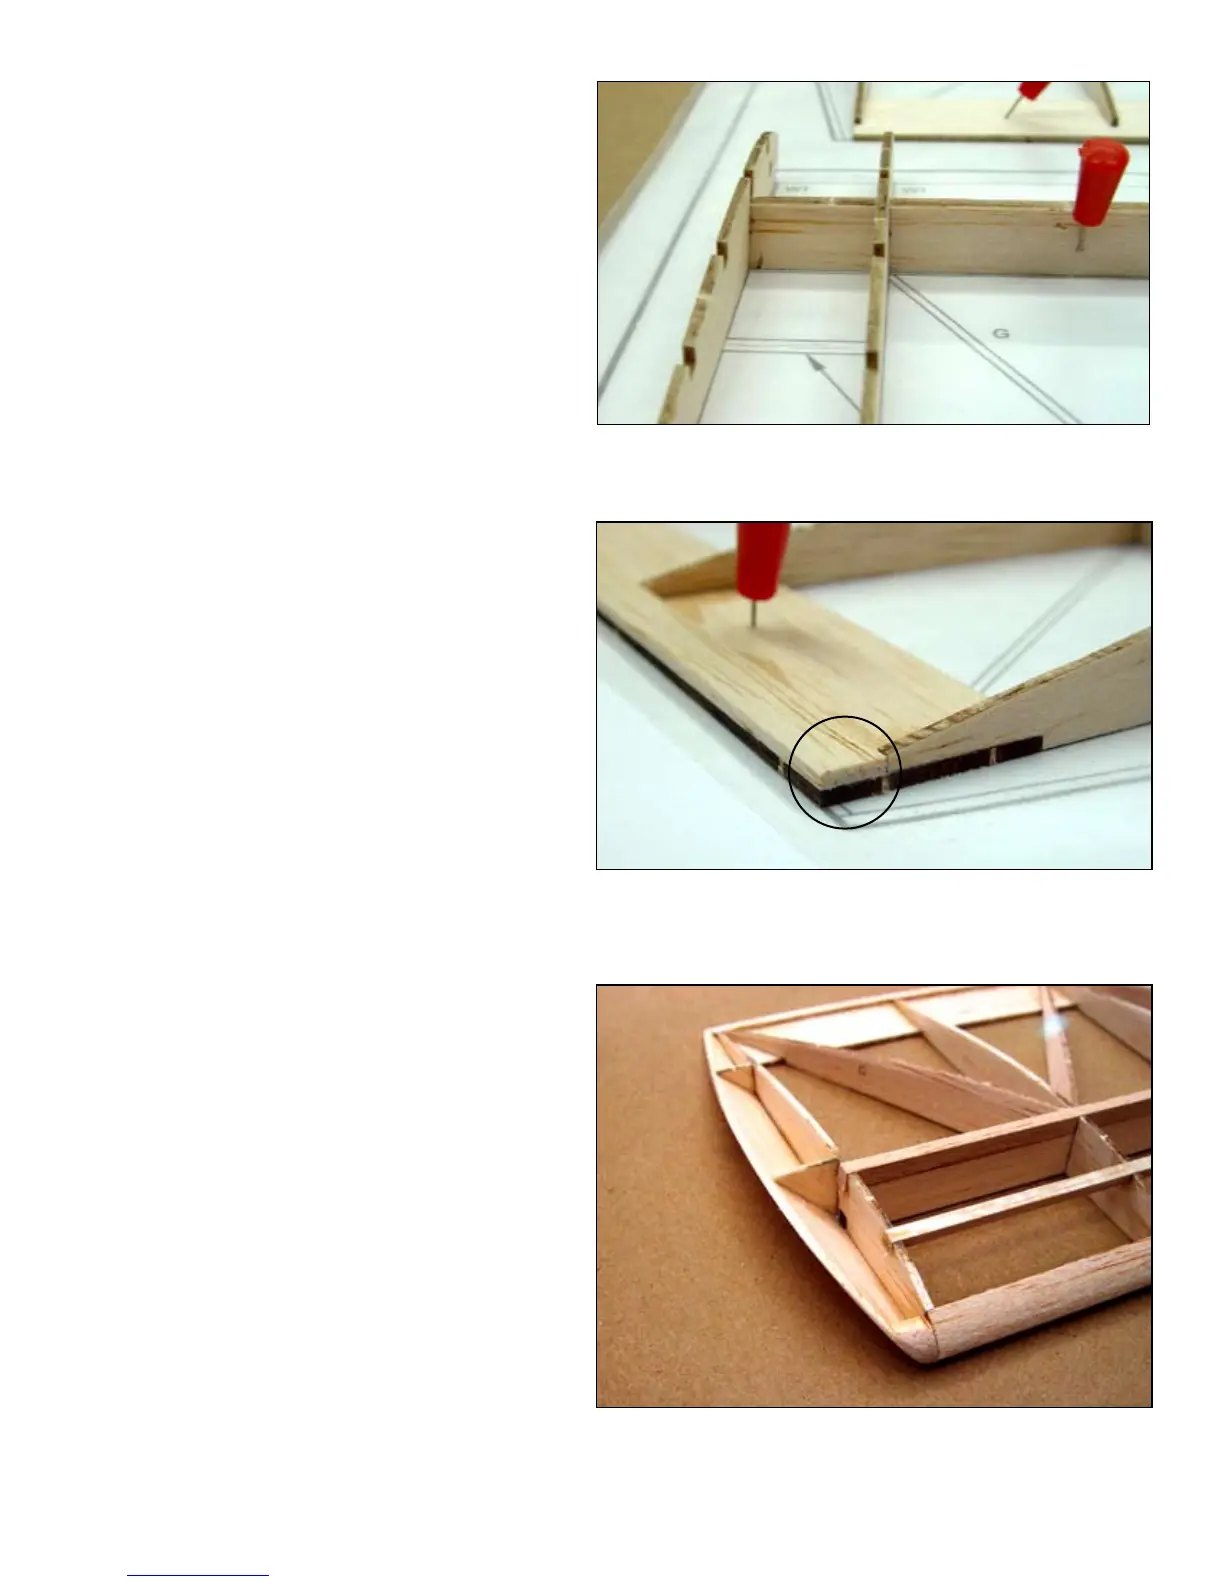
ABOVE: The root rib (W1) is installed. Note that W1 must be canted
to conform to the angle in the bottom spar (SP-B) This is to accom-
modate the dihedral required.
c 8
Place the leading edge, a ¼” x ½” balsa stick
in place against the leading edges of the ribs
and glue in place. Trim each end ush with
the ribs.
c 9
Install and glue a 1/8” square balsa stick in
the notches provided between the spar and the
leading edge.
c 10
Install and glue 1/8” square balsa pieces into
the notches provided in W1 and W2.
c 12
Plane or sand a bevel into the bottom edge
of the wing tip (WT). Place it into position
against the tip rib W3. Place the large wing
top gusset between W3 and WT and glue it
in position. Glue the second gusset into posi-
tion. Glue the ½” long section of 3/8” triangle
stock at the leading edge between WT and the
leading edge.
ABOVE: Wing tip installation, note the 1/4” triangle stock ller at
the leading edge.
c 11
Install and glue the diagonal ribs. Sand a small
chamfer on the leading and trailing edges for
additional glue land. You may have to bow
them slightly to get them in but they should
be straight when installed.
 Loading...