c 14
Plane and sand the leading edge to contour
with the ribs using the included leading edge
template as a guide.
c 3
c 2
c 1
c 17
c 16
Sand the trailing edge to contour with the
ribs.
Sand the root rib perfectly at in preparation
for joining the wing halves.
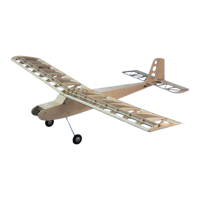
ABOVE: The wing retaining magnets installed in the bottom of
the trailing edge.
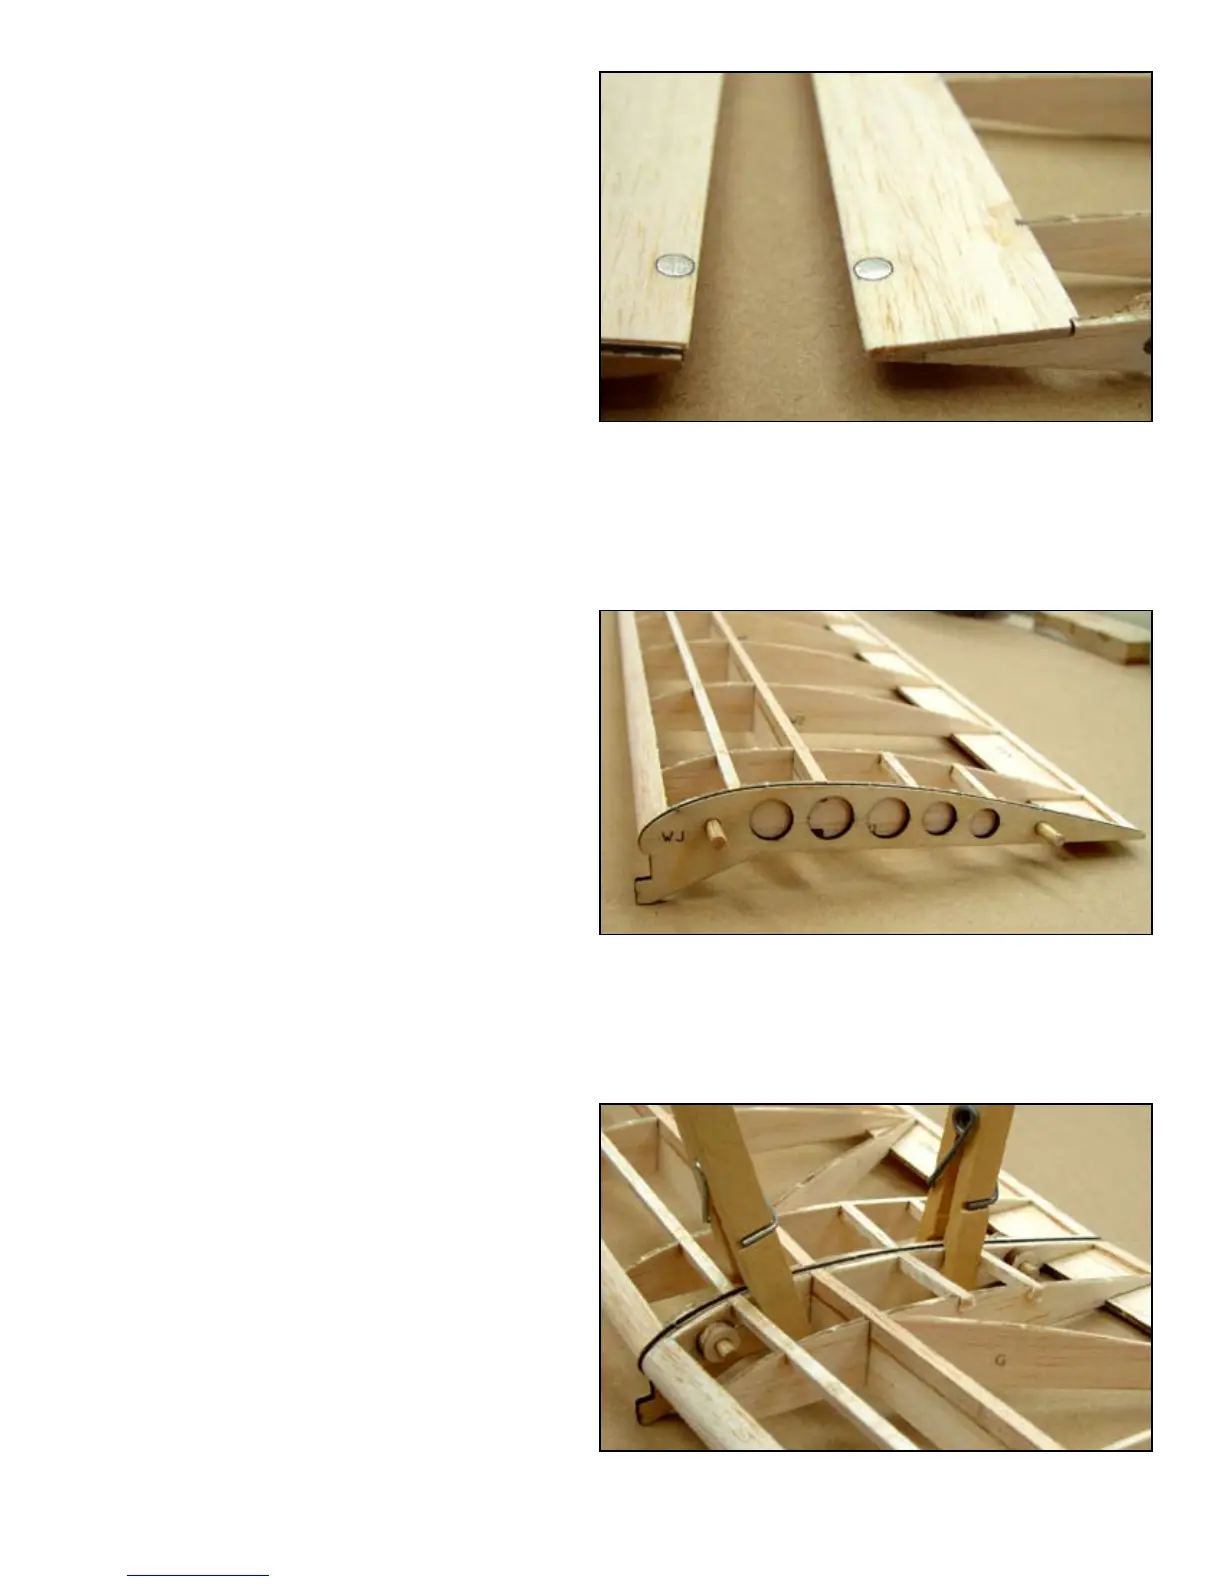
JOINING THE WING PANELS
Cut two 1/8” x 3/4” dowels and install them
into the holes provided in the wing hook
(WJ). Let them protrude equal amounts on
both sides of WH and glue them.
Glue the wing hook assembly to one of the
wing panels using the dowels to align the
two assemblies. Make sure WH is snug up
against the root rib.
Glue the remaining wing panel to this assem-
bly. When the two root ribs are at up against
each other, the dihedral will be correct. Use a
clamp to insure good contact between the two
panels and that both spars are glued to WH.
ABOVE: The wing hook (WJ) has been glued onto the right wing
panel using the 1/8” dowels to align the two.
BELOW: The two wing panels are glued together with WH and
cloths pins are used to clamp the assembly together.
7
c 15
Glue in two 1/16” x 3/16” magnets in the
holes provided in the trailing edge.
 Loading...