Fuselage Assembly
c 2
c 1
Glue the fuselage doubler (FD) to fuselage
side (FS). Use the 1/8” dowel in the holes at
the top to align the two parts but do not allow
the dowel to get glue on it. Make a LEFT and
a RIGHT fuselage side assembly.
NOTE: the 1/8” dowel will ultimately be used
when joining the wing however until then it
will be used as an alignment tool on several
assemblies.
Glue a 1/8” square balsa stringer to the bot-
tom and top inside corners of each side. The
top corner stringer should start at the aft end
of FD and terminate at the tail and the bottom
corner stringer should start at the back of F1
and terminate at the tail.
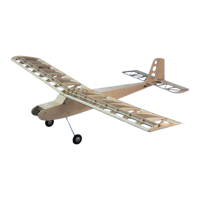
ABOVE: The fuselage doubler (FD) is being installed onto the fu-
selage side (FS) using the 1/8” dowels as an alignment aid. The
dowels will be removed after the doubler is tack glued to the fuselage
side.
BELOW: The corner stringers of 1/8” square balsa have been at-
tached. You may want to soak the rst four inches of the bottom
stringer to aid in making the bend at the front if the stringer is to
stuff.
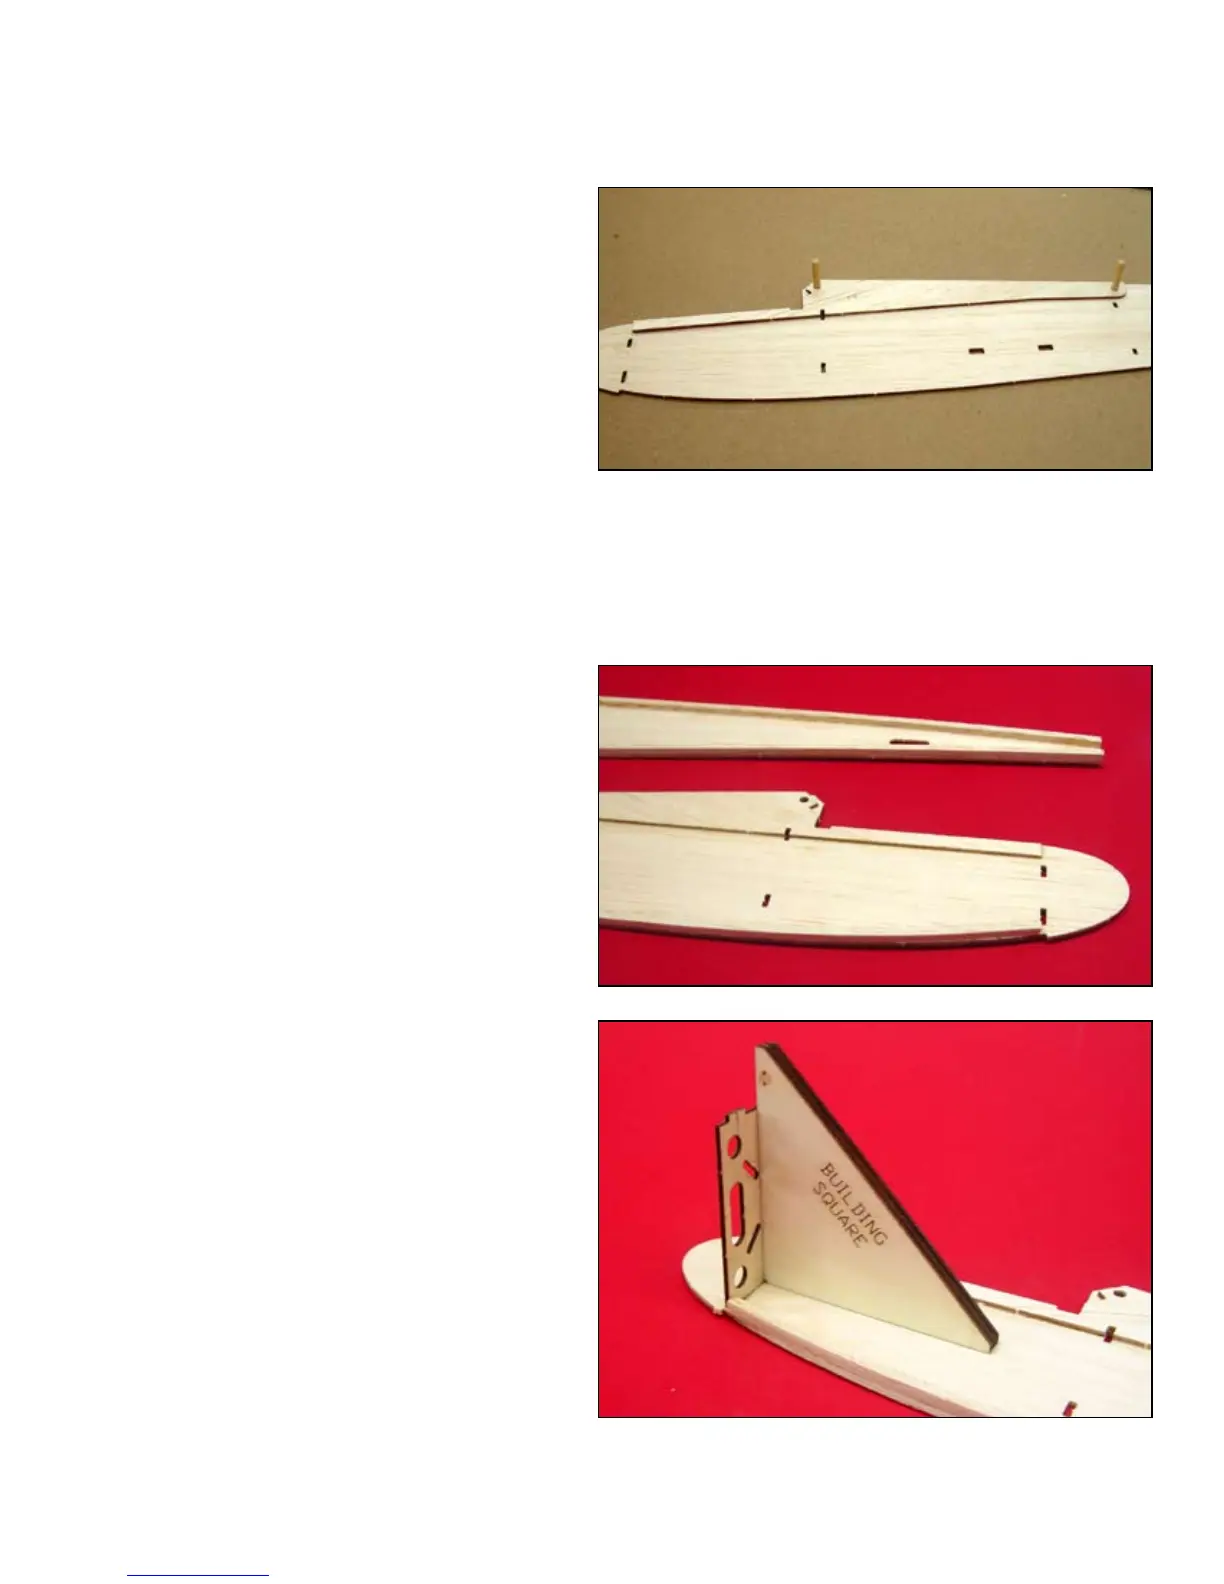
c 3
Start with the right fuselage side, glue F1 in
the slots provided, use the Building Square to
insure that F1 is at 90º to the fuselage side.
ABOVE: The building square is used to insure that F1 is square to
the fuselage side. Use this tool to install all the formers.
1
 Loading...