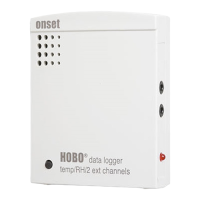
HOBO U12 4-External Channel Outdoor/Industrial Data Logger
3
Attaching the Sensors
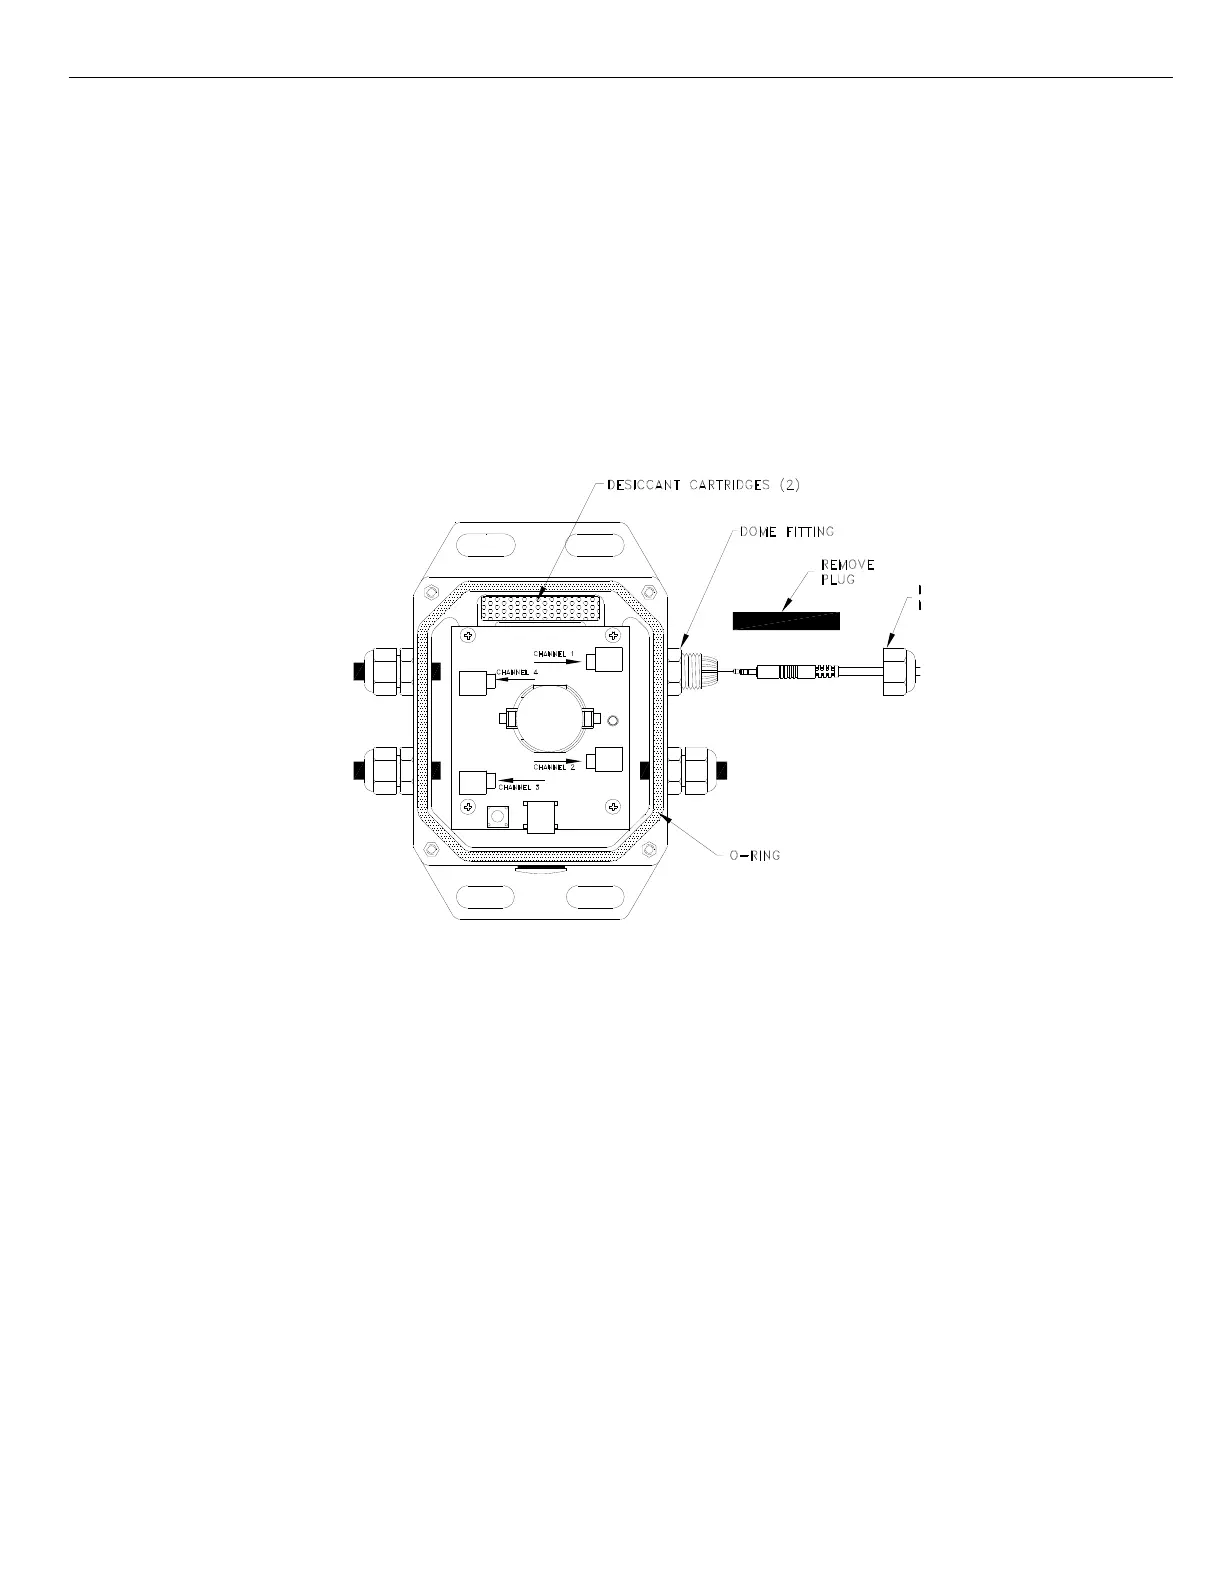
1. Use the Allen wrench to remove the four socket head screws on the logger’s cover. Then remove the cover.
2. Using a 15 mm wrench, remove the dome nut for the channel you wish to connect to.
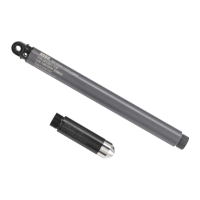
3. Pull the exposed end of the black rubber plug to remove it from the fitting. Do not throw these plugs away! These
plugs are needed to maintain a weatherproof seal for channels that are not connected to sensors or input cables.
4. Slide the dome nut over the plug end of the cable. The dome nut’s threads should face towards the case.
5. Feed the plug end of the cable from the outside of the case through the dome fitting of the channel you want to use
(refer to label on the logger’s cover) and plug it into the corresponding port as shown in the diagram. If you have
difficulty inserting the plug through the fitting, a small amount of dishwashing liquid can be used as a lubricant on the
plug. (Do not use O-ring lubricant.)
6. Thread the dome nut back onto fitting and hand-tighten it. Tighten an additional half-turn with a 15 mm wrench.
7. Make sure the desiccant cartridges are fresh. (If you are using the logger for the first time, remove the two desiccant
cartridges from the foil pouch and install them in the cavity at the top of the case.) Cartridges are blue when new, and
fade to pale pink when they need to be replaced. If they are pale pink, discard them and replace them with two new
(blue) ones (part # DESIC-PACK).
8. Close the logger’s case as described in the “Closing the logger” section of this manual.
Replacing Desiccant Cartridges
Periodically check the desiccant cartridges by looking through the viewing window on the logger’s case. The cartridges are
blue when new, and fade to pale pink when they need to be replaced. Discard the old cartridges and replace them with two
new blue ones (part # DESIC-PACK).