ADVERSE REACTIONS
• Isolatedcasesofskinirritationorburnsmayoccurduetoelectricalstimulationoradhesivemedium(gelpads).
• Stopusingthedeviceandconsultwithyourphysicianifyouexperienceadversereactionsfromuseofthisdevice.
CONTENTS
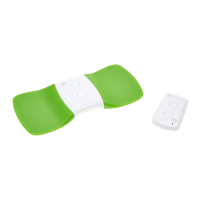
• 1HollywogWiTouchdevice
• 1HollywogWiTouchremotecontrol
• 1PackageHollywogWiTouchgelpads(5pair)
• 2AAAalkalinebatteries
• 1CR2032lithiumbattery(installedinremote)
• 1Size#0Phillipsheadscrewdrivertool
• 1StorageBox
• 1UserManual
• 1QuickStartGuide
PREPARE your Hollywog WiTouch
1. Prepare the treatment area by washing and drying the skin thoroughly. Excessive hair should be trimmed (NOT shaved), and
the treatment area should be void of oils and/or lotions. DO NOT apply the main device over broken skin.
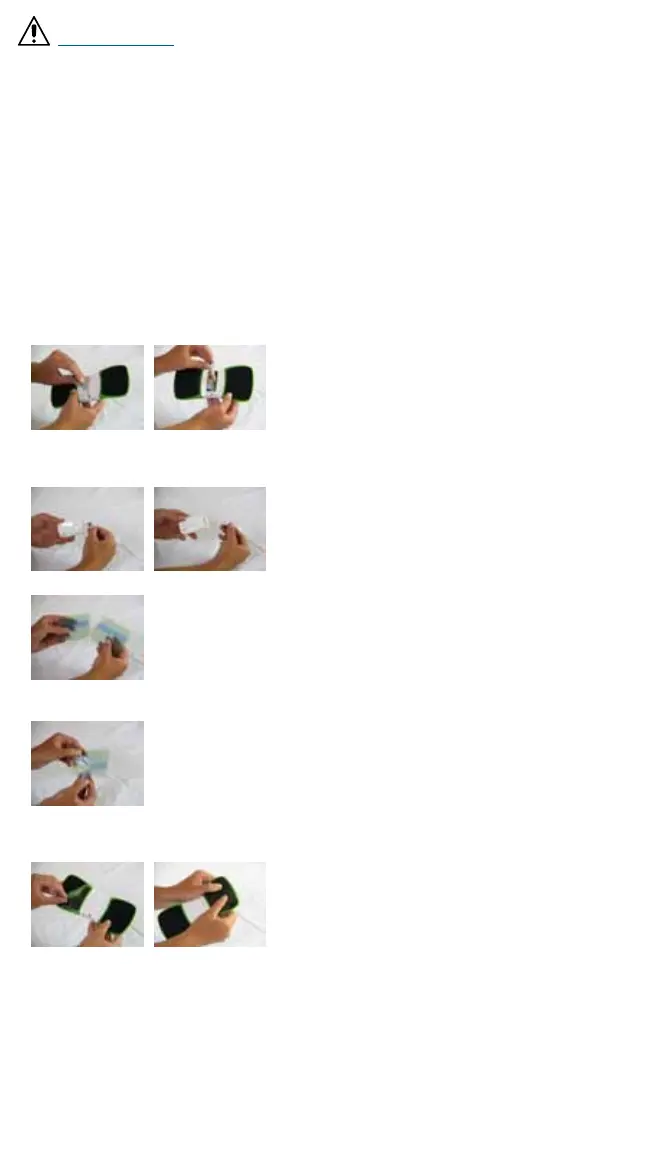
2. Remove battery cover from the device with the included screwdriver tool and insert 2 AAA batteries noting correct +/- polarity.
Replace the battery cover.
3. Press and hold the ON/OFF button on the WiTouch device for one (1) second. The LED will begin blinking green once every
two(2seconds).YourWiTouchdeviceisnowONandreadyforuse.
4. Remove clear battery insulation tab from the remote control to activate battery. Discard clear tab.
5. Remove two (2) WiTouch gel pads from the package and separate the pads at the perforation in the liner.
6. Remove the blue liners from one (1) gel pad by peeling away the folded edges of the liners. Discard the blue liners.
DO NOT remove the green protective liner during this step.
7. Apply the gel pad to one (1) black electrode area on the bottom of the Hollywog WiTouch device. Align the shape of the gel
pad to match the shape of the black electrode area. Firmly press the gel onto the electrode across the entire surface of the gel
pad to ensure good adhesion.
8. Repeat steps 6 - 7 for the second gel pad and electrode area.
9. YourHollywogWiTouchisnowreadyforuse.DONOTactivatestimulationofthedevicepriortoapplicationofthedevice
to the back.