4 of 8 5 of 8
Overview
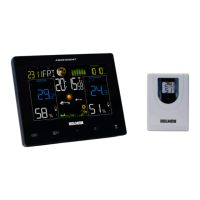
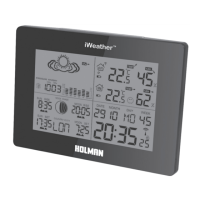
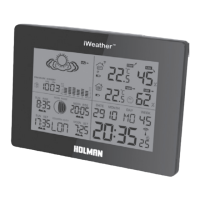
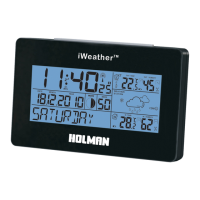
Main Console
Setup
1. Date
2. Month
3. Day of Week
4. Moon phase
5. Alarm
6. Graphic bar for
Air Pressure
7. Time
8. Barometer
9. Air Pressure Trend
10. Channel
11. Trend of Outdoor
Temperature
12. Outdoor Mould
13. Outdoor
Temperature
14. Dew
15. Heat
16. Outdoor Sensor
Low Battery
indication
17. Outdoor
Humidity trend
18. Outdoor Max/Min
19. Outdoor Humidity
20. Freeze
21. Weather
22. Indoor Humidity
trend
23. Indoor Display
Console Low
Battery indication
24. Indoor Humidity
25. Indoor Max/Min
26. Indoor Temperature
27. Indoor Mould
28. Trend of indoor
temperature
A.
B.
C.
D.
E.
F. SNOOZE/LIGHT
G. Battery
compartment
H. DC jack
Initial Operation
1. Open the battery compartment located on the
rear side of the devices. Place the batteries in the
battery compartment. Observe the shown polarity.
Please use the adaptor for power of station indoor.
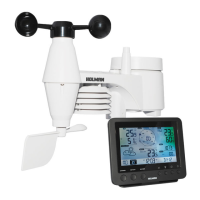
2. The station is now connecting to the outdoor
sensor. This process takes about 3 minutes. Then
the display shows the outdoor temperature and
humidity, in case of failure of reception, press
for more than 3 seconds to receive again.
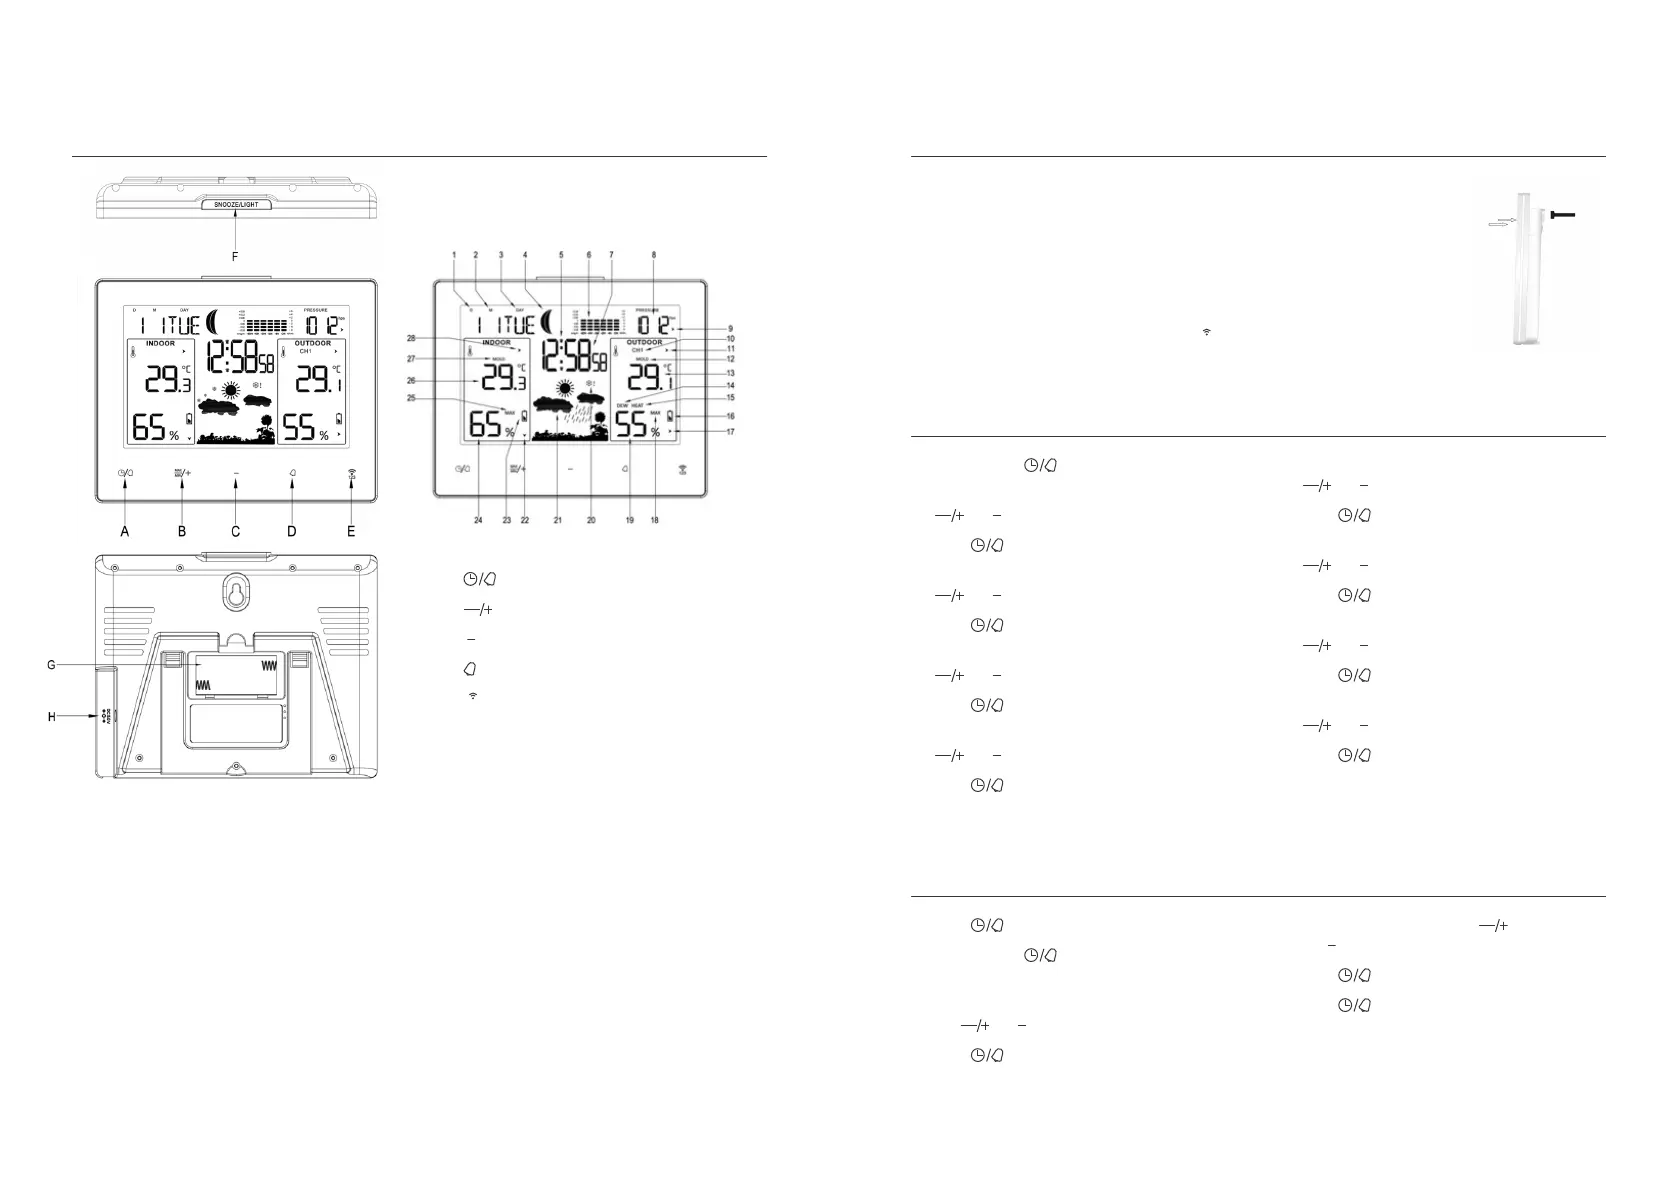
3. Correct way for
mounting the outdoor
sensor: Suggest the
outdoor sensor to be hung
on as below showing,
better not stand it at
outside place,try to avoid
direct sun shine or rain
as much as possible.
Manual Setup
1. Press and hold for 3 seconds
2. The display for the year is flashing. Use
and to select the year
3. Press to confirm
4. The display for M and D is flashing. Use
and to select the sequence.
5. Press to confirm
6. The display for Month is flashing. Use
and to select the Month
7. Press to confirm
8. The display for Date is flashing. Use
and to select the Date
9. Press to confirm
10. The display for Hour is flashing. Use
and to select the Hour
11. Press to confirm
12. The display for Minutes is flashing. Use
and to select the Minutes
13. Press to confirm
14. The display for 24hr time is flashing. Use
and to select 24 or 12hr time
15. Press to confirm
16. The display for °C is flashing. Use
and to select °C or °F
17. Press to confirm
The clock automatically changes from
set-up mode to time display mode if no
keys are pressed for 20 seconds.
Daily Alarm Setup
1. Press to show alarm time A1
2. Press and hold for 3 seconds.
The flashing alarm times are shown
3. The hour display of the alarm time is flashing.
Use
and to select the hour.
4. Press to confirm
5. Then follow with minutes. Use
and to select the minutes
6. Press to confirm
7. Press to switch from A1 to A2 display
8. Repeat steps 2-6 for alarm time A2
 Loading...