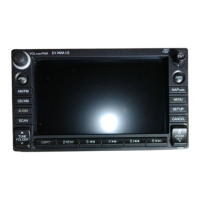
Disconnect the backside original harness. Assemble the original CD mounting bracket to
our machine.
Assemble the Buckle & Emergency button of
original CD unit to our machine.
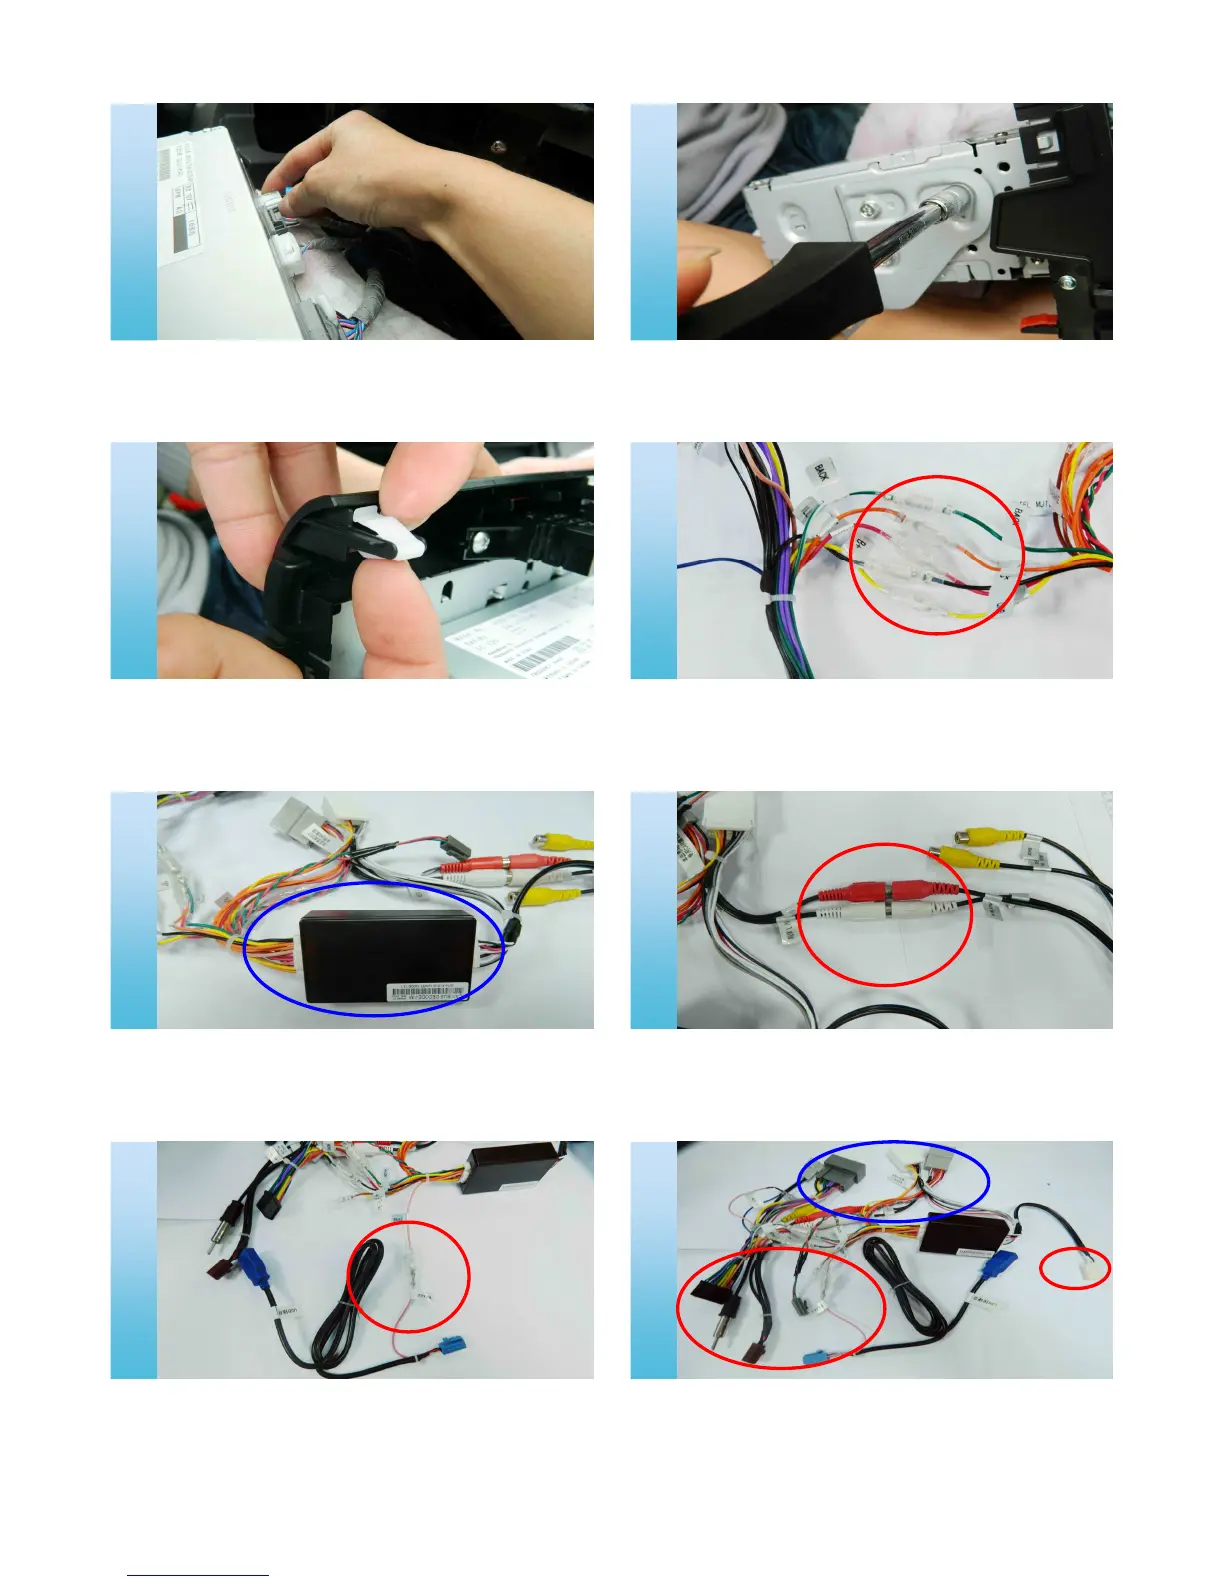
Picture show our dedicated power line (the 5
wires marked by the red circle connect to the
main power cables according to the S/N in the
wires and cables).
Picture show our dedicated power line (The
cables marked by blue circle connect to the
left&right ends of Decoding box).
Picture show our dedicated power line (Red
circle part shows AUX Butt).
Picture show our dedicated power line (Red
circle part shows BRAKE wire joint connect to
the BRAKE joint of HDD USB cable).
Picture show our dedicated power line (Joint in
the blue circle connect to the main power wire
of the original CD unit, joint in the red circle
connect to our machine).
09 10
11 12
13 14
15 16
 Loading...