Do you have a question about the Honda CR-V Navigation System and is the answer not in the manual?
Steps for removing the original car CD unit and air conditioner components.
Instructions for detaching left and right air outlet devices from the dashboard.
Locate and remove screws securing the original CD unit using an 8MM sleeve.
Steps to extract the original radio and disconnect its emergency power joint.
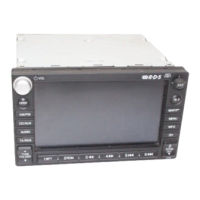
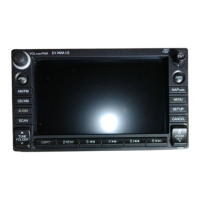
Assemble the original CD mounting bracket and the buckle/emergency button to the new unit.
Connect specific power lines, including those for the decoding box, AUX, and HDD USB cable.
Connect the dedicated power line to the car's main power and install the new unit with the AC outlet.
Guidance on optimal installation locations for the GPS antenna for best reception.
Recommendations for professional installation, handling connectors, using correct cables, and battery disconnection.
| Touchscreen | Yes |
|---|---|
| Voice Recognition | Yes |
| Voice Control | Yes |
| Bluetooth Connectivity | Yes |
| Lane Guidance | Yes |
| 3D Landmarks | Yes |
| Apple CarPlay | Yes |
| Android Auto | Yes |
| HDMI Port | No |
| HD Radio | Yes |
| Display Size | 7-inch |
| Resolution | 800x480 |
| Real-Time Traffic | Yes |
| SiriusXM | Yes |
| Navigation | Available on certain trim levels |
| Wi-Fi Hotspot | Available on certain trim levels (requires subscription) |


 Loading...