5
ANCHORING YOUR SAFE
3
6
9
E
2
5
8
0
1
4
7
C
5
9
E
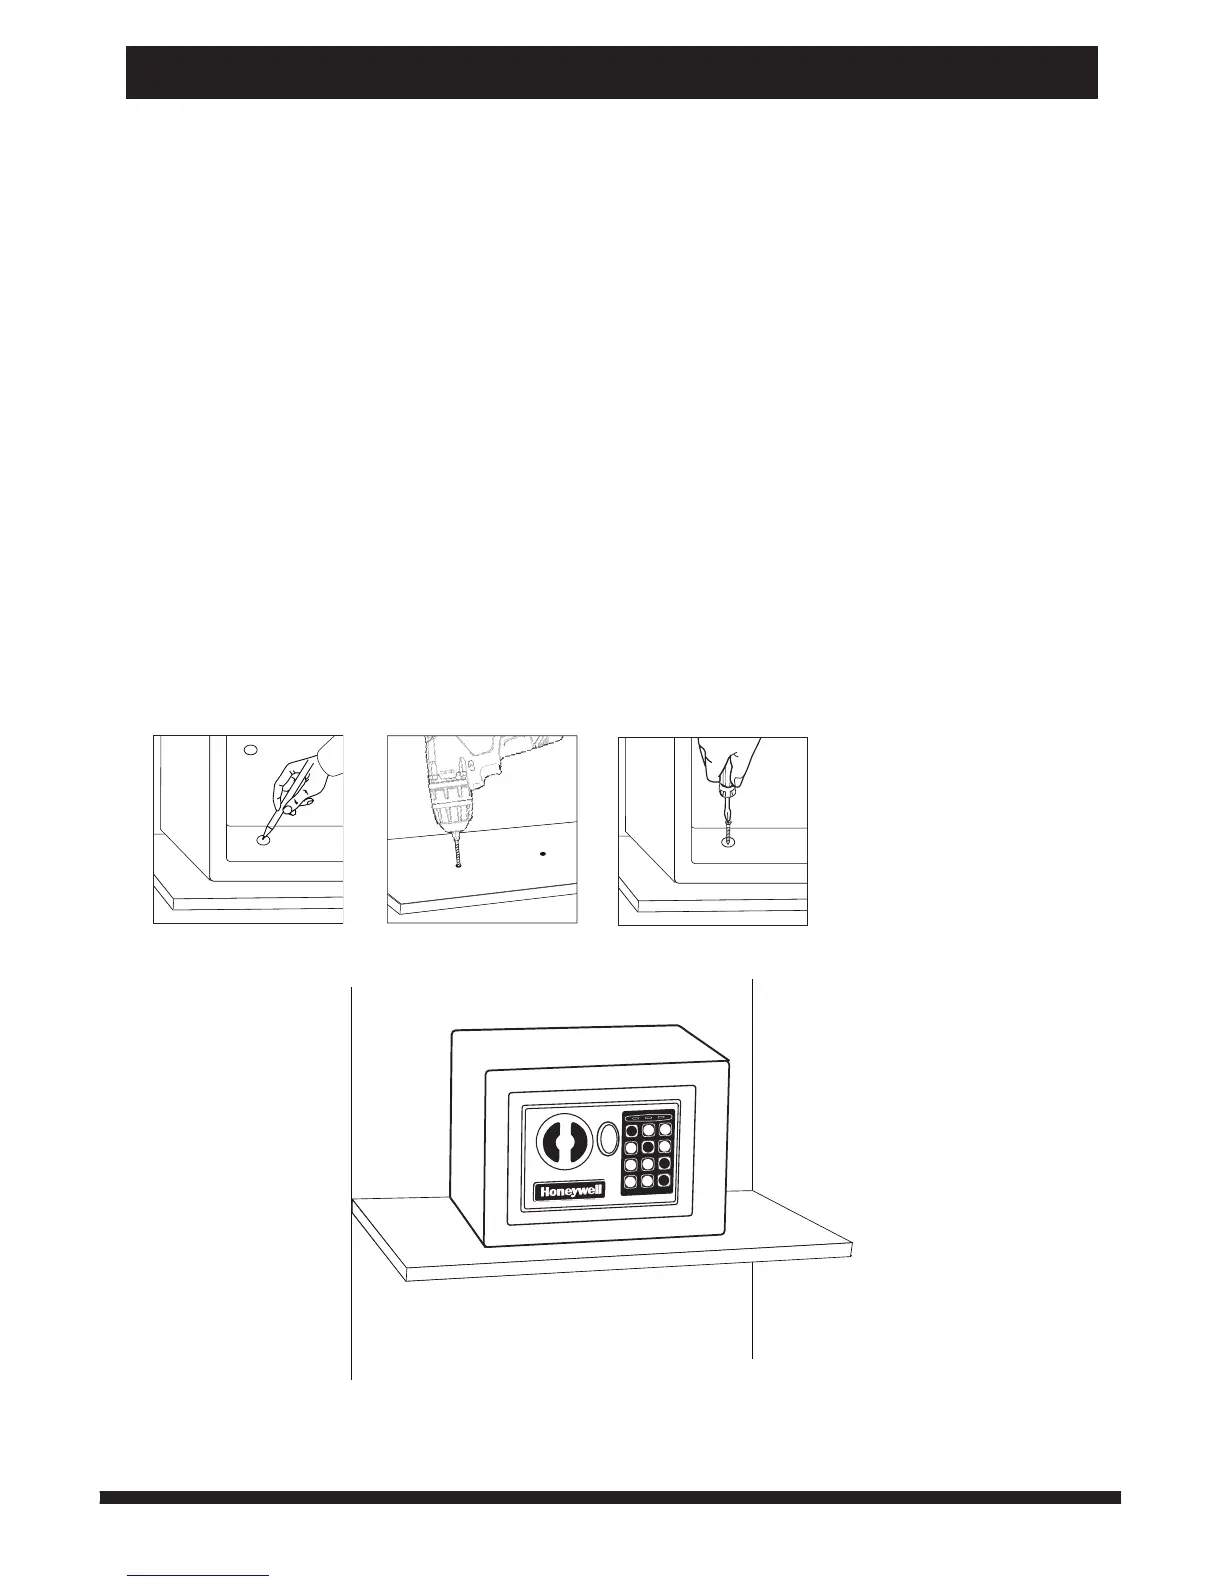
Figure 1 Figure 2 Figure 3
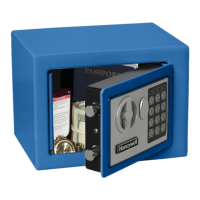
You may bolt your safe to the wall or oor to added theft protection and resistance to tipping. Your
safe has pre-drilled bolt-down holes in the back panel and in the oor.
To secure your safe to the wall and/or oor:
1. Select a suitable and convenient location for your safe.
2. Empty the safe and remove the carpet.
3. Locate the predrilled holes on the inside of safe.
4. Place your safe in the desired location.
5. Line up the predrilled holes and mark the oor or wall through the holes (Figure 1).
NOTE: It is not recommended to attempt to bolt to both oor and wall.
6. Move the safe aside to clear marked spots for drilling.
7. Drill holes appropriate for hardware being used and the mounting surface (Figure 2).
INCLUDED: (2 each – bolts, washers and masonry anchors).
8. Place the safe back over the holes and install the fasteners as required (Figure 3).
9. Once completed, replace the carpet.
NOTE: Bolting/unbolting of the unit is at the consumer’s expense and discretion. LH Licensed
Products is not responsible for any costs incurred if the unit is to be replaced.
If you have any questions about mounting the safe, please check with your local home center/
hardware retailer or independent contractor.

 Loading...