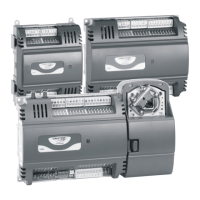
LYNX LON PROGRAMMABLE, VAV/UNITARY CONTROLLERS – PRODUCT DATA
EN0Z-0957GE51 R0615
15
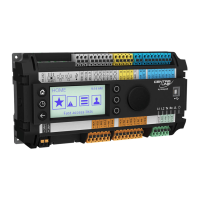
The LED on the front of the controller provides a visual
indication of the status of the device. When the controller
receives power, the LED appears in one of the following
allowable states, as described in Table 5.
Table 5. Status LED states
LED state blink rate status or condition
OFF not applicable No power to CPU, LED
damaged, low voltage to
board, first sec of power-up, or
loader damaged.
ON ON steadily, not
blinking
CPU and/or controller not
operating.
very slow
blink (con-
tinuous)
1 sec ON, 1 sec
OFF
Controller operating normally.
slow blink
(continuous)
0.5 sec ON, 0.5
sec OFF
Controller alarm is active or
controller in process of con-
figuration file download.
medium
blink (con-
tinuous)
0.3 sec ON, 0.3
sec OFF
Controller is loading.
Fast blink
(continuous)
0.1 sec ON, 0.1
sec OFF
Controller is in manual mode
under control of PC-based
software tool.
Step 3. Checkout Completion
At this point the controller is installed and powered. To
complete the checkout, the N
IAGARA FRAMEWORK® application
(run on a PC) is used to configure the I/O and functions of the
controller. Refer to the Programming Tool User Guide, form
no. 63-2662, for controller configuration and programming
details.
CONTROLLER REPLACEMENT
There are no serviceable or repairable parts inside the
controller.
WARNING
Fire, Explosion, or Electrical Shock Hazard.
Can cause severe injury, death or property
damage.
Do not attempt to modify the physical or electrical
characteristics of this device in any way. If trouble-
shooting indicates a malfunction, replace the
controller.
WARNING
Electrical Shock Hazard.
Can cause severe injury, death or property
damage.
To prevent electrical shock or equipment damage,
disconnect power supply before beginning controller
replacement.
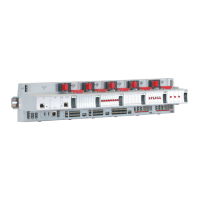
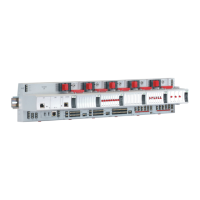
Terminal Block Removal
To simplify controller replacement, all terminal blocks are
designed to be removed with the wiring connections intact
and then re-installed on the new controller. See Fig. 23 and
refer to the following procedure:
IMPORTANT
To prevent bending or breaking the alignment pins on
longer terminal blocks, insert the screwdriver at
several points to evenly and gradually lift up the
terminal block. To prevent damage to the terminal
block alignment pins on the controller circuit board,
insert the screwdriver blade no more than 3 mm.
SHORT TERMINAL
BLOCK
LONG TERMINAL
BLOCK
Fig. 23. Removing terminal blocks
1. Use a thin-bladed screwdriver to evenly raise the terminal
block from its alignment pins:
a. For short terminal blocks (1 to 5 terminals), insert
screwdriver blade in the center of the terminal block
and use a back-and-forth twisting motion to gently
raise the terminal block from its alignment pins.
b. For long terminal blocks (6 or more terminals), insert
screwdriver blade on one side of the terminal block
and gently rotate the blade ¼ turn. Then, move to the
other side of the terminal block and do the same.
Repeat until the terminal block is evenly raised from its
alignment pins.
2. Once the terminal block is raised from its alignment pins,
grasp the terminal block at its center (for long terminal
blocks grasp it at each end) and pull it straight up.

 Loading...