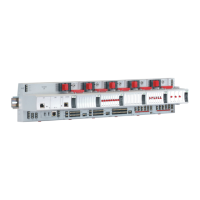
MERLIN NX ROOM CONTROLLER – INSTALLATION & COMMISSIONING INSTRUCTIONS
EN1Z-1035GE51 R0420 14
Commissioning Parameters
• Device type, e.g. blinds, shutter, drape…
• Time to open the blinds.
• Time to close the blinds.
• Slat angle fully open.
• Slat angle fully closed.
• Slat time to close.
• Slat time to open.
• Slat angle position steps.
• Lock time after manual command.
• Assignment of two outputs (relay or triac) per set of blinds.
It is recommended to use coupling relays in case triac
outputs are used for sunblinds positioning.
• Assignment of two inputs per set of blinds for pushbutton
UP/DOWN connection.
Time Delays for Motor Protection
• Direction change: 600 msec pause.
• Same direction: 300 msec pause for reactivation of the
motor.
• Minimum switch-on time: 50 msec.
General Remark regarding Parallel Positioning of Blinds for a
Building Facade
The position of the blinds is calculated based on runtimes for
UP/DOWN and slat angle open/close. There is no position
sensor and the runtimes may change over time as the blinds
become dirty, etc. It is therefore not possible to exactly
position all blinds at the same height and slat angle.
Hardware Recommendation
The RL8N is the preferred hardware model for light and blinds
control. Special features of RL8N:
• Dimming of lights via 1…10V output requires that the
analog output be able to operate as a current sink
(-/+ 1mA on AO3 and AO4).
• High inrush current (80A inrush current and 10 A con-
tinuous current on relay 1 and 4) for capacitive loads like
LED lighting.
• Increased reliability for dry inputs (24V pull-up voltage for
UI1 …4).
Light Function Block
The light function block supports different types of lights:
• ON/OFF light.
• Light dimming.
• Light ON/OFF with timer.
• Light ON/OFF with timer with dimming function.
• Stair case lighting.
• Pushbutton used to switch ON a light. A timer is started
and the light is switched OFF once the configurable time
is over.
• Staircase lighting with dimming function.
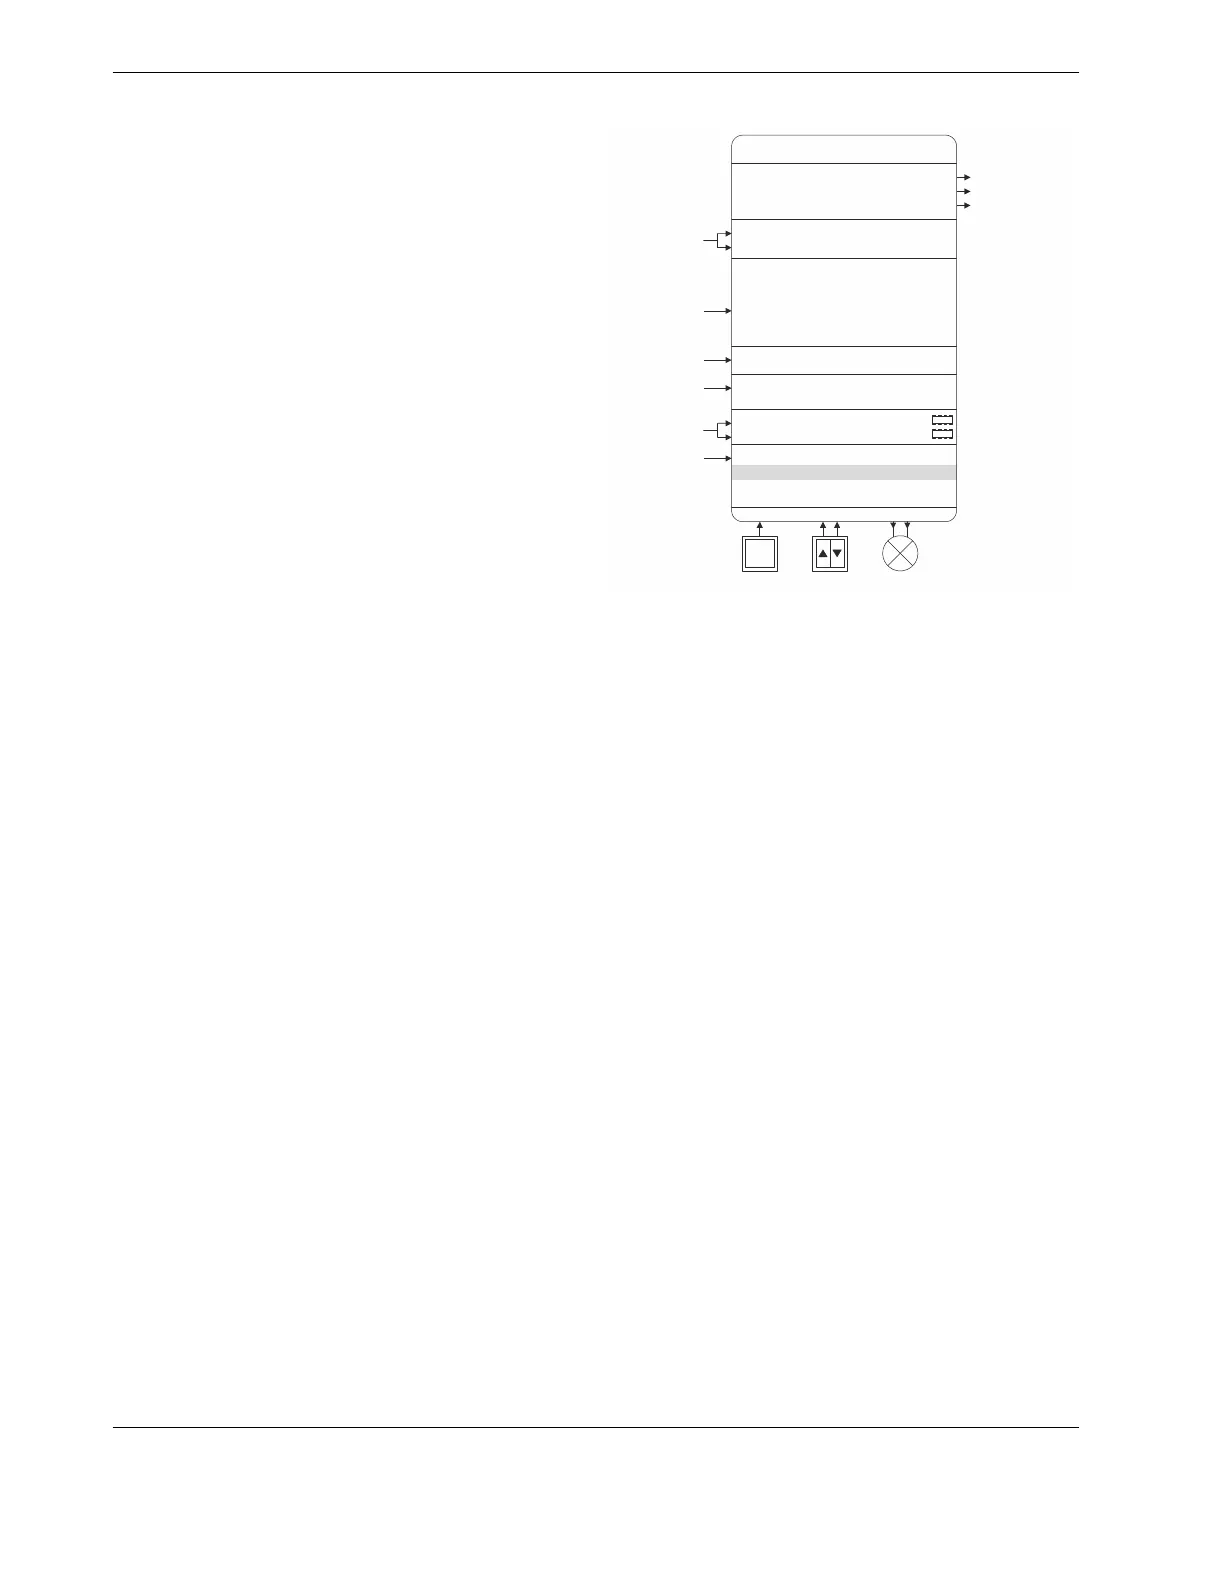
Light
OutManualAddressedCmdBits
OutFeedback
OutCause
EmergencyCmd
(highest prio)
MotionBrightnessSensor
EmergencyCause
Other useful inputs for special cases
--Parameters--
LightControlType, Hw Terminals, Min/
MaxOutputs, DimmingSpeed, LockTime, ...
- Light ON if Occ and Dark
- Light ON and restart AutoOffTimer if Occ and Dark
- Light OFF if Unocc or Bright
- If Occ, do not switch OFF even if AutoOffTimer has
expired
- If Occ, ignore ApplicationCmd to switch OFF
(i.e., do not switch OFF at 7:00 p.m.)
ManualOverrideCmd
Last wins with
wired push buttons
Last wins with wired push buttons
ApplicationCause
ManualAddressedCmdBits
ApplicationCmd
(lowest prio)
1 x BI 2 x BI
1 x BO - 1 x AO
RAM
RAM
Fig. 19. Light function block
Manual Light ON / OFF / Dim
The light can be switched ON/OFF or dimmed manually using
directly-wired pushbutton inputs or by manual override com-
mands connected as input to the function block as
programmed in the wire sheet (e.g., manual commands re-
ceived via BACnet MS/TP). In the event of a conflict, i.e.,
when commands are issued both by pushbutton and via
BACnet MS/TP, the last command received has priority and
will thus set the light.
Manual Light ON / OFF / Dim by Pushbutton
• The light can be controlled using one or two pushbuttons.
• Control using two pushbuttons:
- Short press UP: Light is switched ON.
- Long press UP: Light intensity is increased. Releasing
the pushbutton stops the brightness change.
- Short press DOWN: Light is switched OFF.
- Long press DOWN: Light intensity is decreased.
Releasing the pushbutton stops the brightness
change.
• Control using one pushbutton:
- Short press: Toggles the light ON/OFF.
- Long press: Starts the dimming process. Increasing /
decreasing the light level is toggled with every push-
button press. Releasing the pushbutton stops the
brightness change.
Example: The light level is being increased by means
of a long press. If you now instead wish to decrease
the light level, release the pushbutton and perform
another long press.
- It is possible to configure the pushbutton such that
only light ON / light increase or light OFF / light
decrease using the pushbutton is supported. Switching
OFF can be done automatically with a configurable
delay.
 Loading...