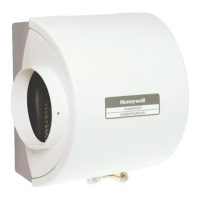
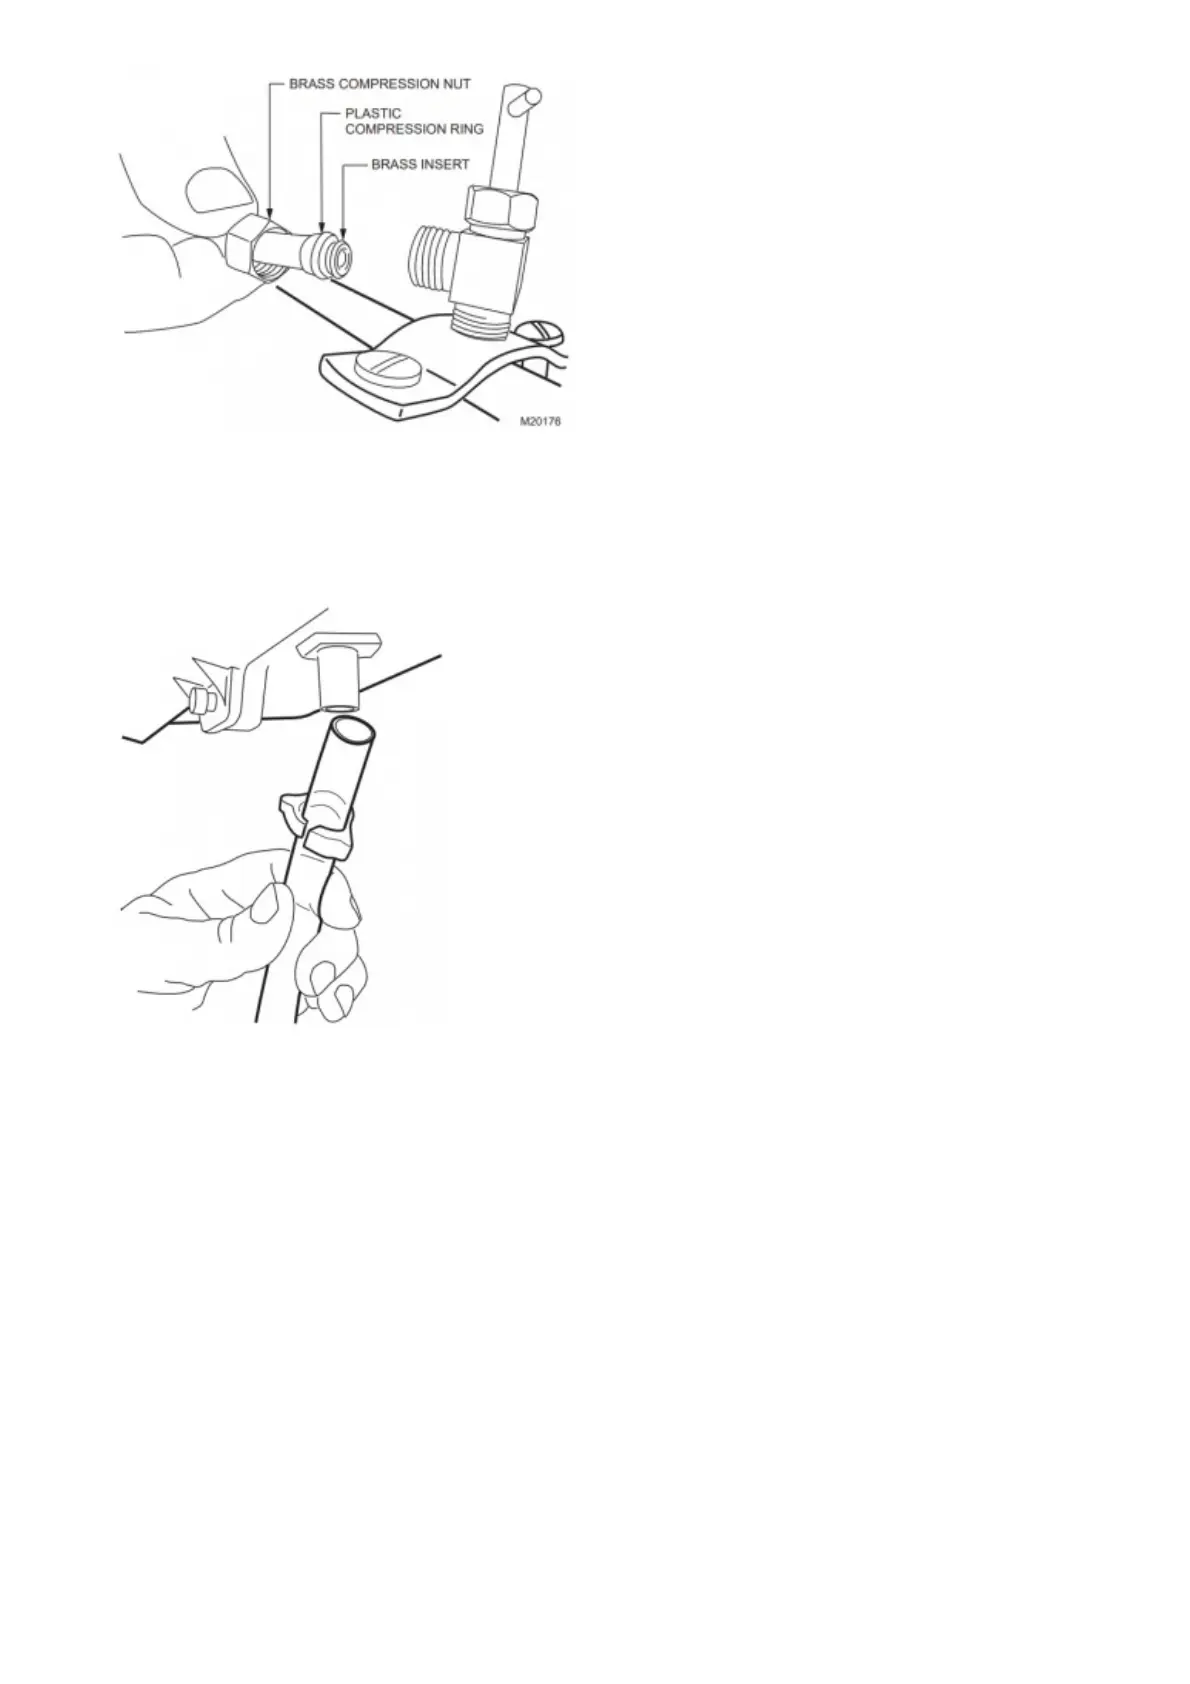
Fig. 8. Installing feed tubing.
IMPORTANT
To prevent debris from clogging the solenoid inline filter, be sure to install the saddle valve handle pointing
toward the ceiling.
4. Use 1/4-in. (6mm) OD tubing and connect the saddle valve to the inlet side of the solenoid valve on the
humidifier (See Fig. 9).
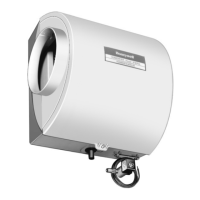
Fig. 9. Installing the drain tubing.
5. Repeat step 2, a – d for saddle valve fitting.
NOTE: Cut tubing to correct length so the tubing terminates at the drain.
Air Pressure Switch Installation
IMPORTANT: Do not install the switch in an area where temperature exceeds rating of -40F to 190F (-40C to 88C)
1. Disconnect power from the humidifier before installing.
2. Mount the switch vertically with pressure connectors facing down, using provided self-tapping screws to secure
the switch to the duct.
IMPORTANT: Calibration accuracy requires that the switch be mounted vertically (as pictured in Fig. 10).
 Loading...