"#/
Ready to Arm ...
231
5
64
0
89
7
Clear
5200-100-049-V0
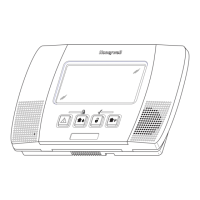
AM / PM
Enter Time
10:21 AM
Save
8. If the displayed time is not correct, select “Clear” then enter
the correct time (4 digits) on the keypad and select AM or PM.
9. When you have finished select the “T” icon. The system
advances to the next screen OR proceed to step 17.
5200-100-050-V0
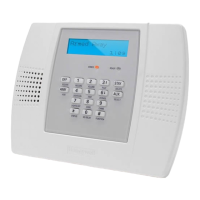
Time Zone
Eastern (EST)
Day Light Savings Time
Yes
Start Month
March
End Month
November
Start Week
Second
End Week
First
Save
Ready To Arm
10. Select “Time Zone”. The system scrolls between through the
following options:
Eastern (EST)
Central (CST)
Mountain (MST)
Pacific (PST)
Hawaii (HAST)
Alaska (AKST)
Brasilia (BRT)
Mid-Atlantic (MAT)
Atlantic (AST)
Newfoundland (NT)
Select the correct time zone.
11. Select “Day Light Savings Time”. The system toggles between
“Yes” and “No”.
Note: The start month/week and end month week are default
programmed to “March/Second” and “November/First”
respectively. Steps 13 to 16 should only be performed if you wish
to change those entries. If you are not changing the defaults,
advance to step 17.
Ready To Arm
5200-100-051-V0
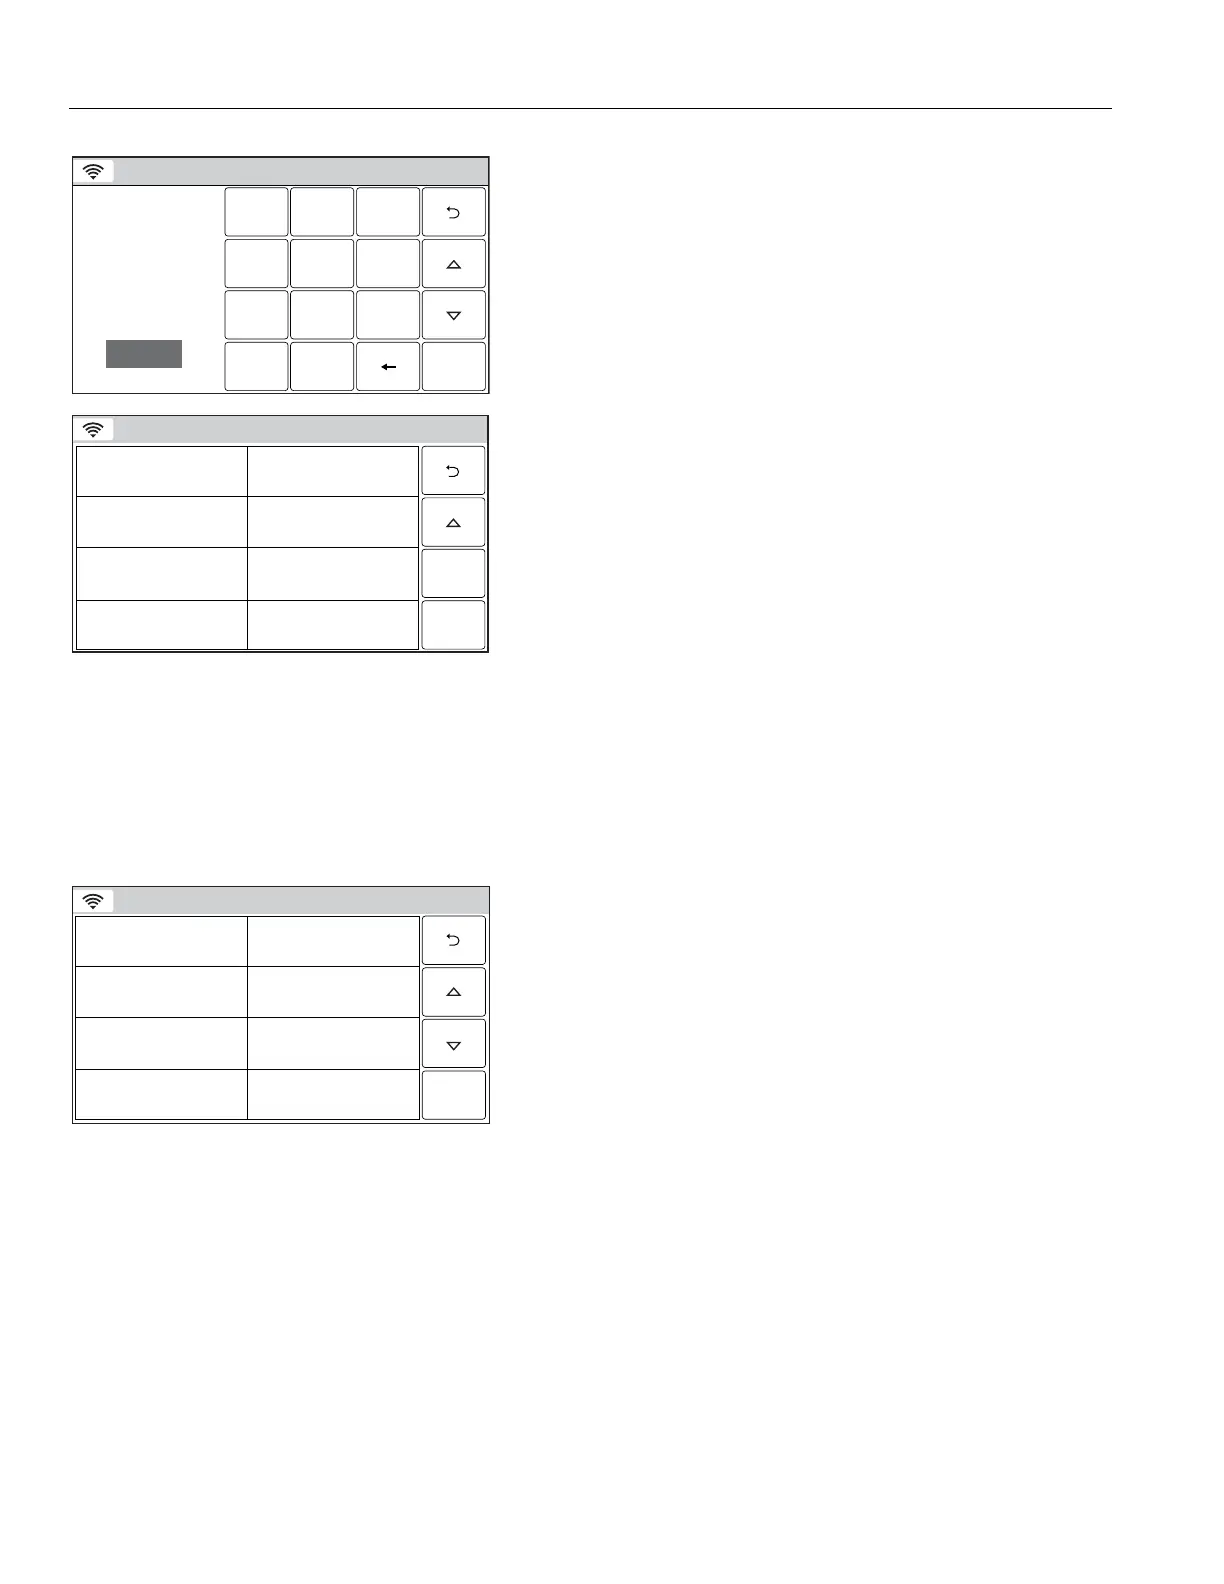
January February
March April
May June
July August
12. Select “Start Month”. The system displays a calendar. Select
the correct month.
13. Select “Start Week”. The system will toggle between:
Second
Third
Fourth
Last
Next to Last
3rd from Last
First
14. Select “End Month”. The system displays a calendar. Select
the correct month.
15. Select “End Week”. The system will toggle between:
First
Second
Third
Fourth
Last
Next to Last
3rd from Last
16. When you are finished select the “Save” key. The system
returns to the Master User program screen.

 Loading...