'
Video Camera Control
! )&& &
&&
Button Function
1 2
3 4
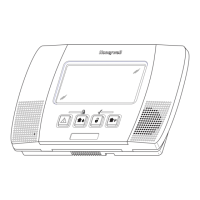
Video Camera Control
Button operation is dependent upon the features available in the camera that is installed/selected (i.e.;
pan & tilt and auxiliary LED light). Only the buttons that are applicable for the selected camera are
displayed.
Camera "Home" position - The camera's home position is centered in its vertical and horizontal axis.
• When a camera has been moved to other than the home position
, if 5 minutes pass an no movement
is detected, the camera will return to the home position.
Notes
• Additional features can be programmed via TotalConnect 2.0. Check with your installer to see
which features are available.
• In the event that video is lost, frozen or is pixelated and does not automatically reset, tap the
display two times to manually restore the video.
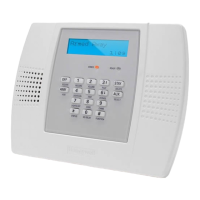
1 2
3 4
Preset buttons 1, 2, 3, 4 – These buttons are used to quickly drive a pan/tilt camera to a preset watch
area. (Up to 4 preset watch areas can be set.) Select the button to go to the preset watch area. To
set a preset watch area, use the arrow buttons to drive the camera to the desired area. Alternately,
sweeping a finger across the screen, horizontally, vertically or diagonally will drive the camera in that
direction. Then tap the desired 1, 2, 3, or 4 button three times. The selected button will be highlighted
(for around 5 seconds) confirming that the preset is saved.
Arrow buttons – Used to position a PT (pan & tilt) camera. Select to incrementally position a pan & tilt
camera (i.e; iPCAM-PT) in a vertical or horizontal direction.
Center home button – Click to drive the camera to its home position.
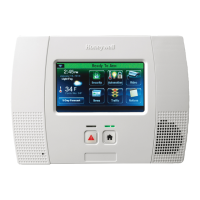
Light – Used to toggle on or off the camera's auxiliary lighting LEDs. Depending on the ambient low
light conditions, the auxiliary lighting can improve video quality up to 15 feet.
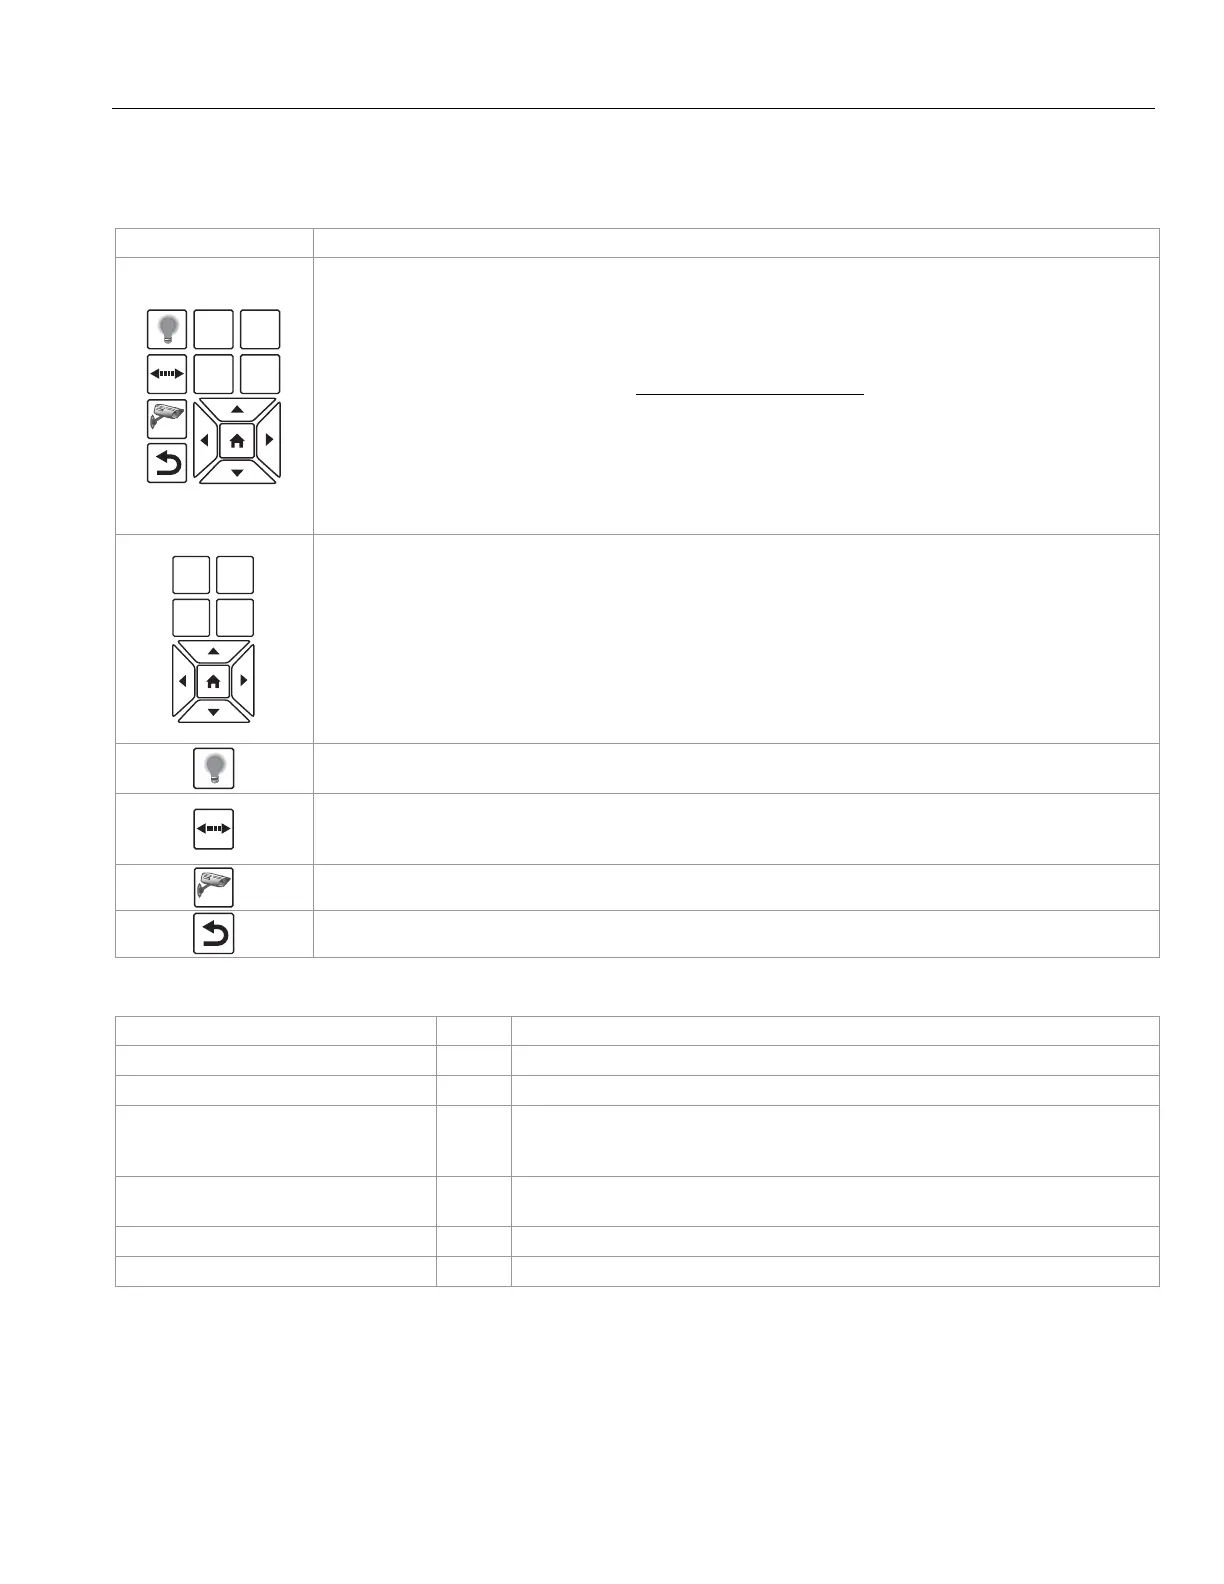
Auto pan – Causes the camera to swing through its entire horizontal range. At the end of the panning
motion, the camera will return to the starting position. After 5 minutes of no movement the camera will
always return to the home position.
Video Camera – When selected, the panel displays a list of available video cameras.
Return/Home – Returns the control panel to the panel’s Home Screen
Video Camera Indicators
Displayed Text Band Meaning
“Name” OR Camera information Green Normal operation, selected camera
“Name” OR Camera information
Gray Normal operation, unselected camera
“Wait for Automatic Video Restore…”
Blue Displayed after communication has been restored. After a delay, Video
restoration will begin automatically. The video can also be restored manually
by tapping the display two times.
“Double Tap to Restore Video”
Yellow Video restoration requires user to tap the display two times. Video will begin
when communication is restored.
“Video No Longer Available”
Red Comunication with camera has been lost
Date & Time Black Displayed if programmed
 Loading...