TABLE 1—COMPATIBILITY CHART.
COMPATIBLE
SYSTEM TYPE
WITH MS3000
SOLUTION
GAS
Standing Pilot
Gas Auto Ignition Systems
I
YES
I
—
MOST
If display goes blank shortly after powering up
thermostat for the first time. install MS1OOQ for
Z-wIre
heating or 4-wire heating/cooling systems;
install
MS1OICl
for5-wire
heating/cooling system.
MILLIVOLT, POWERPILE GAS CONTROL
NO
Install MS 1010 Relay and Transformer.
OR OTHER “SELF-POWERED SYSTEMS
ZONE CONTROL VALVE
2-Wire Valve
YES
3-Wire Valve
NO
Install MS 1010 Relay and Transformer.
OIL
MOST
Roberrshaw
and Honeywell R8 184G require
MS 101 Q Relay and Transformer.
HEAT PUMPS
NO
None. MS3000 is not compatible with heat pumps.
VENT DAMPERS
MOST
Robertshaw
AVD-E-780-90
requires
MS1 01
Q
Relay and Transformer.
MULTISTAGE
NO
None. MS3000 is not compatible with multistage
systems.
LINE VOLTAGE SYSTEM
NO
Consult qualified installer to install relay
R841C.
ELECTRIC HEAT
POSSIBLY
If fan doesn’t
come
on with heat, call Consumer
Affairs. Seepage 1 fortoll-free number.
HYDRONIC
MOST
Honeywell
L8
124A and L8 148A or Taco valves
..
-----
.
.
1
I
reaui~e
MSIOIQRelay
and
Transformer
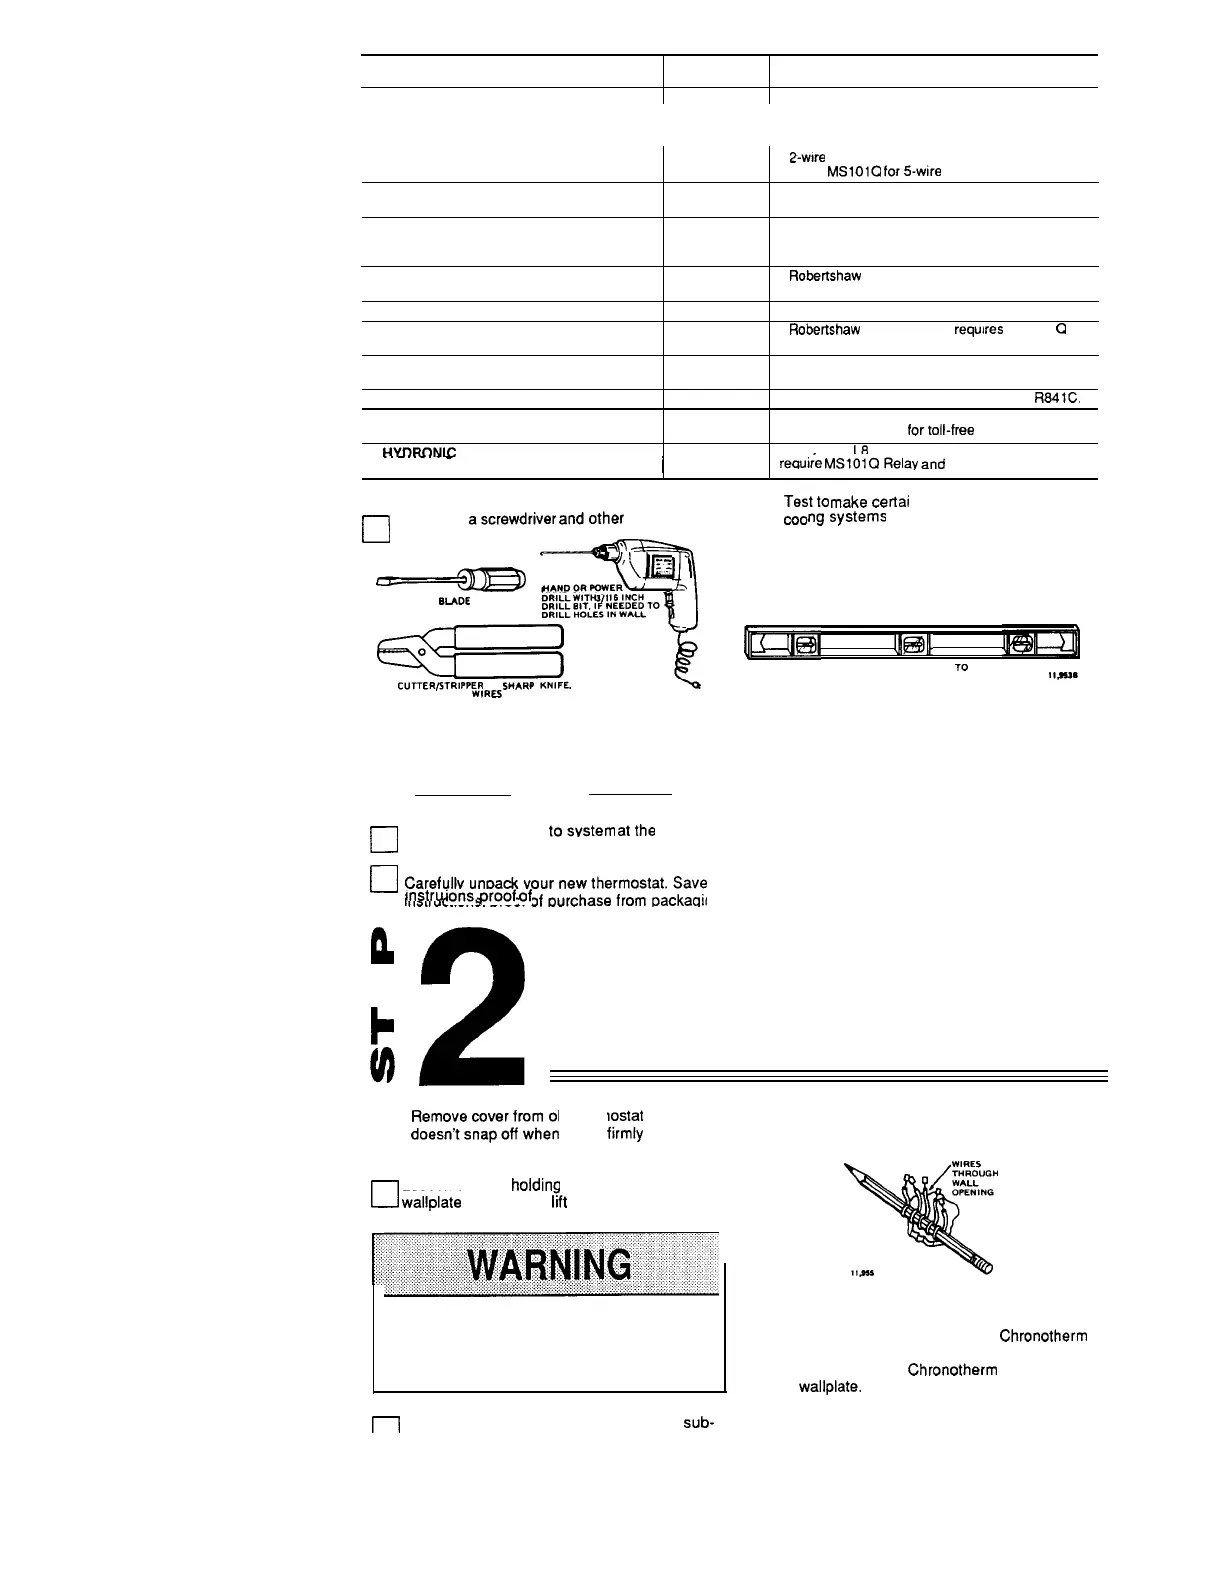
TOOLS REQUIRED FORINSTALLATION
n
Assemble
ascrewdriver
andother
tools as
U
needed (below).
7
~
“,.00,R3WR’~::
1
FLAT BLADE
DR
ILL WITH 3/1 6 INCH
SCREWDRIVER
DRILL BIT. IF NEEDED TO
DRILL HOLES IN WALL
=s”
WIRE CUTTER6TRIPPER OR SHARP KNIFE,
IF NEEDED TO STRIP
WIRES
❑
Tes~ito
makecerta
m that your heating and
coo
ngsystems
are working properly. If either
does not work, contact you r local heating/air
conditioning dealer, To avoid compressor damage,
do not operate the cooling system if outdoor
temperature is below 50” F[10° C].
lpl@l
KaN
SPIRIT LEVEL, 1 F NEEDED TO LEVEL
THERMOSTAT FOR APPEARANCE
,,.sss.
2
m
TURN OFF POWER
tosvstem
atthe
furnace,
and original receipt.
U
and at the fuse/circuit breaker panel.
❑
Caref~!YunPa~yournewthermostat.Save ❑
Peel backing off QUICK GUIDE; adhere to
inside of thermostat’s right-hand door.
mstru
ions,
proof
of
purchase from packaging
k
w
P
4)
2
REMOVE OLD THERMOSTAT
❑
!oesn?snapoffwhen
pulled
firmfy
from the
emove cover from old thermostat. If it
bottom, check for a screw that locks the cover on.
n
Loosen screws holdino thermostat to subbase.
U
wallplate
or wall, and
~ft
away.
If your old thermostat is attached to a
junction box in the wail, It is likely thst
120 V are present. DO NOT PROCEED.
Call a qualified electrician.
m
Disconnect wirea from old thermostat or
sub-
U base. As you disconnect each wire, use mask-
ing tape to label it with the old terminal designation.
If there are only two wires, they don’t need to be
3
labeled. Keep the wires from falling back into the
wall by wrapping them around a pencil, as shown
Two extra wires?
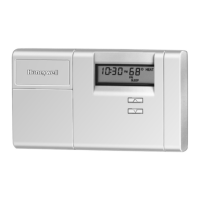
If
you are replacing a Honeywell
Chronotherm
thermostat, you may find two wires that go to the
clock terminals on the
Chronotherm thermostat
wiring
wallplate. Disconnect the wires, and wrap
them separately, using electrical tape. Do not wrap
them together. Place the wires where they will not
interfere with the operation of the new thermostat.
Record the colors and terminal designation labels
of the rest of the wires.
69-8025-2
 Loading...