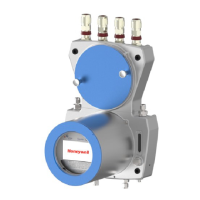
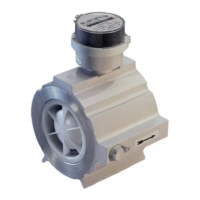
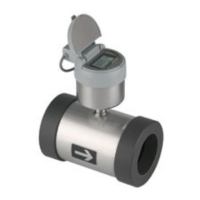
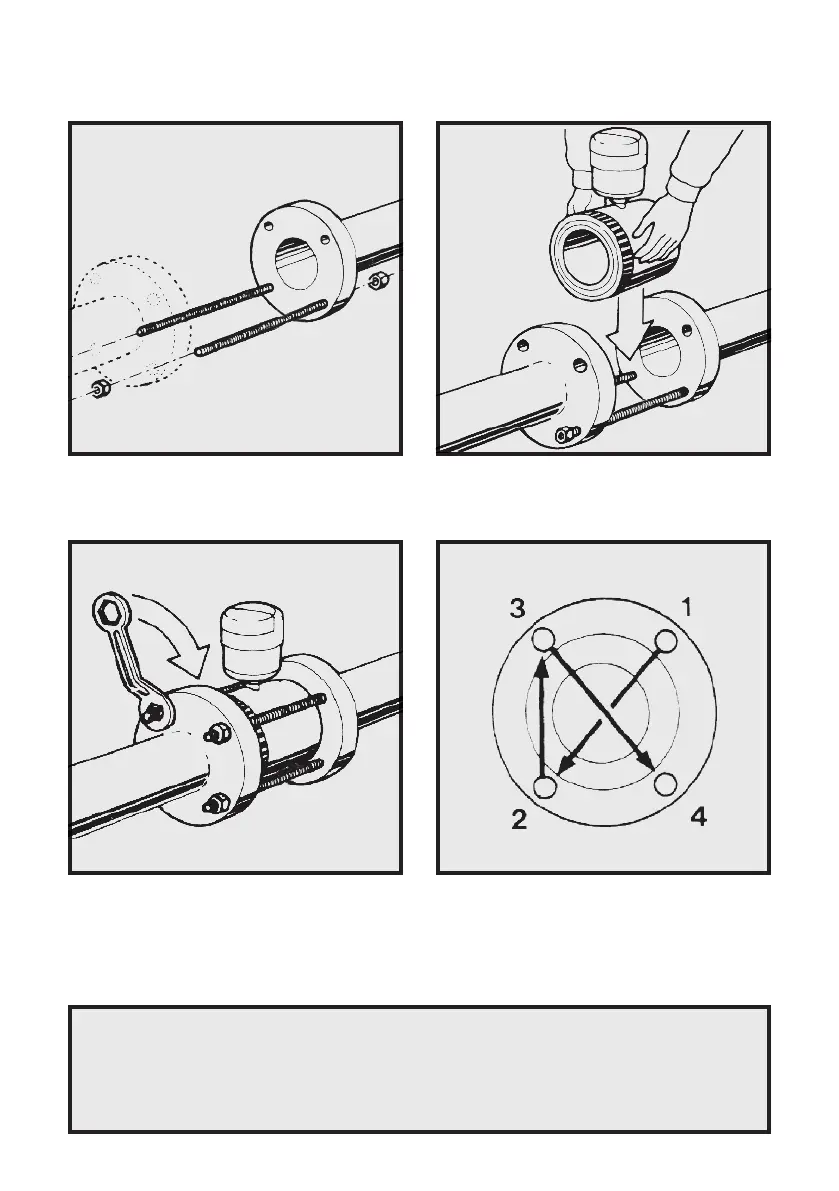
Installation
1) Insert the studding in the lower two bolts
and fix the bolts to the flanges.
3) Insert the remaining studs and slightly
tighten all bolts. Make sure that the meter
pipe centre is not displaced and the
display is not askew. Fit the gaskets in
between the pipe ends and the meter.
4) After you check the displacement of the
meter pipe centre, tighten the nuts
diagonally in the order shown by the arrows
in the figure above. Tighten the nuts to
squeeze the gaskets until fully sealed.
2) Place the electromagnetic meter on the
studs and set it in the desired position,
taking care not to subject it to damage.
Caution
• Make sure not to step on the display unit of the electromagnetic meter while
you are doing the pipework.
• Never try to adjust the meter position using the display unit for grip after
tightening the bolts.
• Do not attempt to correct problems by hitting the meter body.
 Loading...