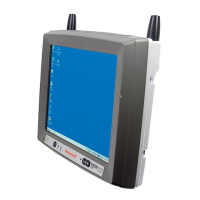
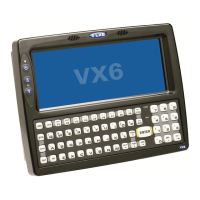
Fuse Replacement for the VX6
The VX6 uses a 100V, 10A time delay (slow blow), high current interrupting rating fuse that is externally accessible and user
replaceable.
Should it need replacement, replace with same size, rating and type of fuse – Littlefuse 0234010 or Optifuse MSC-10A
(5x20mm).
1. Fuse
2. Twist in this direction to
remove
3. Twist in this direction to
insert
Caution
Fuse has voltage on it even when power is off. Always disconnect input power before changing fuse.
1. Turn the VX6 off and disconnect the power cable from the VX6.
2. While holding the VX6 over a level surface, push the fuse cover in and twist it one quarter turn counterclockwise. A flat
head screwdriver may be used to twist the fuse cover.
3. Remove the fuse.
4. Discard the fuse and place a new fuse in the holder.
5. Push the fuse in and twist it clockwise one quarter turn.
6. Reconnect the power cable to the VX6.
4-12
 Loading...