9
9
9
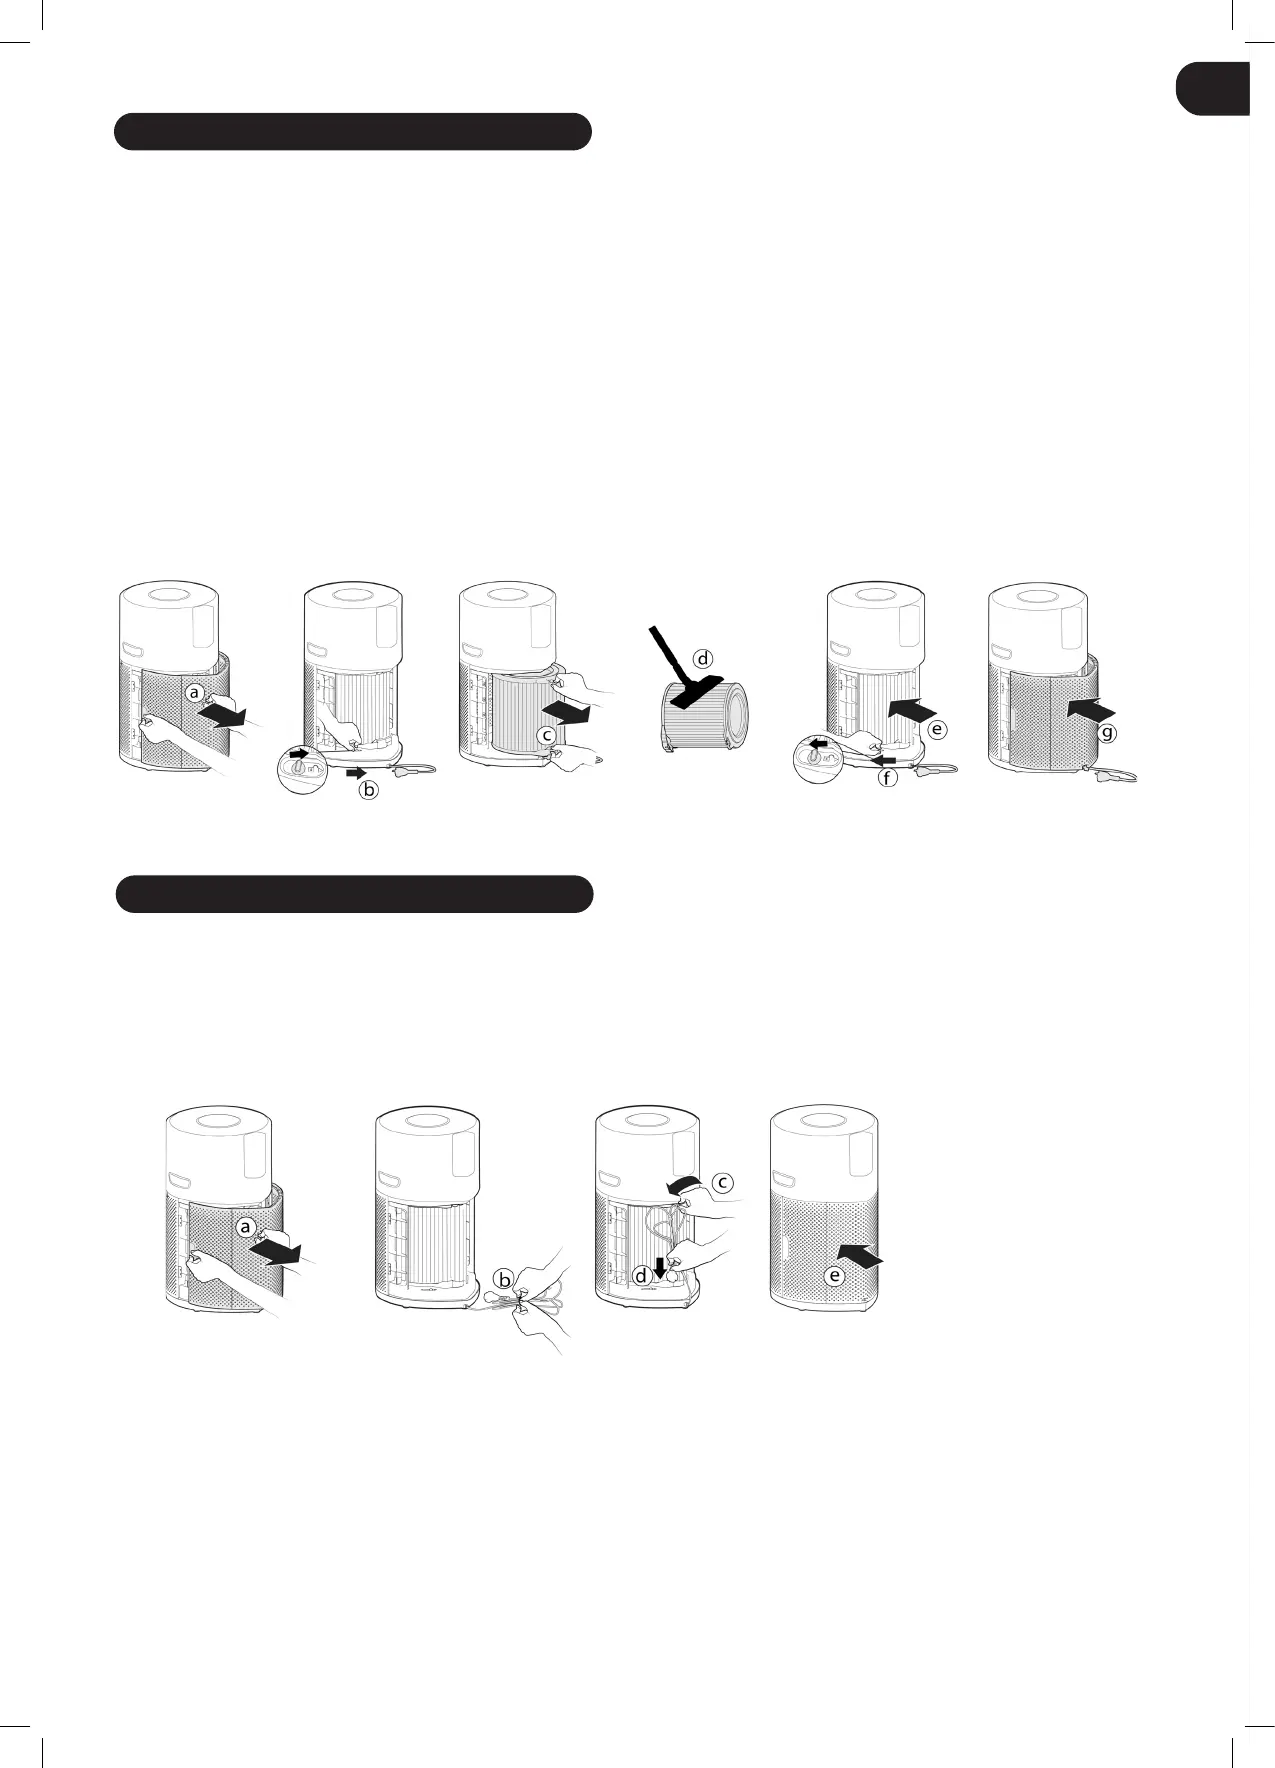
MAINTAINING YOUR H-PURIFIER
Fig.14
GB
IMPORTANT: ALWAYS UNPLUG YOUR APPLIANCE FROM THE POWER SUPPLY WHEN PERFORMING MAINTENANCE TASKS.
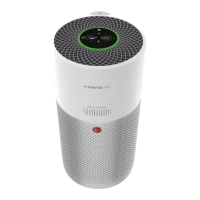
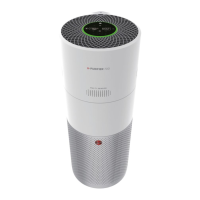
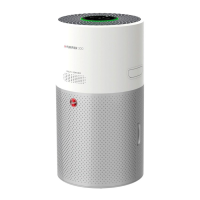
FILTER CLEANING / REPLACEMENT
Your H-Purier will monitor the condition of your lter. FILTER CLEANING button or FILTER REPLACEMENT button will turn yellow indicating
action is required to clean or change the lter.
Cleaning / Replacing the Filter:
[Fig. 14]
• Remove the Air Inlet Cover from your product. [Fig. 14a]
• Unlock the Filter release switch. [Fig. 14b]
• Remove the lter from your product. [Fig. 14c]
• Use a Vacuum Cleaner to clean the external mesh on the Filter Assembly OR Replace with a NEW lter. [Fig. 14d]
• Re-Fit the Filter assembly into the product. [Fig. 14e]
• Lock the lter release switch. [Fig. 14f]
• Ret the Air Inlet Cover to your product. [Fig. 14g]
• Plug in your appliance to the power supply and switch on. [Fig. 2,3]
• Press and hold the FILTER CLEANING button or FILTER REPLACEMENT button for 3 secs, an audible alert will be heard to indicate a
successful reset, and the button will be off. [Fig. 12,13]
STORAGE OF YOUR H-PURIFIER
Fig.15
1. Switch off the Air Purier and unplug the socket.
2. Clean all internal & external surfaces of the Air Purier and the external mesh of the Filter.
3. Ensure all components are dry.
4. Remove the Air Inlet Cover [Fig. 15a] and tidy up the power cord [Fig. 15b], hang the cord on to the Cord Hook [Fig. 15c], and t the cord
into the storage hook and t the plug into the transport location[Fig. 15d]. Ret the air inlet cover. [Fig. 15e]
5. Store the Air Purier in a cool dry place.
 Loading...