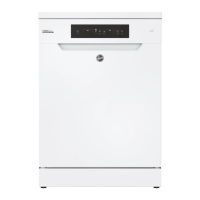
This document describes the Hoover Helkama Dishwasher, providing instructions for its operation and a detailed overview of its control panel and available programs.
Function Description
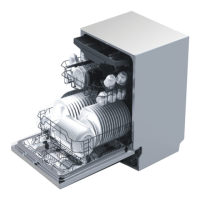
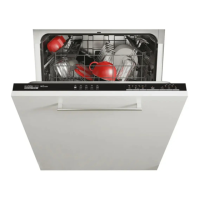
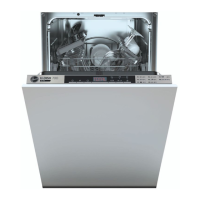
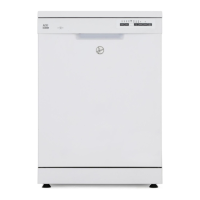
The Hoover Helkama Dishwasher is designed to clean dishes using various wash programs tailored to different levels of dirtiness. It requires a manual water connection from a kitchen tap, which must be opened before starting a program and closed once the program has finished.
Important Technical Specifications
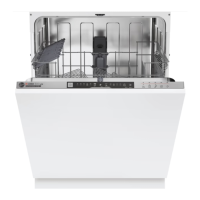
The control panel features several key indicators and buttons:
- Power light (1): Indicates when the machine is powered on.
- Power switch (2): Used to turn the machine on and off.
- Display (3): Shows program information or time.
- Delay button (4): Allows for delaying the start of a wash cycle.
- Rinse aid indicator light (5): Illuminates when rinse aid needs refilling.
- Salt level indicator light (6): Illuminates when dishwasher salt needs refilling.
- Program indicator light (7): Indicates the currently selected program.
- Program button (8): Used to cycle through and select different wash programs.
- Start button (9): Initiates the selected wash program.
The dishwasher offers a range of programs, each designed for specific needs:
- Power wash (TEHOPESU): For very dirty dishes.
- General wash (YLEISPESU EN 50242): For normally dirty dishes.
- Eco wash (ECO): For slightly dirty dishes, likely energy-efficient.
- 1 hour (1 TUNTI): For daily wash needs.
- Glass wash (LASIPESU): For slightly dirty dishes, presumably gentle on glassware.
- Quick wash (PIKAPESU): A faster wash cycle.
- Prewash (ESIPESU): A preliminary rinse cycle.
Usage Features
Operating the Hoover Helkama Dishwasher involves a straightforward sequence of steps:
- Open the water connection: This is done via a dedicated on/off switcher located on the kitchen tap, as shown in the provided image.
- Add detergent: Place the appropriate amount of dishwasher detergent into the dispenser and close the machine door securely.
- Turn on the machine: Use the power switch (2) on the control panel.
- Select the appropriate washing program: Press the program button (8) to cycle through the available programs until the desired one is indicated by the program indicator light (7).
- Start the program: Press the start button (9) to begin the wash cycle.
Once the program is complete, two final steps are crucial:
- Turn off the machine: Use the power switch (2).
- Close the water connection: Turn off the on/off switcher on the kitchen tap to prevent continuous water flow.
Maintenance Features
While the document does not explicitly detail maintenance procedures, the presence of specific indicator lights suggests built-in features to aid in maintenance:
- Rinse aid indicator light (5): This light alerts the user when the rinse aid dispenser needs to be refilled, ensuring optimal drying performance and streak-free dishes.
- Salt level indicator light (6): This light signals when the dishwasher salt reservoir needs replenishment. Dishwasher salt is essential in hard water areas to prevent limescale buildup and improve washing efficiency.
Regular attention to these indicators will help maintain the dishwasher's performance and longevity. The manual also implicitly suggests that the user should be aware of the water connection point for both opening and closing, which is a key operational and potentially maintenance-related aspect to prevent leaks or water waste.