P6
3. USING YOUR CLEANER
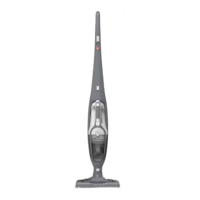
3.3 UPRIGHT - ACCESSORY MODE
IMPORTANT: When using cleaning tools in upright accessory mode, please hold or support the cleaner in a safe position whilst using the wand.
Accessories will t directly onto the end of the
wand and handle for above oor and direct
cleaning using the latch t mechanism.
To use your product in Upright-Accessory mode:
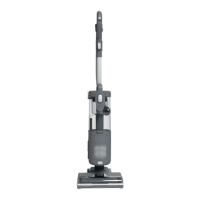
STEP 1:
Place your product in the
upright position.
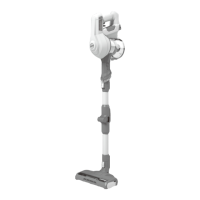
STEP 3:
Remove the handle & wand from
the main product.
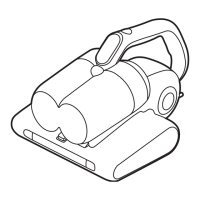
STEP 4:
Attach your required accessory to the end of the wand or handle.
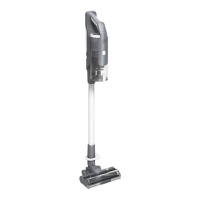
STEP 2:
Press the wand release
button to release the
wand.
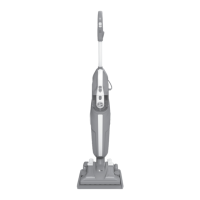
To use your accessories in upright mode:
The product features an integrated
brushbar status light when using
your product in upright mode.
There are 4 conditions of the brushbar status light during use in upright mode:
1. OFF: the brushbar is turning, the nozzle LED lights are on.
Your product is operating in hard oor mode.
2. WHITE: the carpet button has been pressed to increase the speed of the brushbar in order to
deep clean carpets. Your product is operating in carpet mode.
The brushbar is turning fastly, the nozzle LED lights are on.
3. RED: The brushbar has stopped turning, the nozzle LED lights are o.
a. The push force can be too high and the product is dicult to move.
If this happens, simply turn o the product and move the suction control to MIDDLE or MIN
SETTING (See Section 3.1).
b. There is an obstruction in the nozzle.
If this happens, simply turn o the product and remove any obstructions (See Section 4.5).
4. FLASHING RED: The brushbar is not turning, the nozzle LED lights are o.
The nozzle window has not been correctly re-assembled after maintenance.
If this happens, simply turn o the product and ensure the nozzle window is correctly
assembled (See Section 4.4).
3. USING YOUR CLEANER
3.2 BRUSHBAR STATUS
 Loading...