1
1) Move the power switch to the "OFF" position and unplug the unit from the electrical
outlet.
) Remove the screws securing the front
panel, then remove the panel. See Fig. 11.
3) Remove the screws securing the louver,
then remove the louver.
4) Use a brush attachment on a vacuum
cleaner to gently clean the condenser ns.
Do not use too much force, otherwise the
ns could be damaged.
5) Replace the louver and front panel in their
correct positions. Ensure that the screws
are securely in place.
6) Plug the unit back in. Move the power switch to the "ON" position to start the automatic
icemaking process.
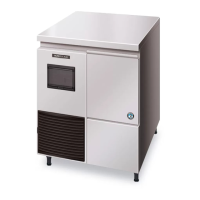
C. Preparing the Icemaker for Long Storage
CAUTION
When the icemaker is not used for two or three days under normal conditions, it
is sufcient to only move the power switch to the "OFF" position. When storing
the icemaker for extended time or in sub-freezing temperatures, turn the water
off and drain out all water from the water lines and remove the ice from the
storage bin. The storage bin should be cleaned and dried. Drain the icemaker
water hose using compressed air or carbon dioxide to prevent damage at sub-
freezing temperatures.
1) Move the power switch to the "OFF" position and unplug the unit from the electrical
outlet.
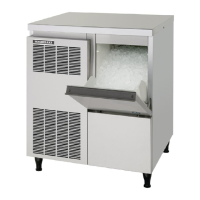
) Remove all ice from the storage bin.
3) Remove the slope by bending its center carefully and releasing it from the slope
shafts. See Fig. 9.
4) Remove the scoop. Remove the thumbscrews securing the scoop holder, then
remove the holder.
5) Remove the thumbscrews securing the shroud, then remove the shroud.
6) Remove the thumbscrews securing the thermostat holder.
7) Gently lift the thermostat and thermostat holder up out of the way, then remove the
spout by pulling it up slightly and pulling it forward.
8) Close the water supply line shut-off valve. See Fig. 8.
9) Open the water supply line drain valve.
10) Remove the clamp securing the drain cap to the evaporator, then pull off the drain cap
to drain the water from the reservoir and evaporator. See Fig. 10.
Front Panel
Louver
Fig. 11
Screws
Screws
Condenser
 Loading...