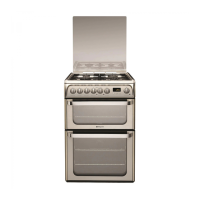
REPLACING THE LIGHT
1.
Di
sconnect the oven from the power supply.
2.
U
nscrew the cover from the light, replace the bulb
and screw the cover back on the light.
3.
R
econnect the oven to the power supply.
Not
e: Use 40 W/230 V type
The bulb used in the product is specically designed for
domestic appliances and is not suitable for general room
lighting within the home (EC Regulation 244/2009).
G9
Not
e: Use 40 W/230 V type
Light bulbs are available from our After-sales Service.
- Do not handle bulbs with your bare hands as your
ngerprints could damage them. Do not use the oven until
the light cover has been retted.
The bulb used in the product is specically designed for The bulb used in the product is specically designed for The bulb used in the product is specically designed for
domestic appliances and is not suitable for general room
lighting within the home (EC Regulation 244/2009).
Light bulbs are available from our After-sales Service.
- Do not handle bulbs with your bare hands as your
ngerprints could damage them. Do not use the oven until
the light cover has been retted.
This product contains a light source of energy
efficiency class G
! This procedure must be performed by a qualified
technician who has been authorised by the
manufacturer.
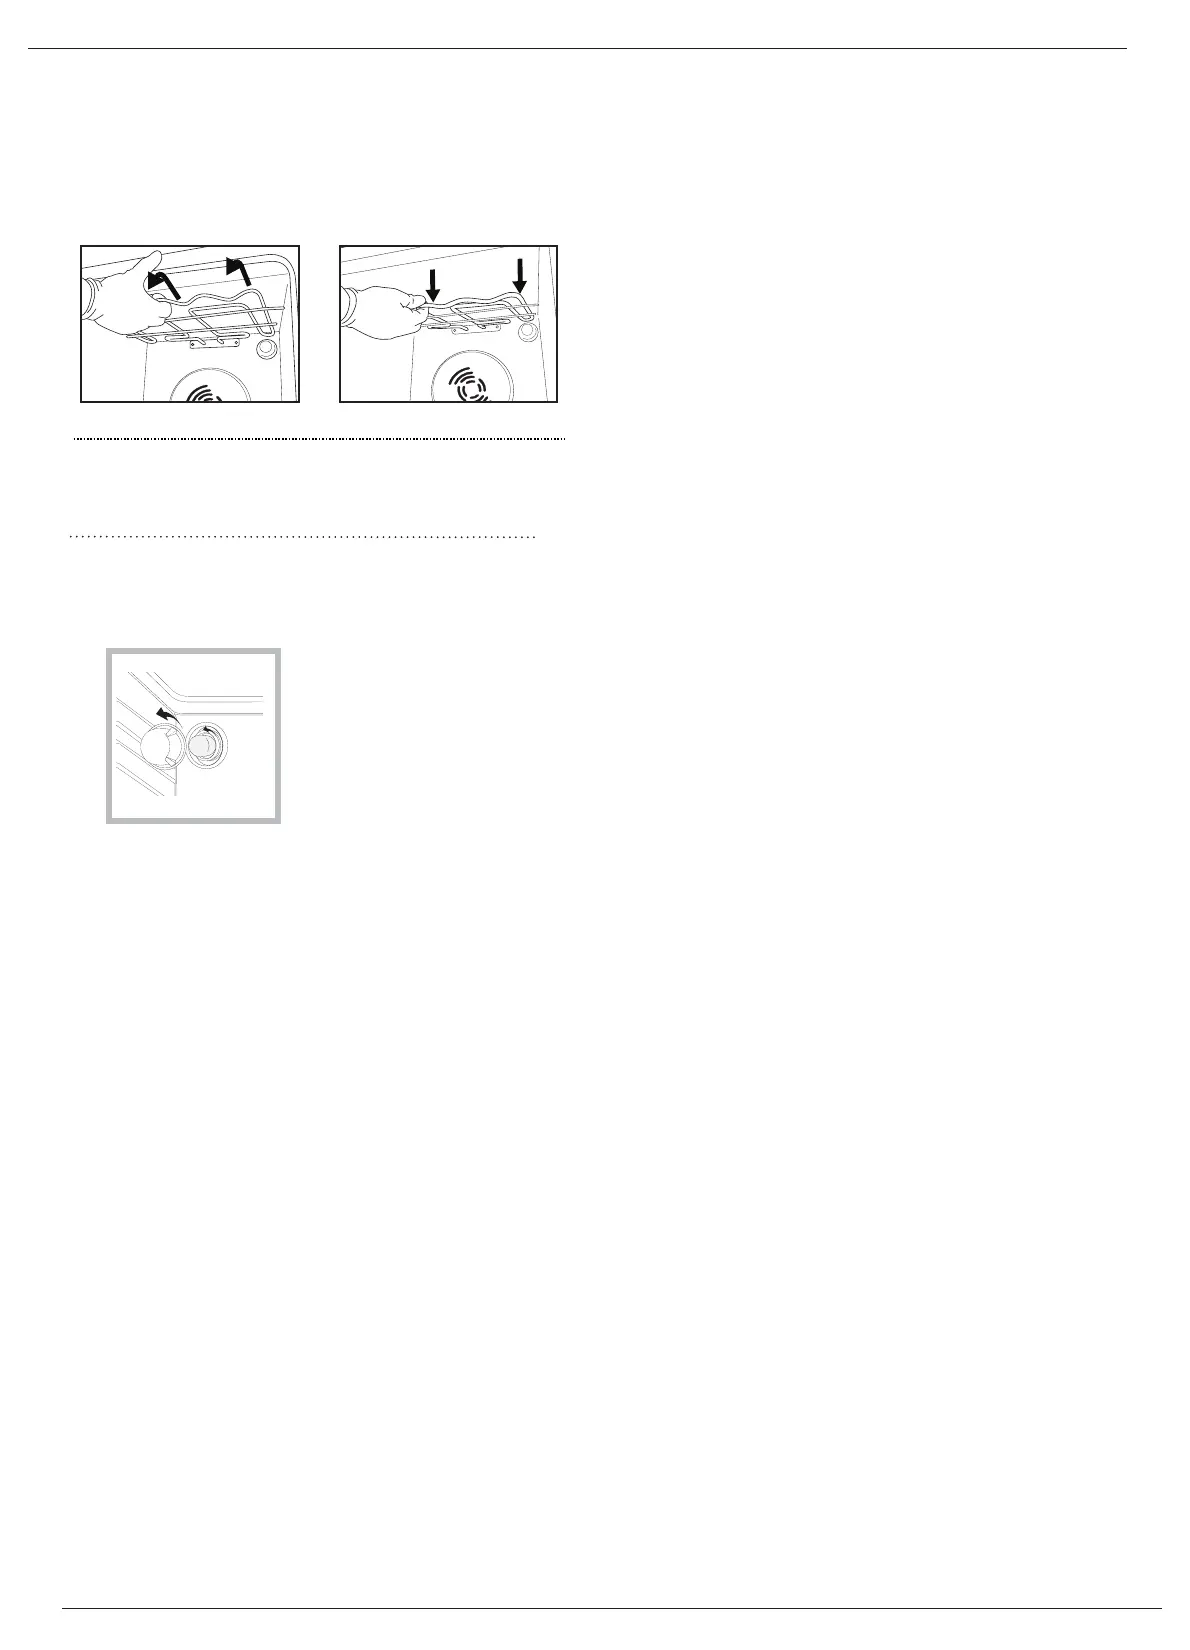
MOVING THE TOP HEATING ELEMENT
1. R emove the side accessory holder grills.
2. P ull the heating element out a little ( Fig. 1) and
lower it ( Fig. 2 ).
3. To reposition the heating element, lift it up,
pulling it slightly towards you, making sure it
comes to rest on the lateral support.
Fig. 1
Fig. 2