25
Installation Instructions
Step 3: Connect to the electricity
supply
Warning: This appliance must be
earthed.
The flexible mains lead is supplied
connected to a BS 1363 fused plug,
having a fuse of 3 amp capacity.
If this plug does not fit the socket in
your home, it should be replaced with
a suitable plug as outlined below.
The wires in the mains lead are
coloured in accordance with the
following code:
Green and yellow = Earth,
Blue = Neutral,
Brown = Live.
As the colours of the wires in the
mains lead for the appliance may
not correspond with the coloured
markings identifying the terminals in
your plug, proceed as follows:
1. The wire which is coloured green
and yellow must be connected to
the terminal marked E (Earth)
or coloured Green.
2. The wire which is coloured blue
must be connected to the terminal
marked N (Neutral), or coloured
Black.
3. The wire which is coloured brown
must be connected to the terminal
marked L (Live), or coloured Red.
The plug and socket must be
accessible after installation.
Should the mains lead of the
appliance ever require replacing, we
recommend that this is carried out by
a qualified electrician who will
replace it with a lead of the same size
and temperature rating.
Important: - ensure that you route
all mains and electrical cables and
flexible tubing well clear of any
adjacent heat source.
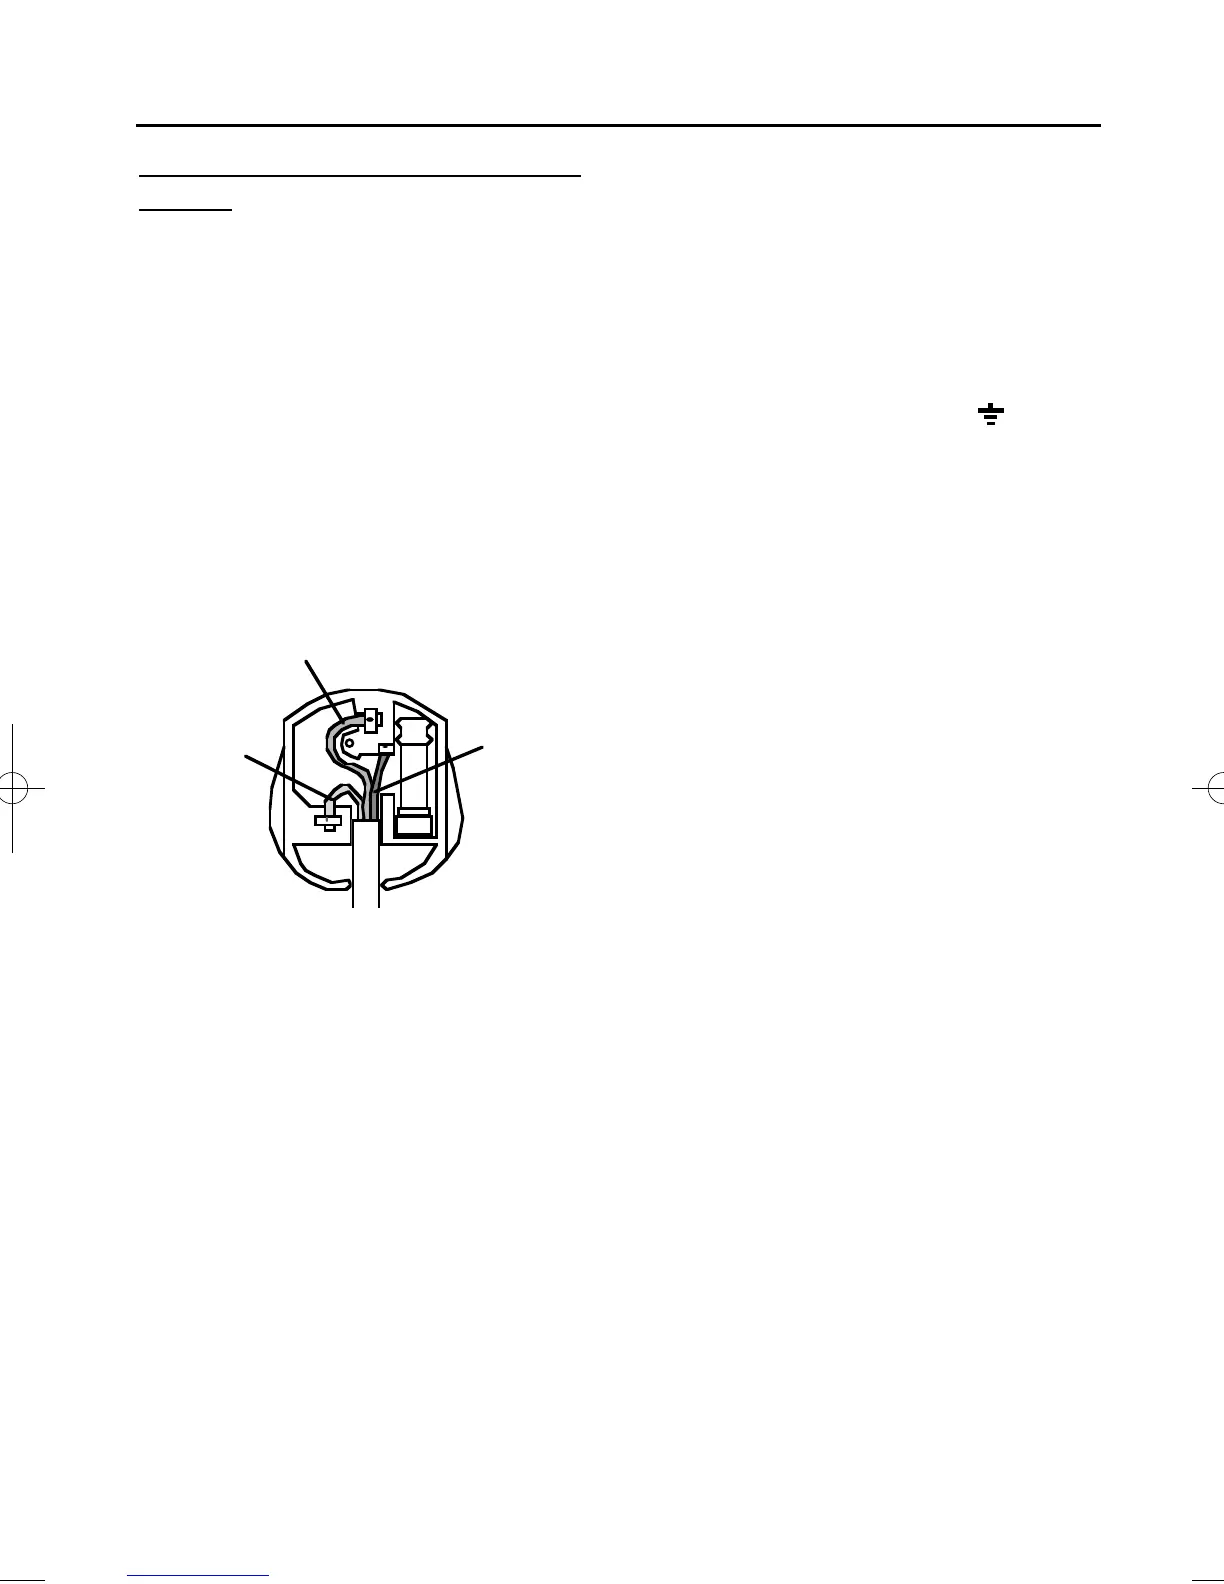
E (Earth)
GREEN / YELLOW
L (Live)
BROWN
N (Neutral)
BLUE
Use a 3 amp fuse
in a 13 amp plug.
08 27250 00 - Creda SC11 9/5/05 3:32 PM Page 27