Menu Settings
Press Power buttton to turn off the thermostat.
Press and hold button Prog for 3 seconds to bring up a configuration menu. Now press Prog button to select different menu number.
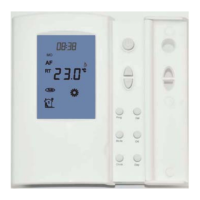
Set the temperature readout(AF model only). This gives option to choose to show air
A= to show air temperature,
A - F = to show both in 5 second intervals
temperature,floor temperature or to show both floor & air in interval.
01 = 5+2 day programmable
02 = 7 day programmable
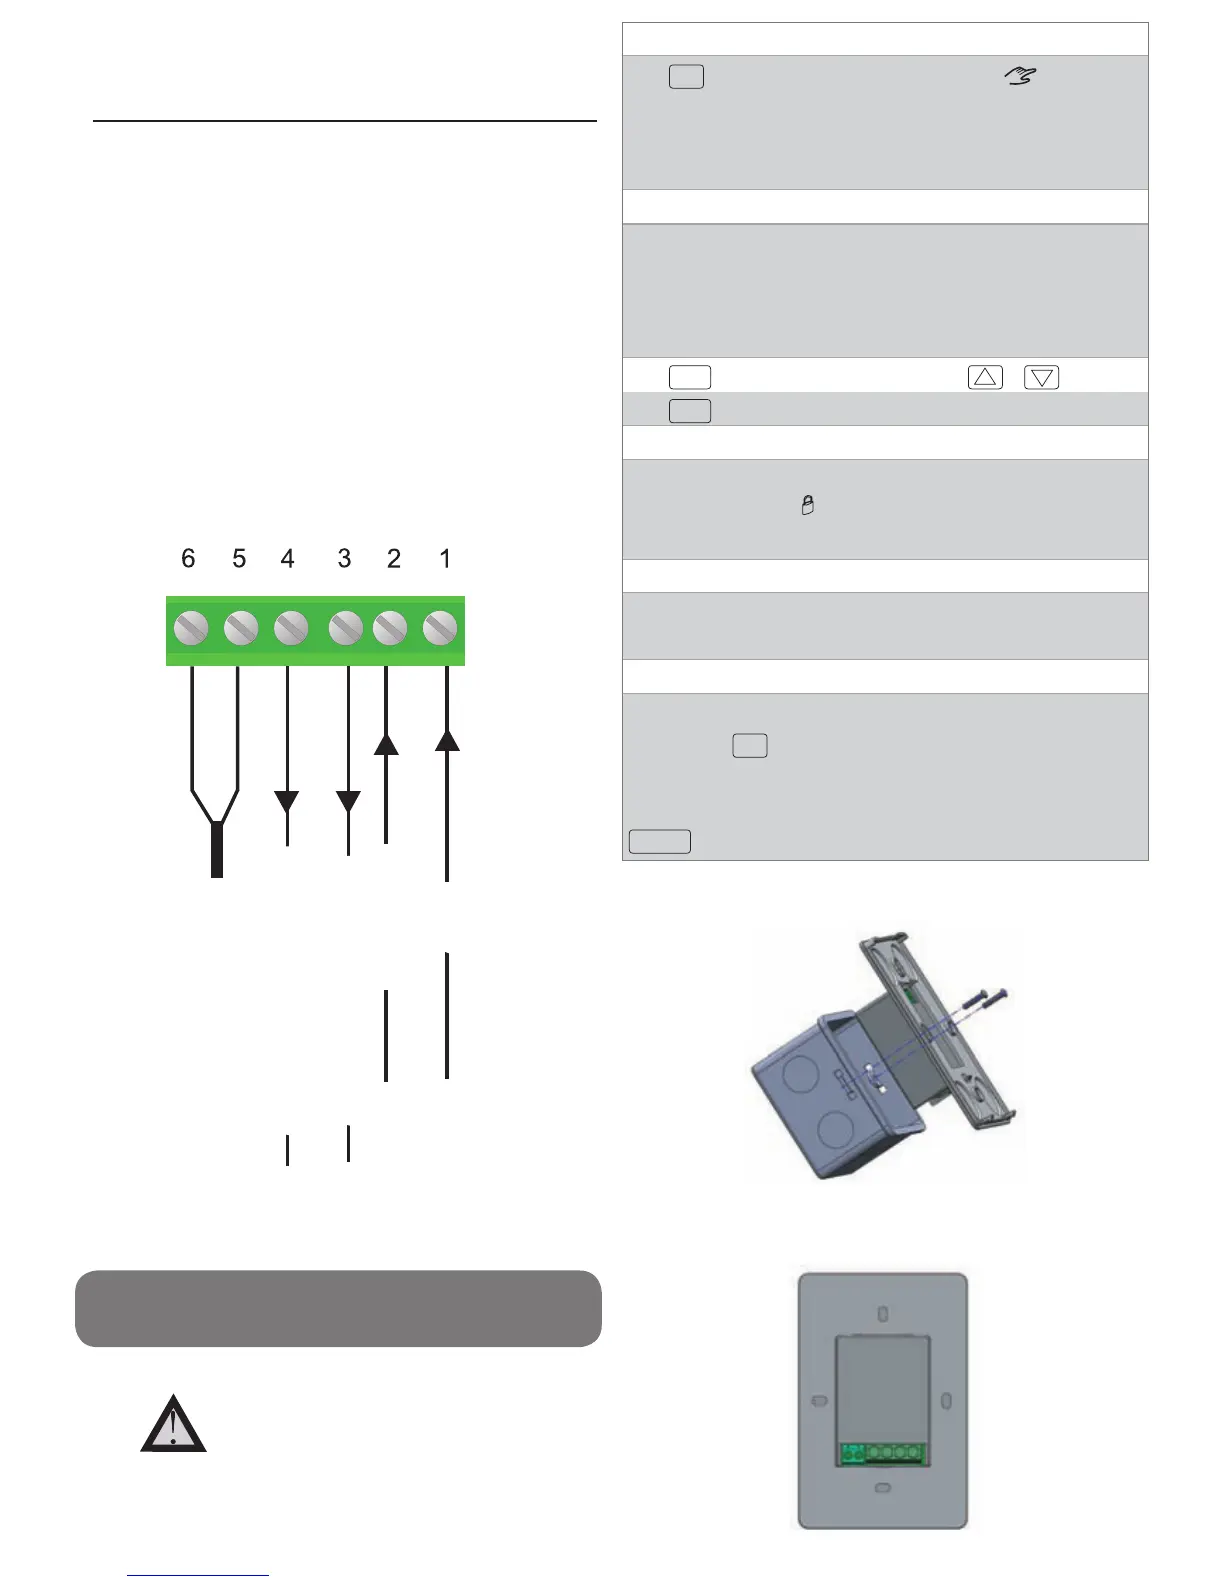
LOAD
(16A)
FEED
230 VAC
Floor Sensor
LL
N
Power Supply:
220Vac +10%, 50/60Hz
Load Capability: <16 A, 220VAC
Accuracy:
1deg C
Set-point range: ambient 5~30 deg C
floor 5~40 deg C
Storage: -20~50 deg C
Sensor selection. This thermostat is a combination model allowing you to choose
between 3 different models. (A, AF,F,)
A
model: air onl
y , with built in sensor
AF model: air & floor , with both built in and remote sensor
F model: floor onl y , with remote sensor
Menu #
1
Switching differential.
Calibrate the room temperature. This feature is used to compensate for any difference
Calibrate the floor temperature. This feature is used to compensate for any difference
Set the floor temperature limit(AF model only).
Select temperature format
Select 12 / 24 hour clock
24
12 / 24
2
3
4
5
6
7
8
9
10
Feature Description
Factory Default
Feature Value
0°C
ON / OFF
OFF
01
40
A
°C
20°C ~ 40 °C
°C / °F
°C
A / AF / F A
Press up or down button to select
The numbers of degree difference before switching. The default is
between the displayed room temperature and a thermometer.
between the displayed floor temperature and a thermometer.
This feature is to protect the floor surface.
°C or °F.
Program type selection.
This gives user 2 options of program type.(5+2 or 7 day programmable)
5+2
day will give you 5 days(Monday to Fiday) with the same four events(Wakeup, out,
7 day will give you individual settings for each day from Monday to Sunday.
home,sleep) and 2 days(Saturday and Sunday) with the same four events.
Frost protection.
This feature is to avoid room temperature goes below 5 °C
1°C which means the thermostat will switch the heating on 0.5°C below the set
temperature and will turn it off 0.5°C above the set temperature.
With a 2°C differential, the heating will switch on 1°C below the set temperature
and will switch off 1°C above the set temperature.
1°C 1°C ~ 5°C
-5°C ~ +5°C
0°C
-5°C ~ +5°C
F=to show floor temperature,
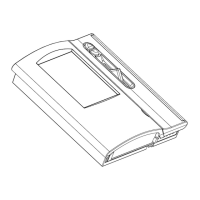
Installation and Wiring
Carefully separate the front half of the thermostat from the back plate by placing a
small flat head terminal driver into the slots on the bottom face of the thermostat.
Carefully unplug the ribbon connector which is plugged into the front half of
the thermostat. Place the thermostat front half somewhere safe. Terminate the
thermostat as shown in the diagrams below.
Screw the thermostat back plate onto the flush box
Re-connect the thermostat ribbon cable and clip the two halves together.
Holiday Function
Temporary Temperature Override
With thermostat turned off, press and hold OFF for 5 seconds until you can
see -- : -- on LCD.
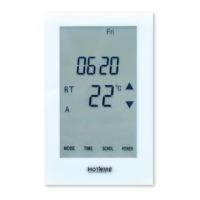
Manual Mode
Press
MODE
to select Auto/Manual mode. In Manual mode( ), the
thermostat maintains a constant set temperature manually set by the user.
Simply press the temperature and increase it to the required level.
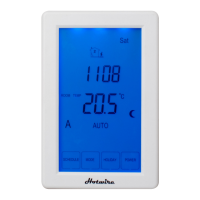
In Auto mode, the thermostat executes the preprogrammed schedules.
The Holiday function reduces the temperature in your room to the frost
protection temperature. The thermostat will maintain this temperature for the
duration of the holiday and will then automatically return to the programme
mode on your return.
Touch the temperature display, and it will start to flash. Use up or down buttons
to adjust. Press
DONE
to accept, and you will see “Override” above the
temperature display. Thermostat will maintain the new set temperature until the
next programmed event (comfort level). To cancel the override setting, press
Run Schedule
Press
HOLIDAY
enter the duration of your holiday by or or
Press
DONE
To cancel a Holiday, reduce the holiday period to 00 days.
Lock the Keypad
To lock the keypad, press and hold the top left corner of display for 5 seconds,
you will see a lock symbol . To unlock, repeat the steps above and the lock
symbol will disappear.
Reset to Factory Setting
This product should be installed by
a qualified electrician.
LOAD
(16A)
FEED
(230 VAC)
Floor Sensor
L L N N
Brown wire from the element
Blue wire from the element
House Neutral
Power
Connect green wire from the element to the house earth.
 Loading...