• Ensure that the charging port is clean and dry.
• Make sure that there is no dust, debris, or dirt inside the port.
• Plug the charger into a grounded wall outlet.
• Connect the cable with the power supply (100V-240V; 50 Hz/60 Hz).
• Align and connect the 1-pin charging cable into the charging port
of the Alpha Pro (DO NOT FORCE OR BEND THE CHARGING CABLE
AS IT MAY CAUSE THE PRONGS TO BEND OR BREAK).
• The charging indicator light on the charger itself should change to
red, indicating that your E-Scooter is now being charged.
• When the red indicator light on your charger changes to green,
your E-Scooter is fully charged.
• After fully charging your E-Scooter, unplug the charger from your
device and from the wall outlet.
• If the E-Scooter is not used for an extended period of time, you may
need to recharge the battery every 2 months to maintain the battery
life.
Only use the included charging
cable and charger to charge
your Alpha Pro. Using any other
charger may damage your
Alpha Pro.
CAUTION
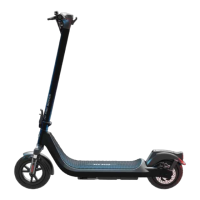
CHARGING YOUR ALPHA PRO
PREPARING YOUR E-SCOOTER
PLEASE READ THE FOLLOWING INSTRUCTIONS CAREFULLY
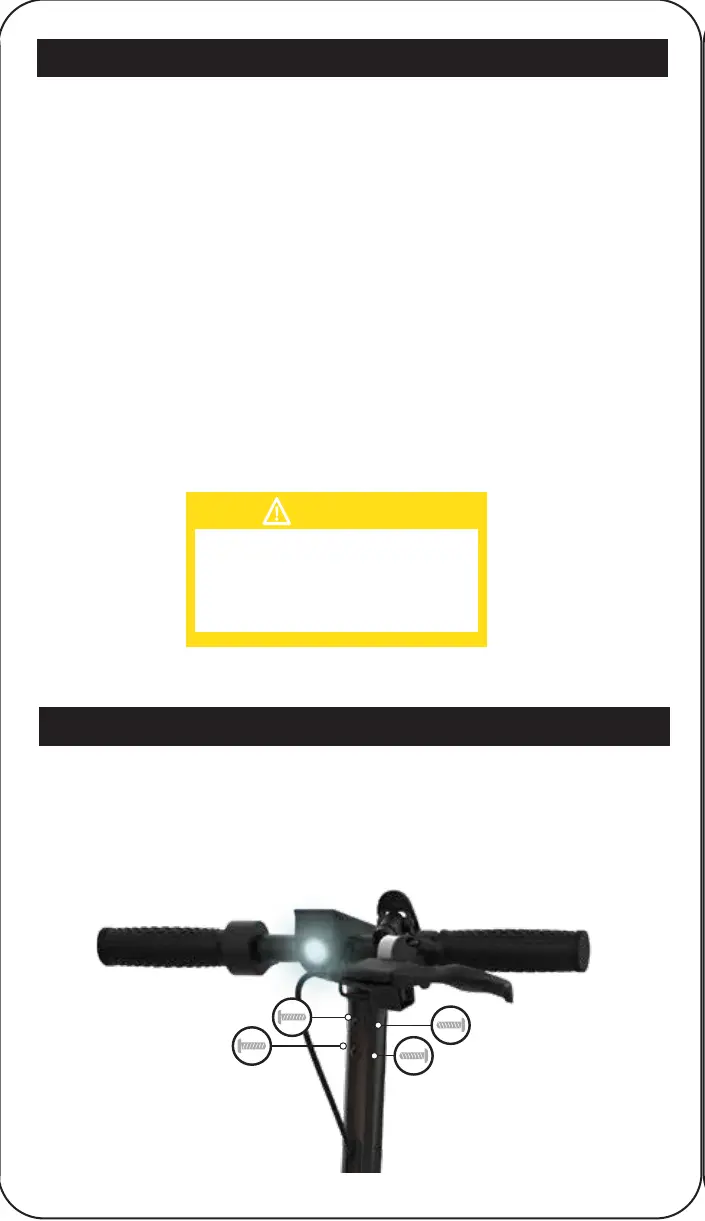
ATTACHING THE HANDLEBAR ASSEMBLY
Attach the handlebar assembly by placing it into the steering column,
aligning the front and back bolt holes, and tightening the 4 bolts into
place with the hex key.
18