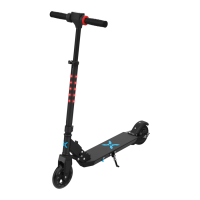
of power.
• If any or both tires are blocked, the Flare will stop after 2 seconds.
• When the battery level has depleted below protection mode, the
Flare motor will power off after 15 seconds.
While sustaining a high discharge current during use (such as riding
up a steep slope for a long period of time), the Flare motor will power
off after 15 seconds.
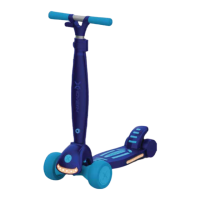
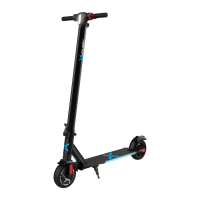
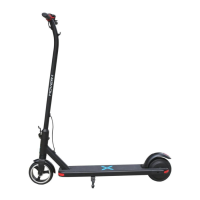
CHARGING YOUR FLARE
CHARGING THE FLARE
• Ensure that the charging port is clean and dry.
• Make sure that there is no dust, debris or dirt inside the port.
• Plug the charger into a grounded wall outlet.
• Connect the cable with the power supply (l OOV 240V; 50/60 Hz).
• Align and connect the I-pin charging cable into the charging port
of the Flare. DO NOT FORCE OR BEND THE CHARGING CABLE INTO
THE CHARGING PORT, AS IT MAY CAUSE THE PRONGS TO BEND OR
BREAK.
• The charging indicator light on the wall plug should change to RED,
indicating that your Flare is now being charged.
• When the RED indicator light on wall plug turns to GREEN, then your
Flare is fully charged.
• A full charge may take up to 6 hours.
• After fully charging your Flare, unplug the charger from your Flare
and from the power outlet.
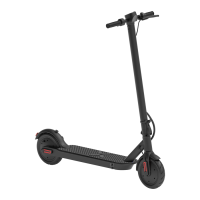
BATTERY CARE / MAINTENANCE
BATTERY SPECIFICATIONS
Battery Type: Rechargeable lithium-ion battery
Charge Time: Up to 6 hoors
Voltage: 36V
Initial Capacity: 2.0 Ah
Working Temperature: 320F- 1130F
Charging Temperature: 500F - 77OF
Storage Time: I year
Storage Temperature: -40F - 77OF
Storage Humidity: -
BATTERY MAINTENANCE
The lithium-ion battery is built into the Flare. Do not disassemble the
Flare to remove the battery or attempt to separate it from the
Flare.