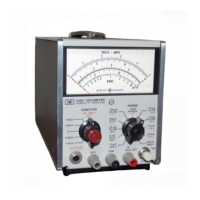
Model 4145A
SECTION II
Option
907
908
909
Kit
Part Number
Parts Included
Part Number
Handle Kit Front Handle
@ 5060-990 1
2
5061-009 1 Trim Strip
@ 5020-889 8 2
X8-32 x 3/8 Screw 2510-0195
6
Rack Flange Kit
5061-0079
Rack Mount Flange
X8-32 x 318 Screw
@ 5020-8864
2
2510-0193 6
Rack Flange &
Handle Kit
5061-0085
Front handle
Rack Mount Flange
X8-32 x 3/8 Screw
@ 5060-990 1
2
@ 5020-8876 2
2510-0194 6
I
Q’ty
Remarks
9.525mm
9.525mm
15.875mm
1. Remove adhesive-backed trim strips @
from side at right and left front of
instrument.
2. HANDLE INSTALLATION : Attach front
handle @ to sides at right and left front of
instrument with screws provided and
attach trim @to handle.
3. RACK MOUNTING : Attach rack mount
flange @ to sides at right and left front of
instrument with screws provided.
4. HANDLE
AND RACK MOUNTING :
Attach front handle @ and rack mount
flange @ together to sides at right and left
front of instrument with screws provided.
5. When rack mounting (3 and 4 above),
remove all four feet (lift bar at inner side
of foot, and slide foot toward the bar).
Figure 2-3. Rack Mount Kit.
2-5

 Loading...